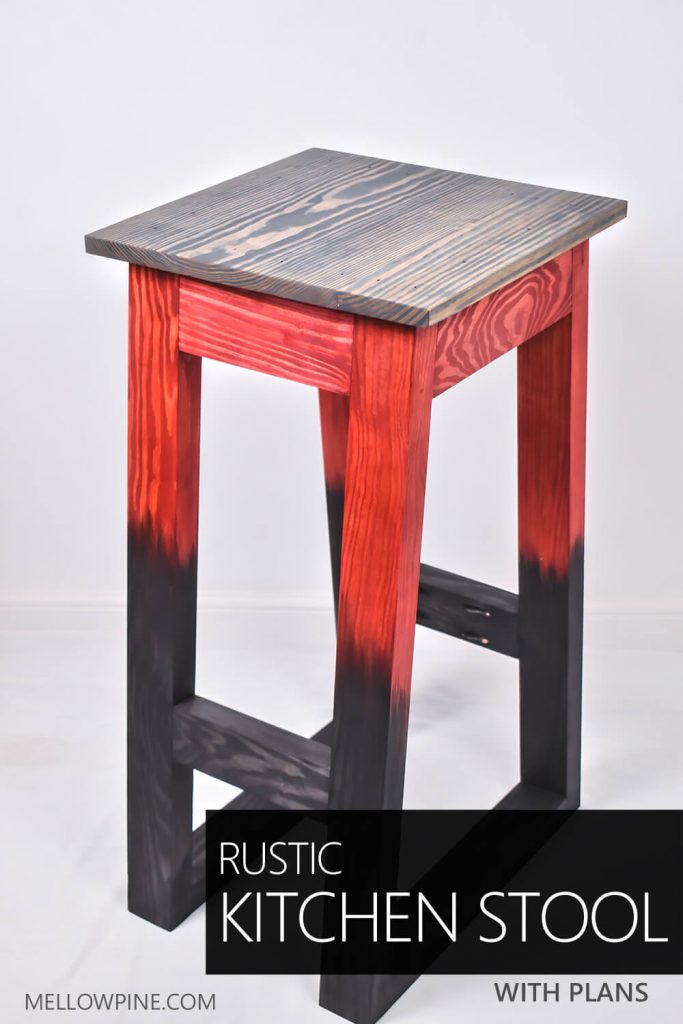
Hey all, it’s Susan. Hope you’re doing great, today I want to share a new bar stool project we did for our home
. This is yet another beginner build using pocket hole joinery and limited tools.
This bar stool project can be completed in two hours if you have the correct lumber ready.
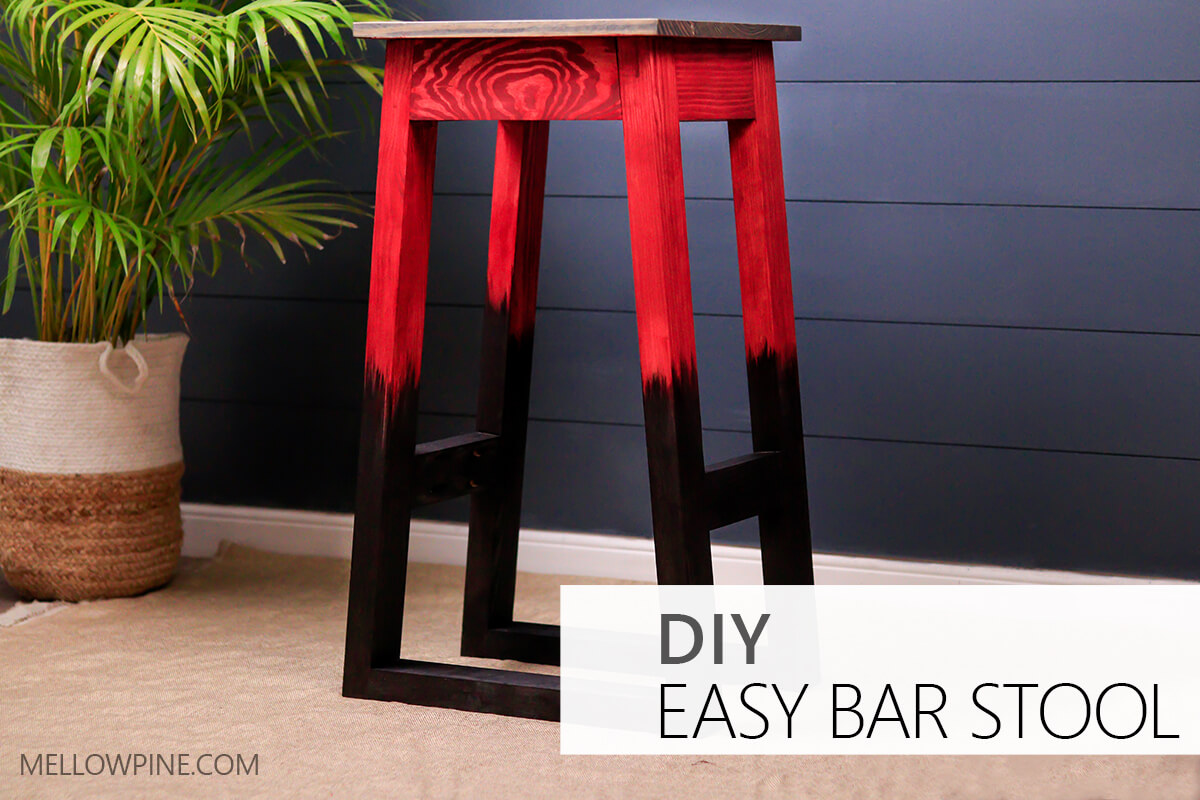
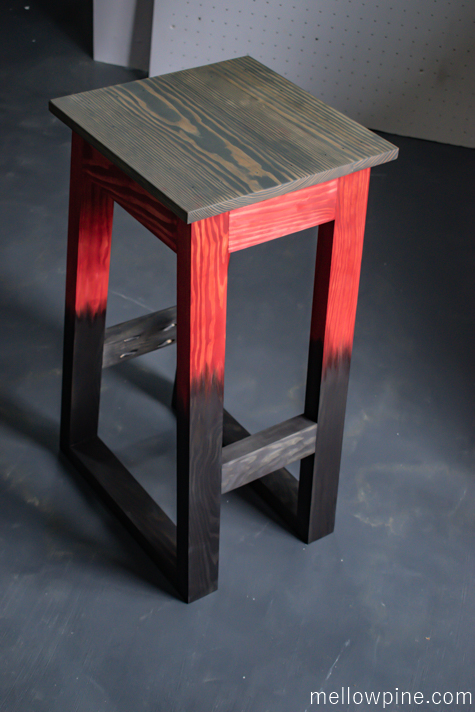
We added a flame pattern on the legs to add some character to the piece.
Check out the plans and detailed instructions below.
Check out other projects in the 2-hour project series:
MellowPine is reader-supported. When you buy through links on my site, I may earn an affiliate commission at no extra cost to you.
Things You’ll Need
Materials
- 2 in. x 2 in. x 8 ft. Furring Strip Board Lumber – Two Pieces
- 1 in. x 12 in. x 4 ft. Pine Common Board – 1 piece
- 1 in. x 4 in. x 6 ft. S4S White Wood Board – 1 piece
- Wood Glue
- Barn Red Stain
Tools
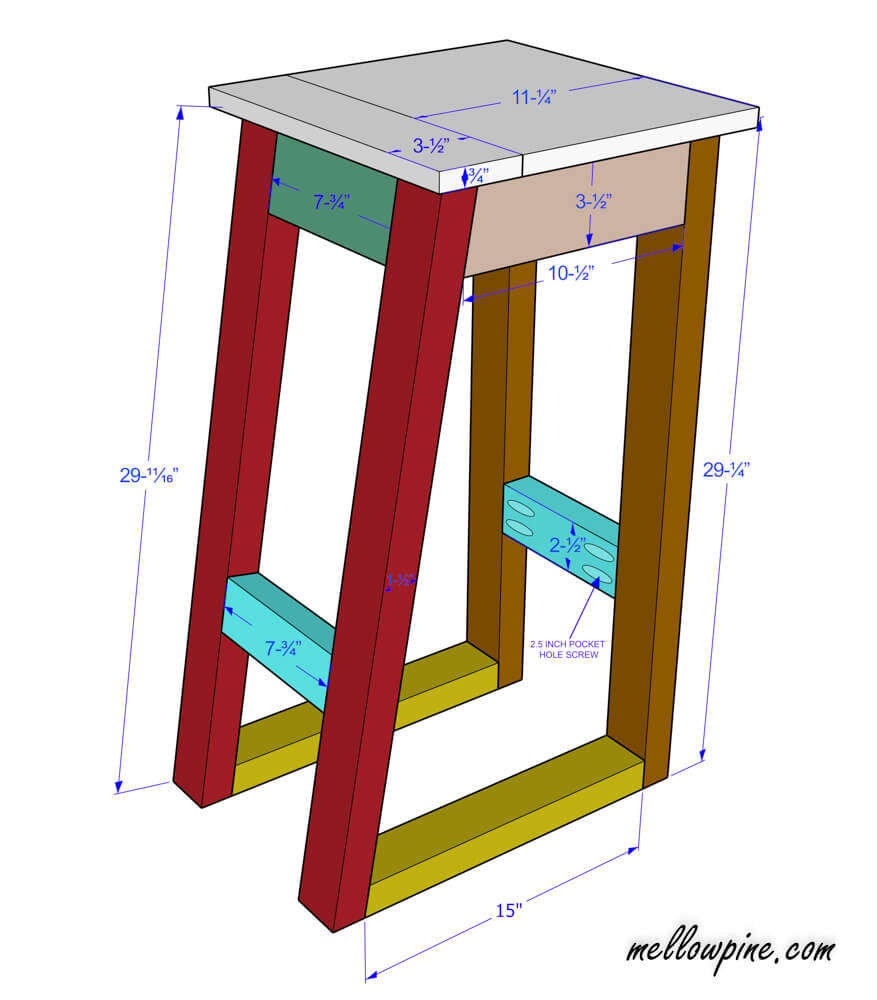
Plan for making the Easy Bar Stool
How to build the Easy Bar Stool
Please note the difference in dimension between nominal size and actual size. For e.g., 2 x 4 is the nominal size while 1-½” x 3-½” is the actual size. This is a standard convention.
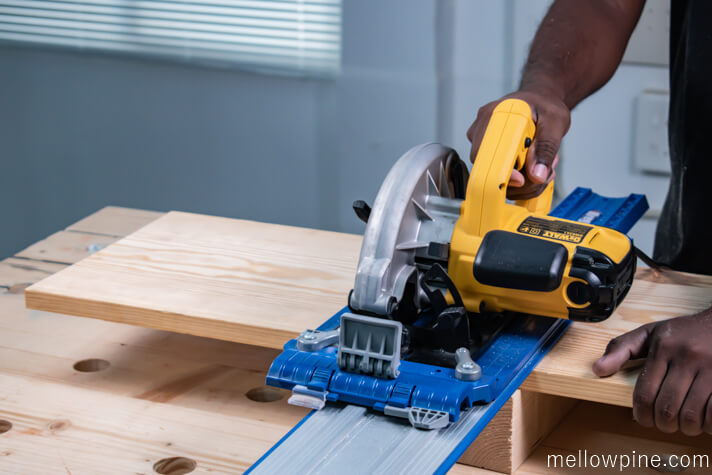
Cutting the Frame Pieces
We need 2 slanting legs, 2 vertical legs. 2 bracing pieces for the slanting leg, 2 bracing pieces for the vertical leg. And two horizontal bracing pieces for the top and bottom.
For the two slanting leg pieces and two vertical leg pieces, two connecting base pieces, and the two bottom bracing pieces we used 2 x 3 lumber ( actual section size 1-½” x 2-½”).
For the two mitered bracing pieces at the sides on the top and the two non-mitered bracing pieces on the front and back ( dark green in plan) we used 2 x 4 lumber.
First we made two pieces of length 29-¼” length for the vertical legs on the miter saw using the 2 x 3 lumber (nominal size).
Then we made two pieces of length 29-11/16″ with edges mitered at 10 degrees on both ends for the slanting legs using 2×3 lumber (nominal size).
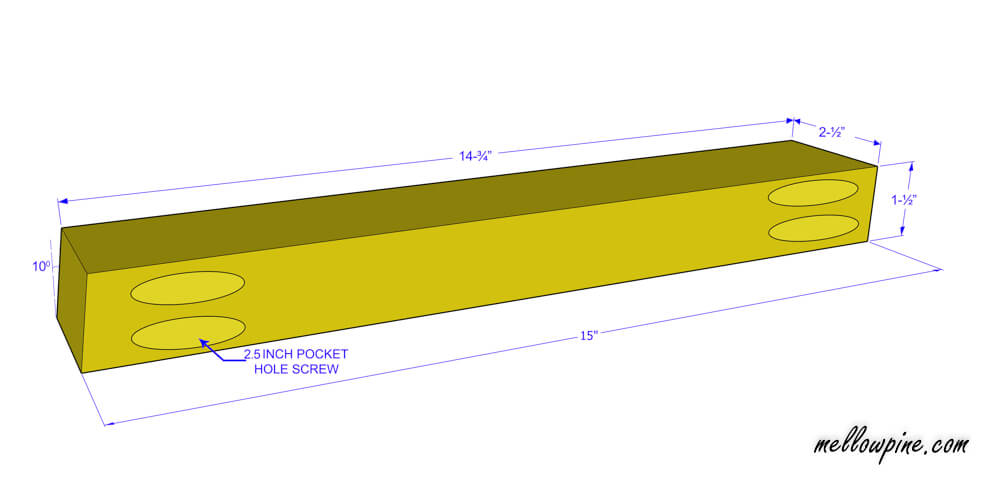
Then we made two pieces of length 15” with one edge mitered at 10 degree for the connecting base pieces on the miter saw using 2 x 3 lumber (nominal size).
Then we made two pieces of length 7-¾” using 2 x 3 lumber for the two non-mitered bracing pieces at the top
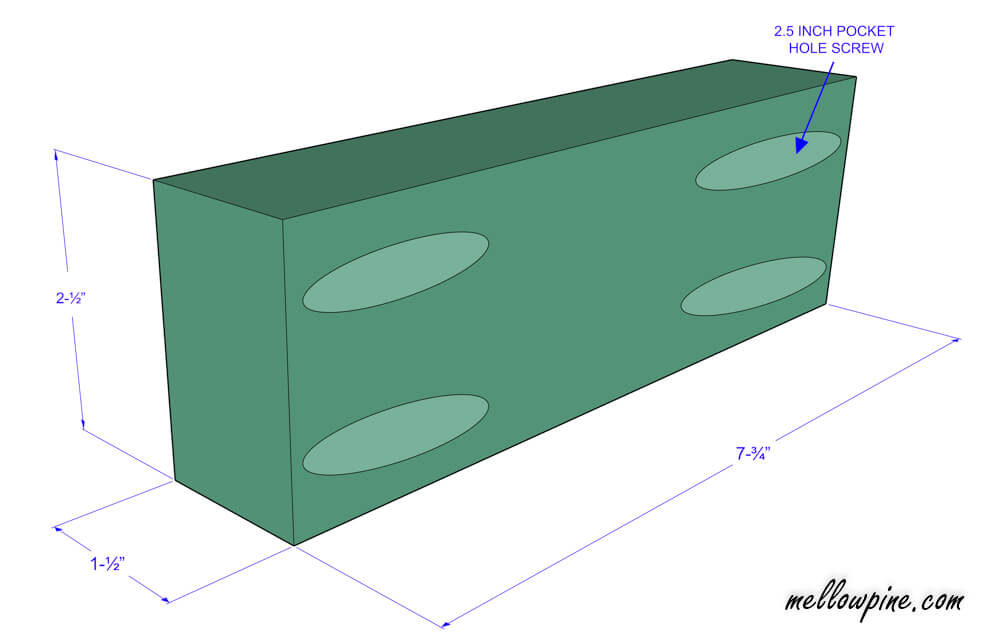
Then we made two pieces of length 7-¾” using 2 x 4 lumber for the two non-mitered bracing pieces at the bottom.

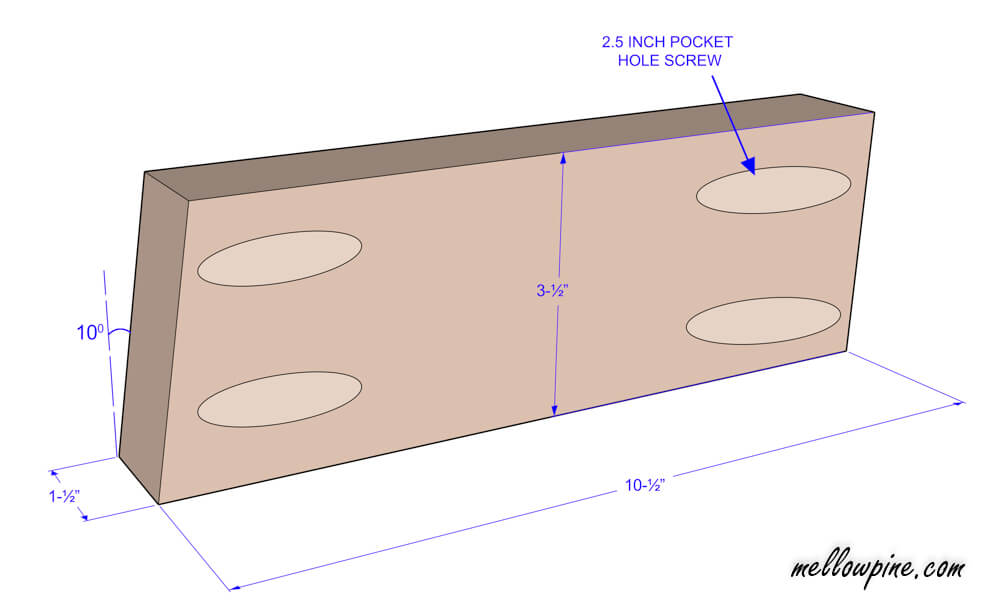
Then we made two pieces of length 10-½” (on the longer edge) and mitered one edge at 10 degrees on the miter saw for the two mitered bracing pieces.
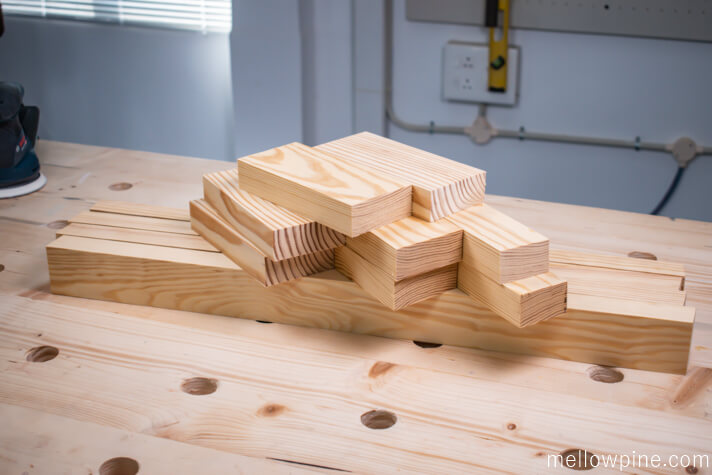
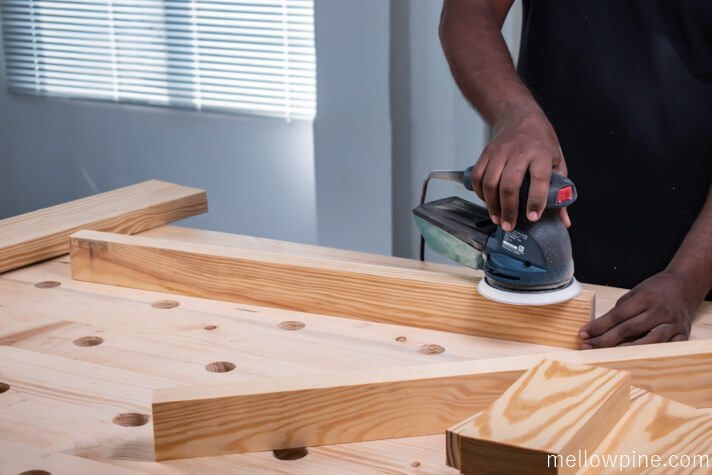
Then we sanded all the pieces thoroughly.
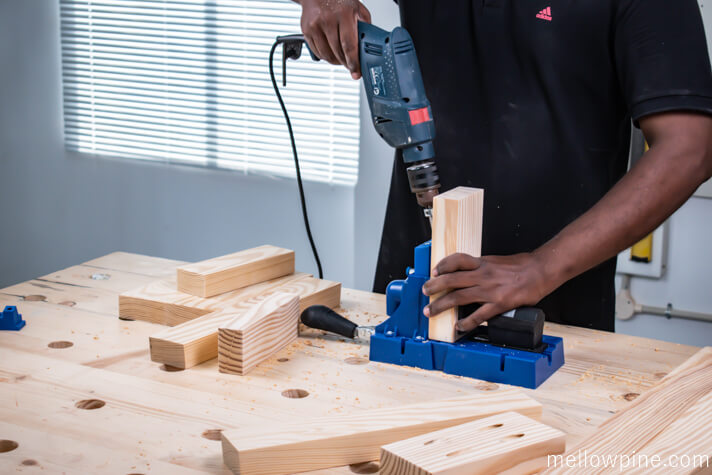
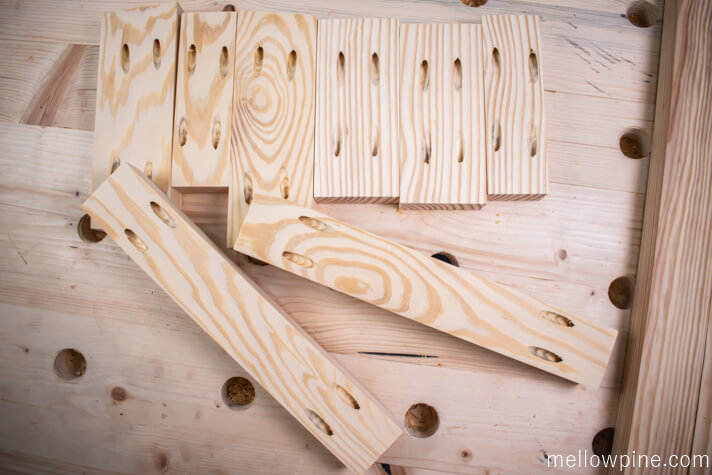
Drilling the pocket holes for joining the frame
Then we drilled pocket holes on the bracing pieces as shown in the plan. (Pocket hole numbers and size are marked in the plan of each individual piece).
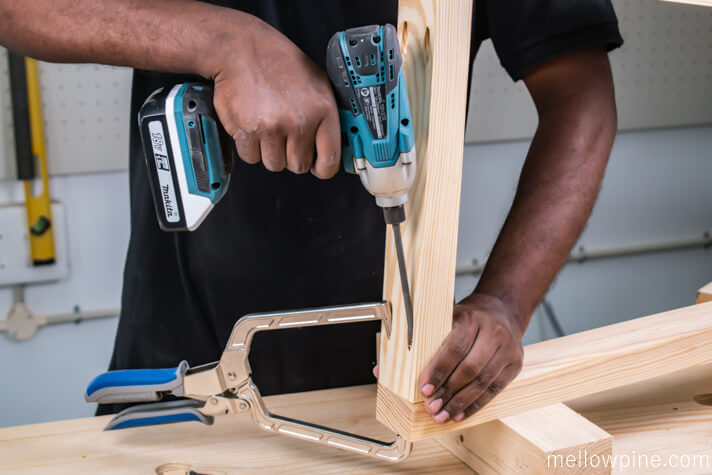
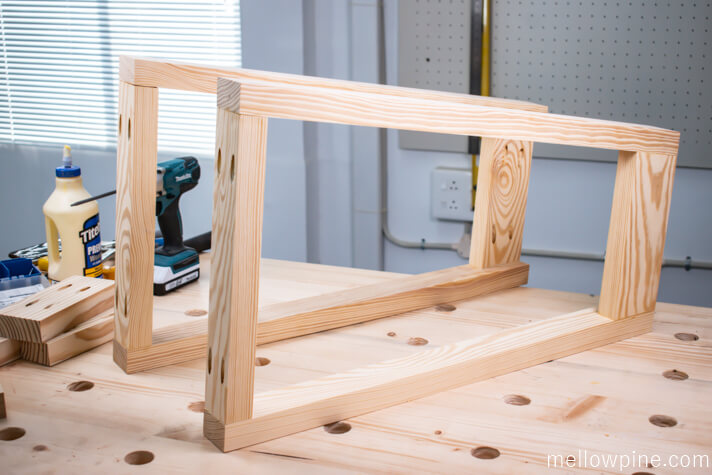
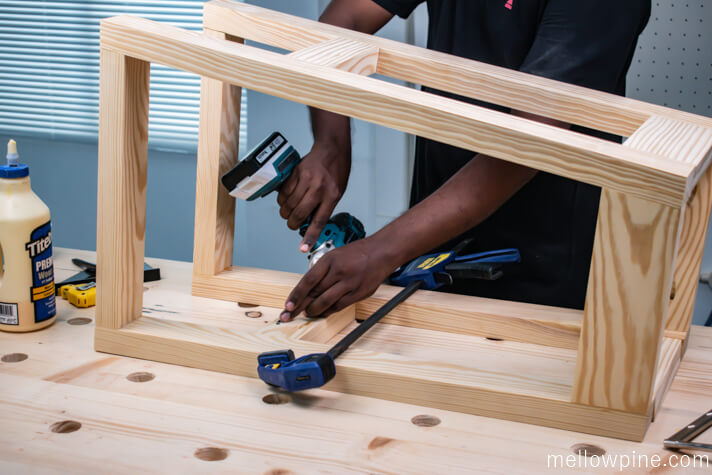
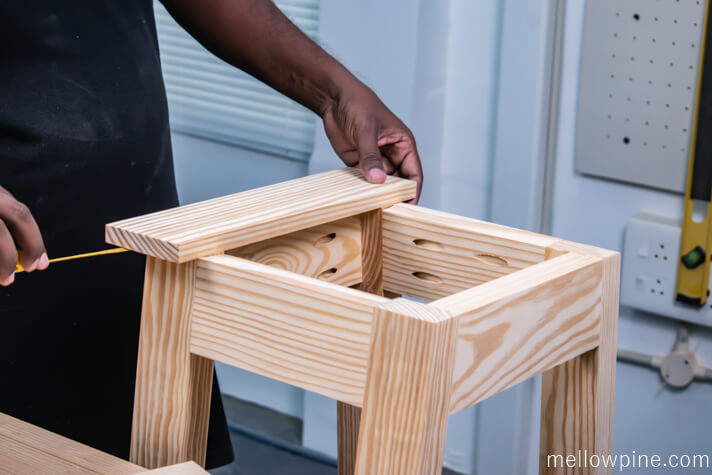
Joining the frame pieces
Then we joined the bracing piece on the top and bottom to the slanting piece and the vertical piece. We used a combination of wood glue and pocket-hole screws to join the pieces.
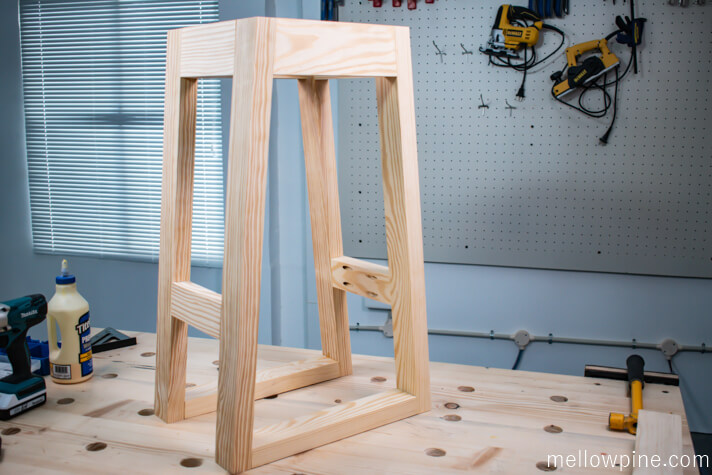
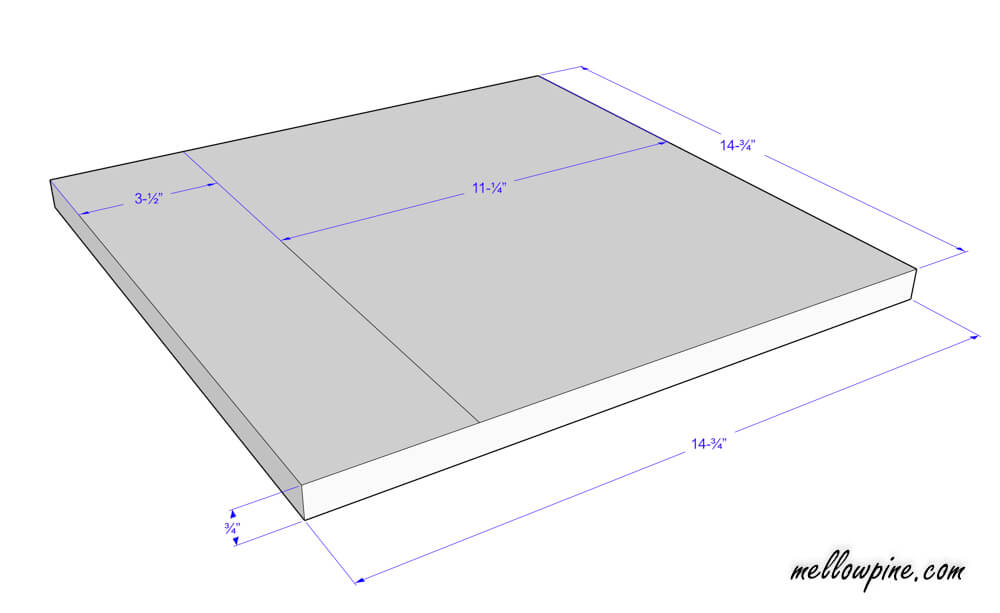
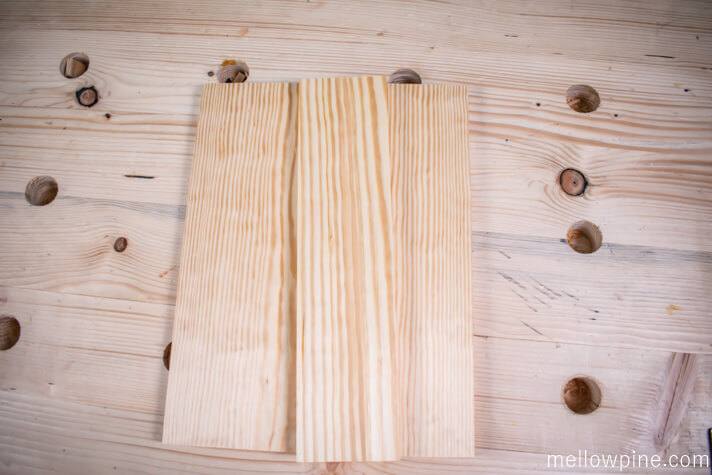
Making the top piece for the bar stool
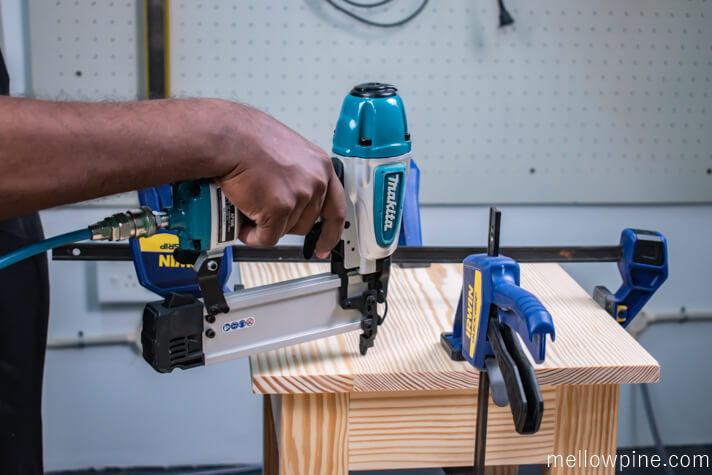
At this point, the frame of our bar stool was completed and ready, so we had to make the top piece to attach to it. Then we made the top piece for the bar stool using two pieces. One piece of 1 x 4 lumber and another of 1 x 12 lumber ( both are nominal sizes). Both having length 14-¾”.
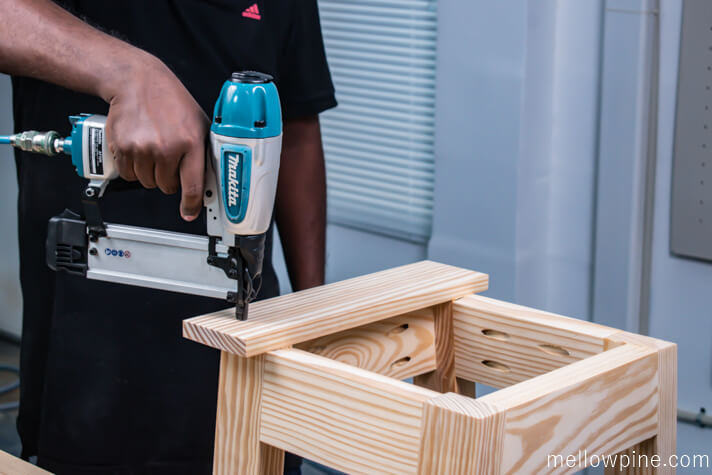
We sanded the two pieces thoroughly at this point. Then we centered it on the frame and applied wood glue on the frame and fixed the board on the frame using nails of size.
Finishing the bar stool
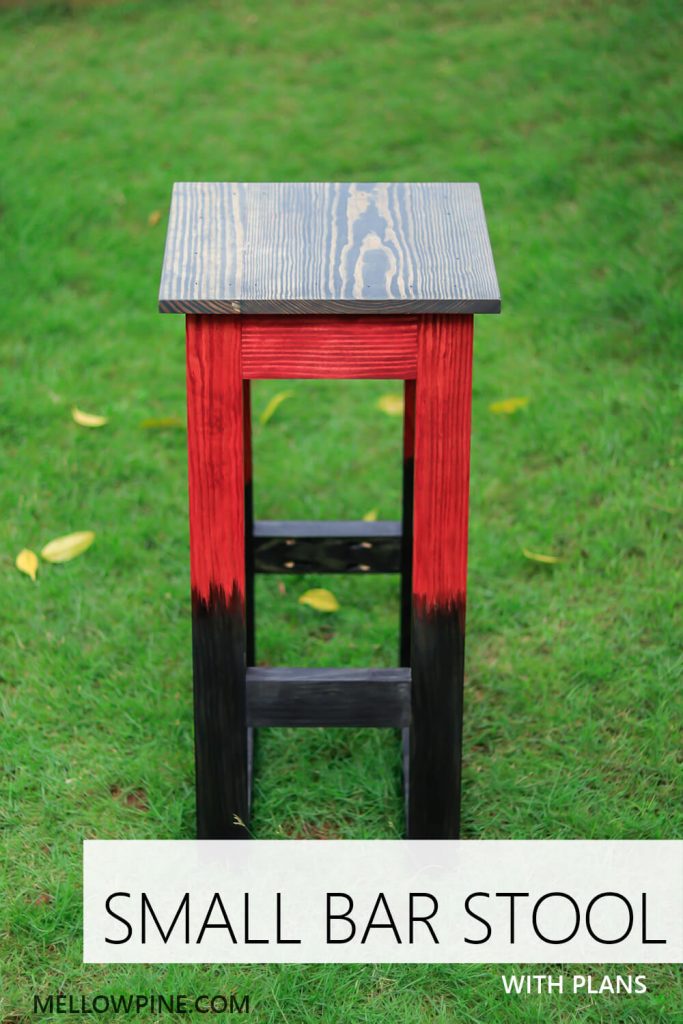
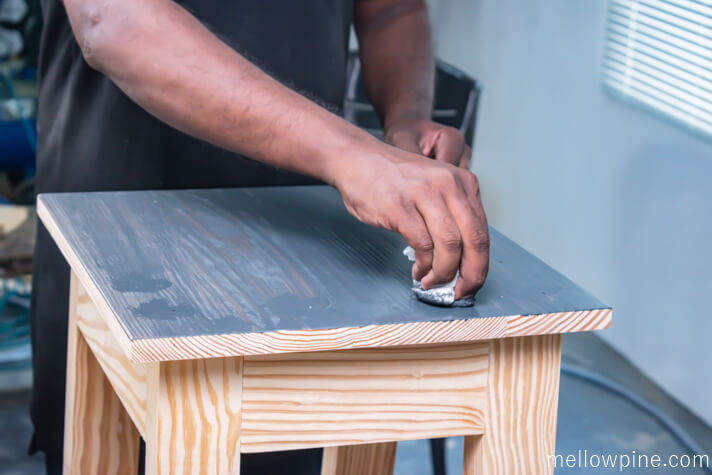
We applied carbon grey stain on the top board.
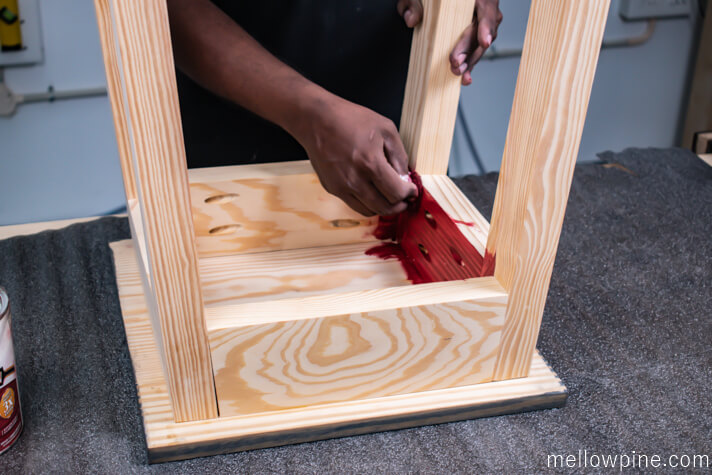
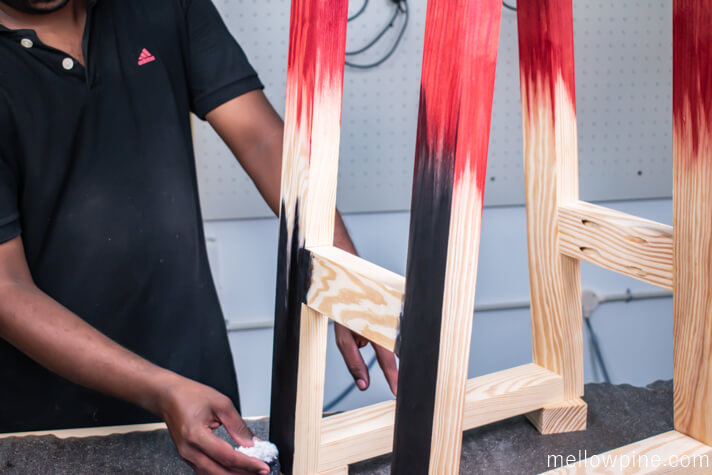
Next we wanted a flame effect on the legs. We used barn red for the top part and black stain for the lower part.
To get the flame effect we wiped the black stain on to the red part using a rag with stain getting progressively lighter at the intersection of the stains.
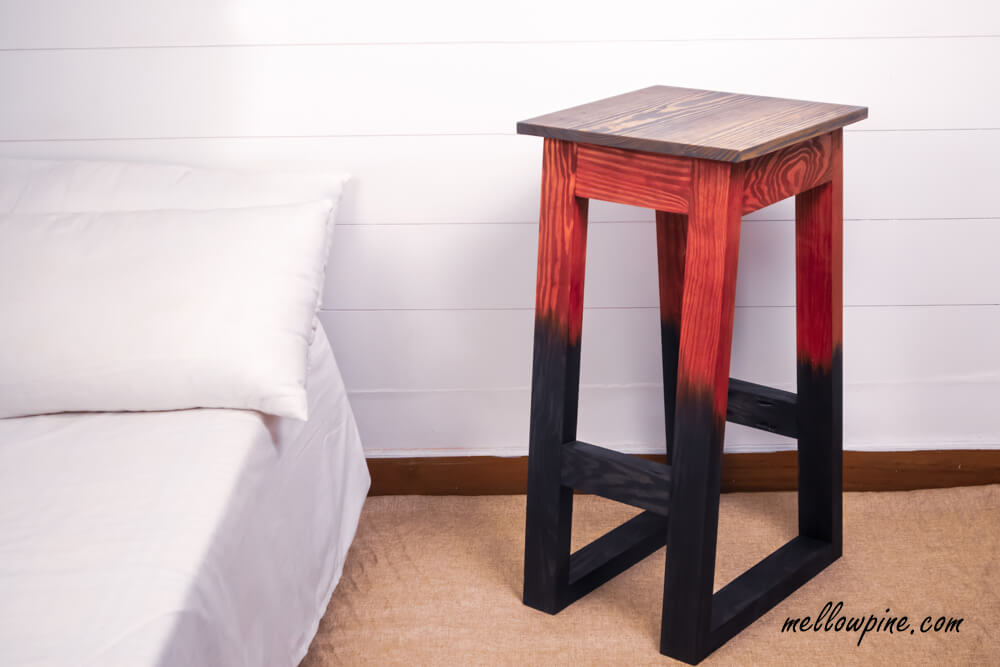
So that was the easy bar stool project, and it can be a great way to add some stylish seating to your home bar counter.
I hope you liked how it turned out. If you do, please drop me a message and I’ll feature it here on this page!
Check out other DIY Wooden Stool Projects:
Other DIY builds you might like:
If you liked this build , you might want to save the pin below to your DIY/Woodworking board.