


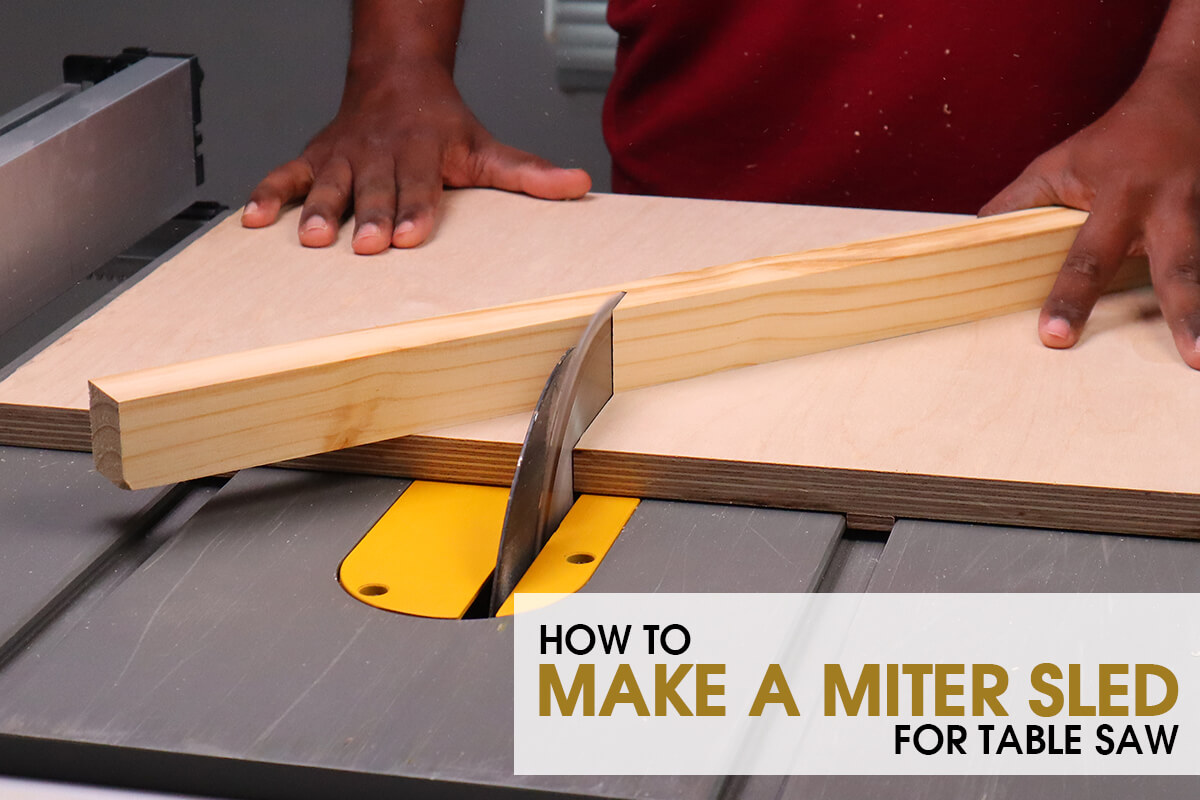
A miter sled lets you make precise miter cuts on the table saw.
Although you can use the miter gauge, a miter sled is more accurate and much safer to use.
You can make this jig entirely out of wood or plywood or even a combination of both.
In this guide, I’ll show you how to easily make one with your shop materials.
Things You’ll Need
- Table Saw
- Wood
- Plywood
- Speed Square
- Driller
Making the Miter Sled for your Table Saw
There are many kinds of miter sleds that can be made.
The one we’ll be making today will look like this.
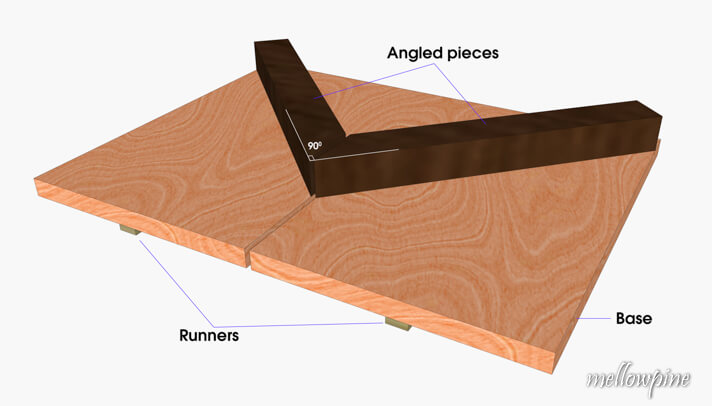
This particular design is really useful and should meet your needs for almost all kinds of miter cuts.
We’ll be using plywood for the base and runners, and wood for the angled pieces.
Part 1- Making the Base and the Runners for the Miter Sled
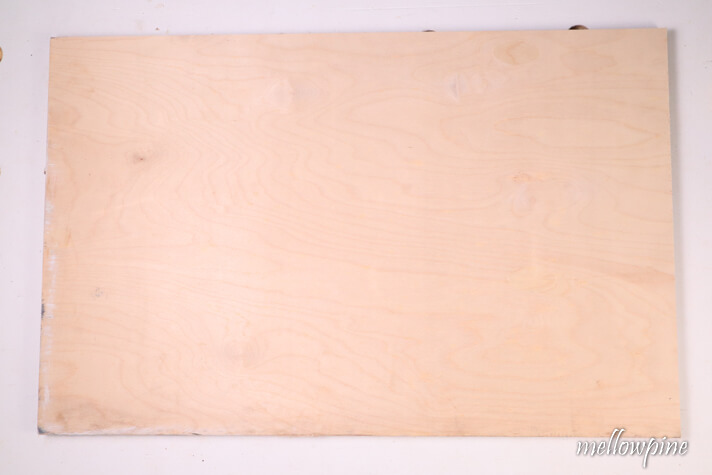
Begin by taking some plywood for the base and runners.
The plywood you choose for the base should ideally be thick like a ¾” thick one for being sturdy enough.
The plywood you take to make the runner however can be of lesser thickness like ¼” thick as it’s only meant to slide back and forth in the miter gauge slot.
Once the plywood of your desired thickness is selected for the base and runner, place them on the work surface.
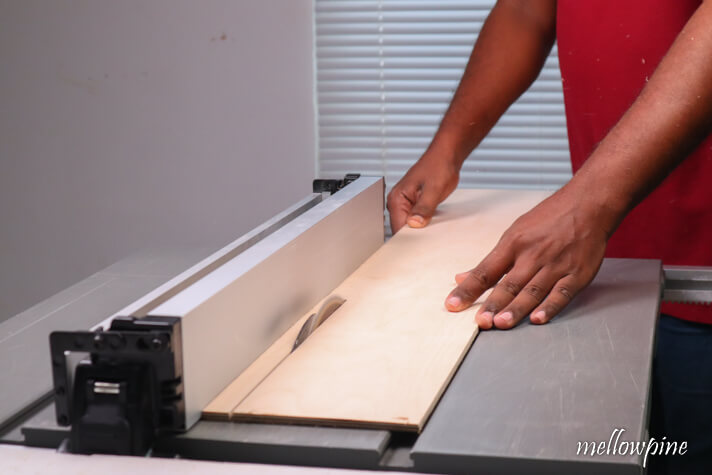
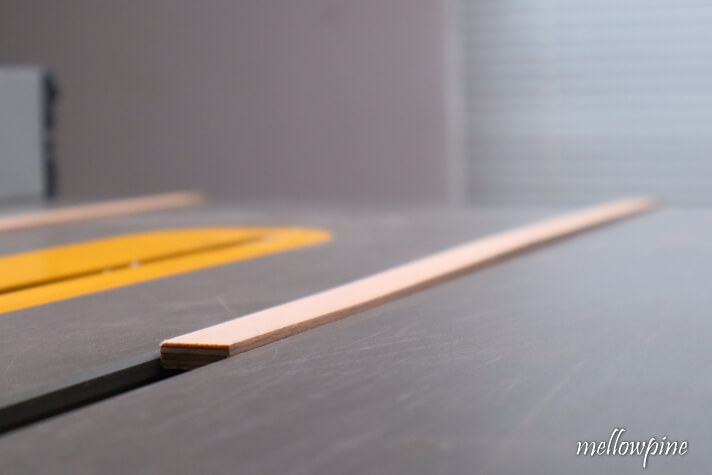
For making the runners, measure the width of the miter gauge slot/miter track using tape.
Remember to measure and cut the length of plywood needed for two runners and not just one.
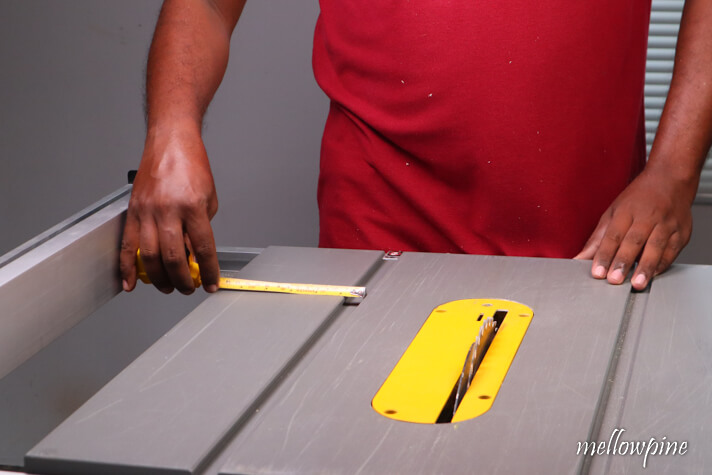
Set this measured width of miter track as the offset between the table saw blade and the rip fence and cut the runner from the plywood.
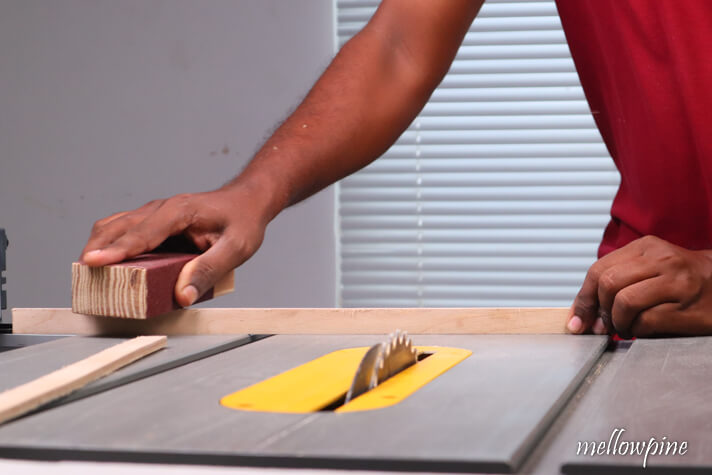
With the runner piece cut, you can check if it fits snug in the miter gauge slot.
In case the plywood is too thick to fit in the slot, sand the sides until it fits comfortably.
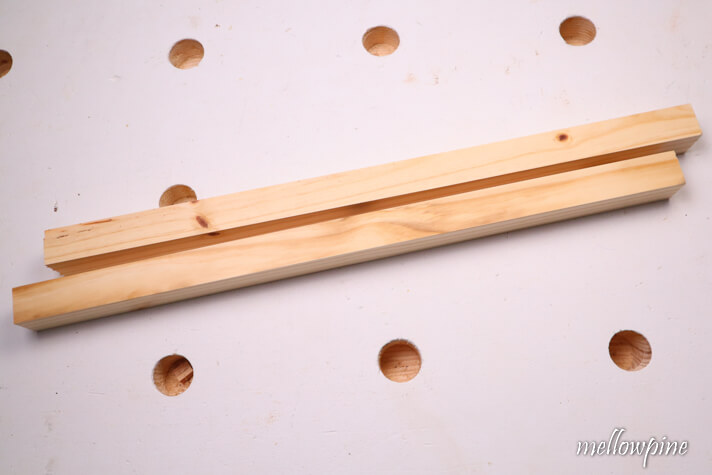
With that, you’ll have made two runners for the miter sled.
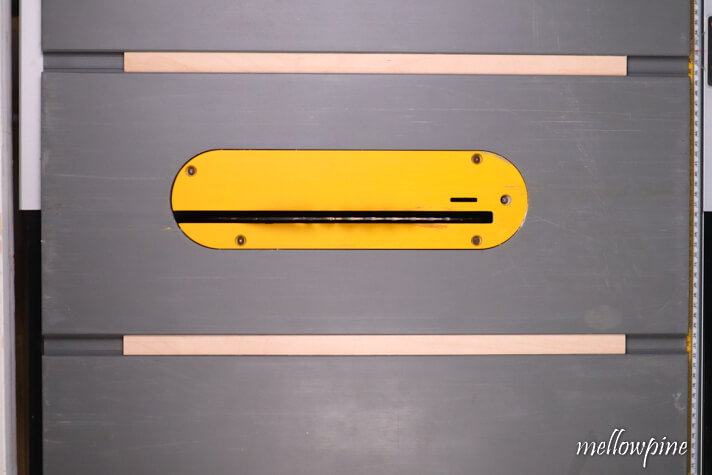
Remove the runners for now from the miter track.
Lower the blade height as low it gets and stack the miter track with thin scrap wood.
This is done to increase the height of the runners and to make sure they fit comfortably onto the base of the miter sled.
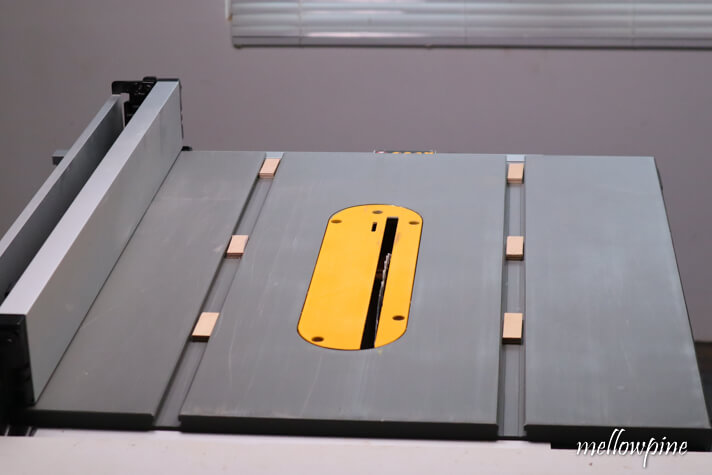
Now place the runners back inside the miter track.
You’ll notice they project up from the miter track.
This helps the runners stick to the base of miter sled.
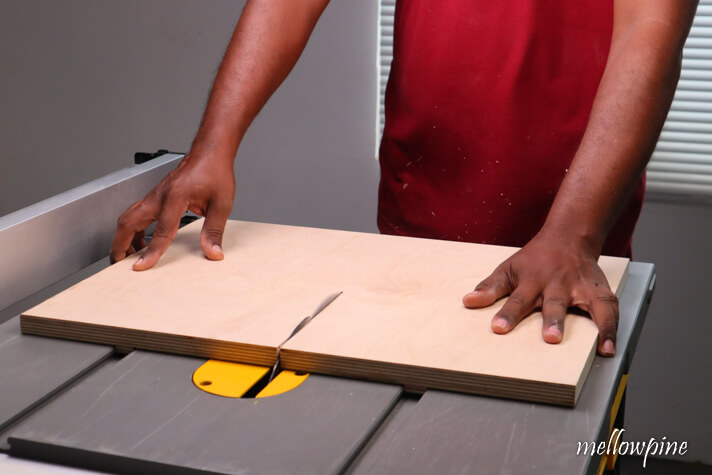
While selecting the base make sure you select plywood wide enough to cover both the miter gauge slots but not so wide that they stick out of the table saw top.
Make sure that the edge closest to the rip fence has a factory edge or straight edge.
In the event that the edges of your base wood don’t have straight edges, cut off a part of the plywood to make a new straight edge.
With the straight edge against the rip fence and the runner sticking out in the air, apply some glue on the top of the runner and gently lower the base wood onto the runners.
Alternatively, you can also screw the runners to the base of the miter sled.
The screwing method is best adopted when you want to use the sled right away and you don’t have the time to wait for the glue to dry.
With that done, you will have yourself a sled that can slide over the table with ease.
Part 2- Making the Angled Pieces for the Miter Sled
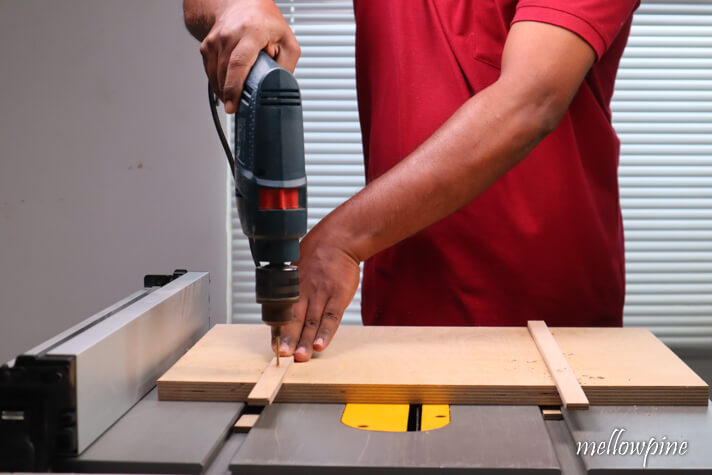
To make the angled pieces, take two thick pieces of wood.
The desired thickness is around 1.5″ to 2.5″.
These woods will be cut at a 45° angle.
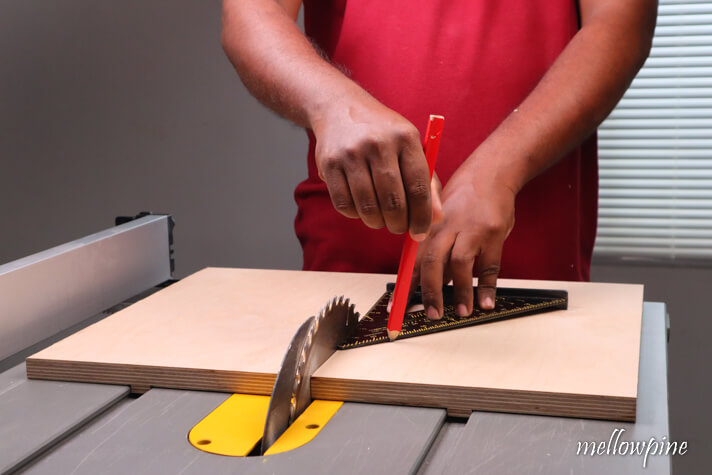
Next, cut the base piece of the miter sled about halfway through using the table saw.
Never cut the entire length of the board as it will render the jig useless.
Place one edge of the speed square on the cut and draw a 45° line that meets the table saw blade.
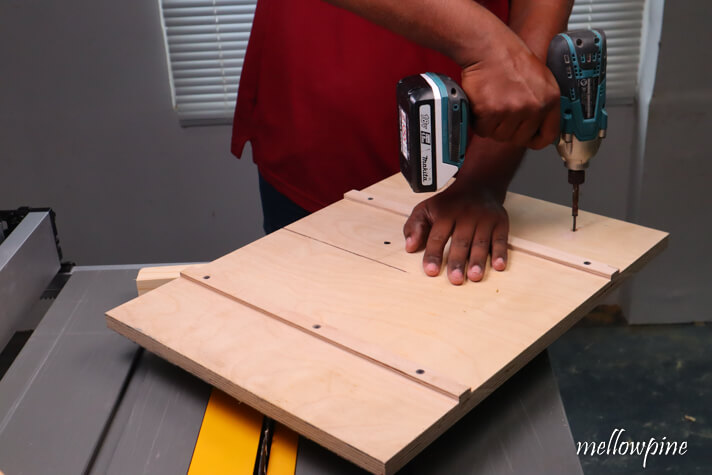
Align one of the previously selected thick wood with the line and fit it onto the base using screws or glue.
I’ll be using screws for this.
Make sure to screw from the bottom of the miter sled.
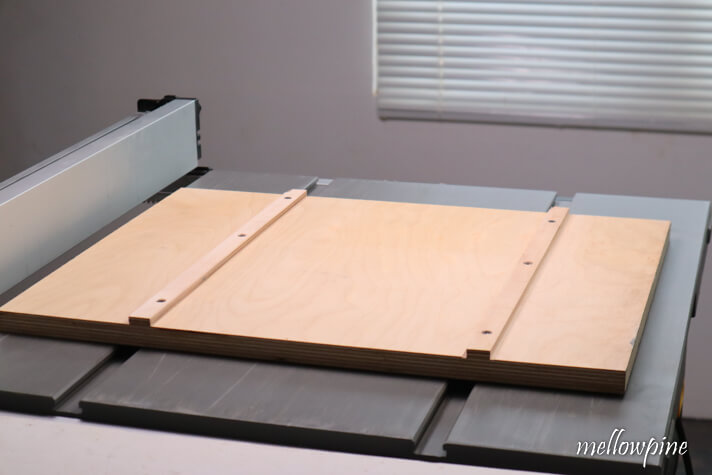
Next, cut the part of the angled wood that exceeds the blade.
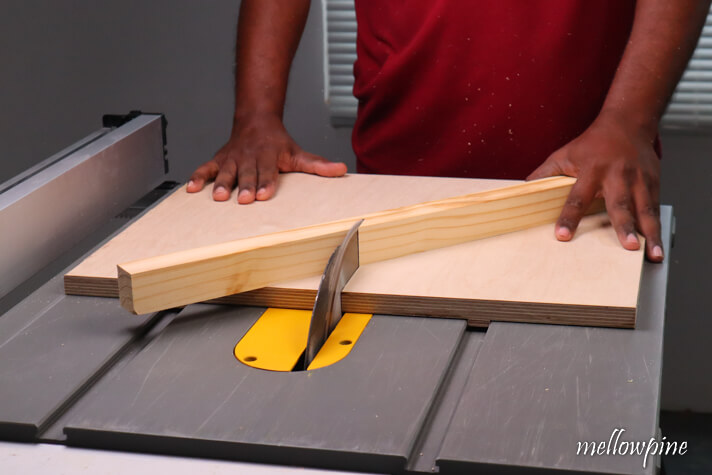
After cutting the excess wood, miter cut the other wood piece at 45°.
Align the other angled piece with the previously fixed piece,
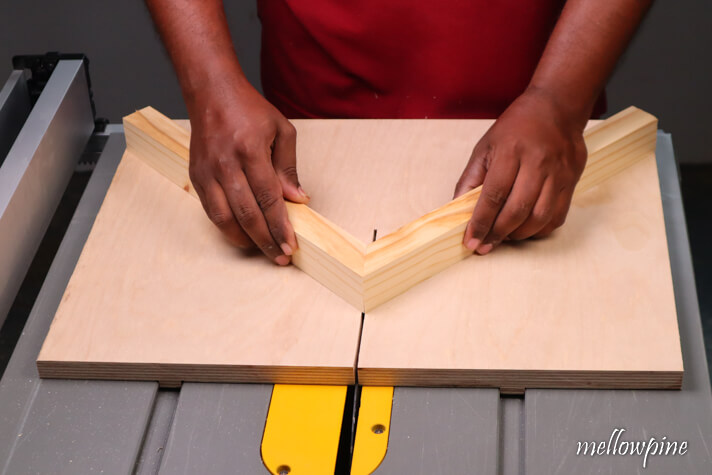
Align the cut surface of both pieces.
Check for square using a speed square.
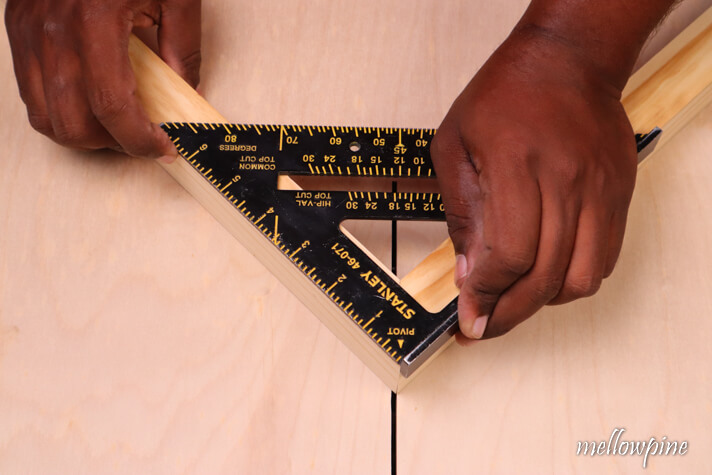
Screwing the other piece as well to the miter sled.
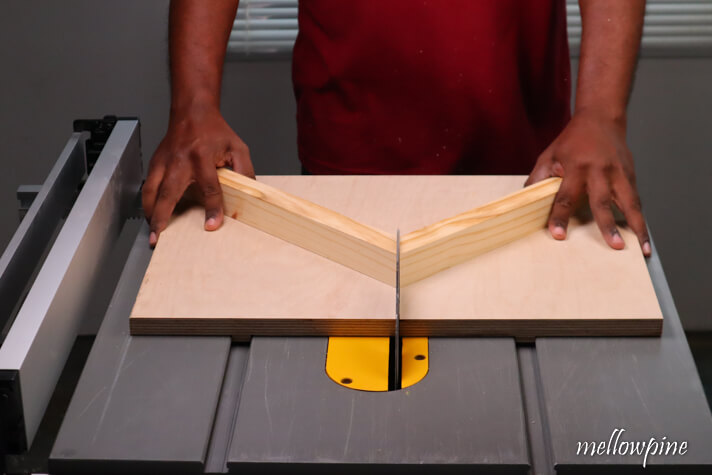
Turn on the table saw and run the blade through these newly jointed woods to remove wood equal to the thickness of the blade.
With that, your miter sled is complete and ready for use.
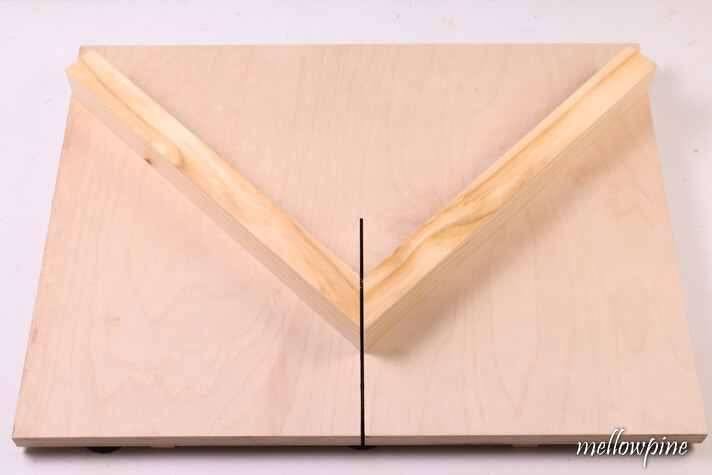
Now you can place the wood to be miter cut against one of the angled pieces to get a precise 45° cut every time.
When making picture frames or mitered joints, cut one piece of wood by placing it against the left side angled piece and the other piece by placing it against the right side angled piece.
This will ensure perfect smooth joints every time.
For further smooth sliding, you may also coat the runners in paste wax.
Tips for Accuracy While Making Miter Sled for Table Saw
- Use a sharp blade with an appropriate number of teeth. More teeth on the saw blade means better cut but takes longer to cut and large teeth means quick but rough cuts.
- If the length of the edge that is against the fence is shorter than the distance between the fence and the blade, Then dont cut it using the rip fence.