


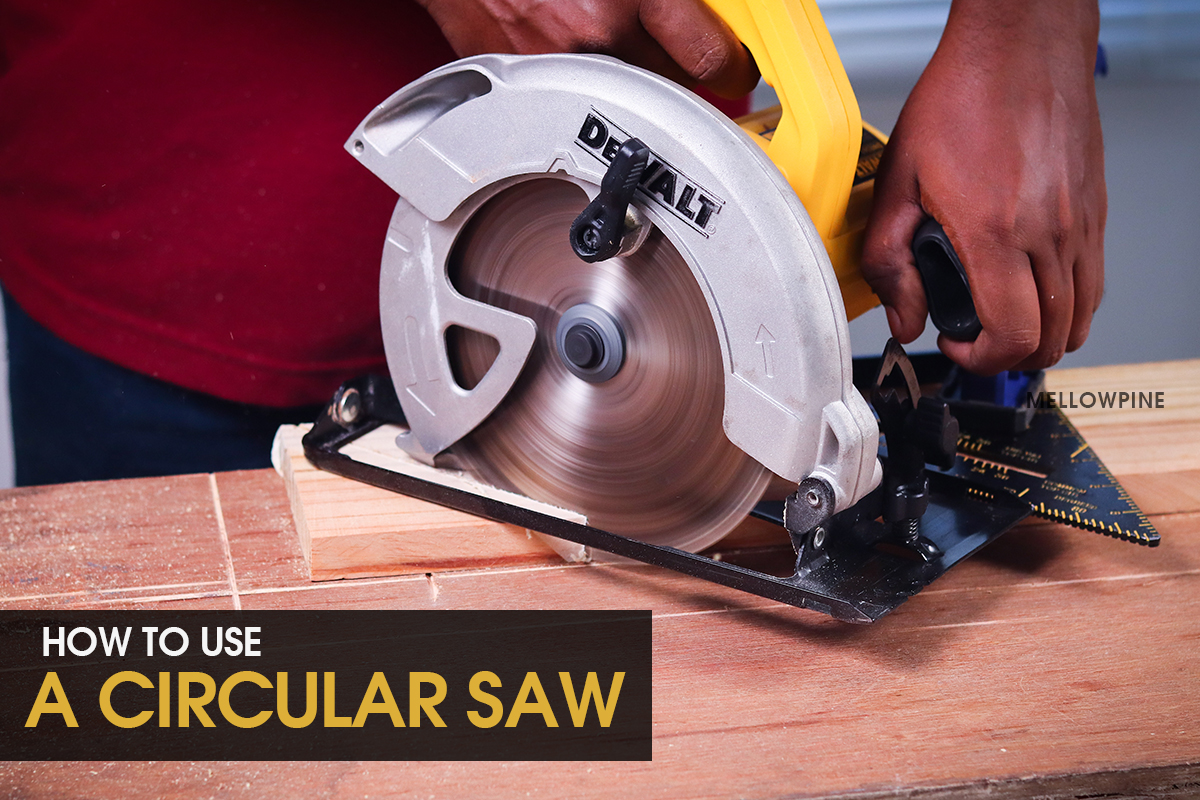
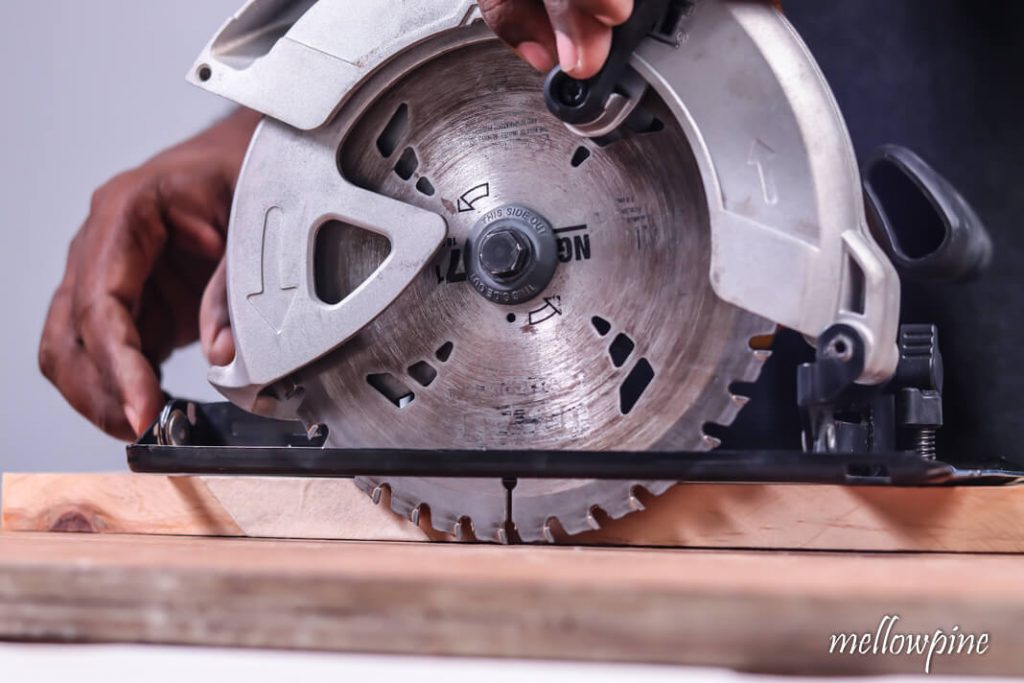
A circular saw is the most versatile tool that you can have in your shop.
In this detailed guide, I tell you everything that you need to know for using a circular saw.
I go through every type of cut (8 types) that you can make with a circular saw and important safety, accuracy tips while using it.
I kept this guide as simple as possible for helping even absolute beginners.
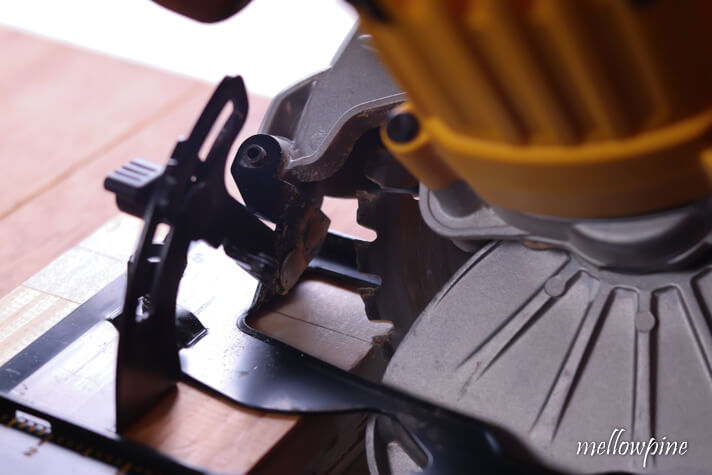
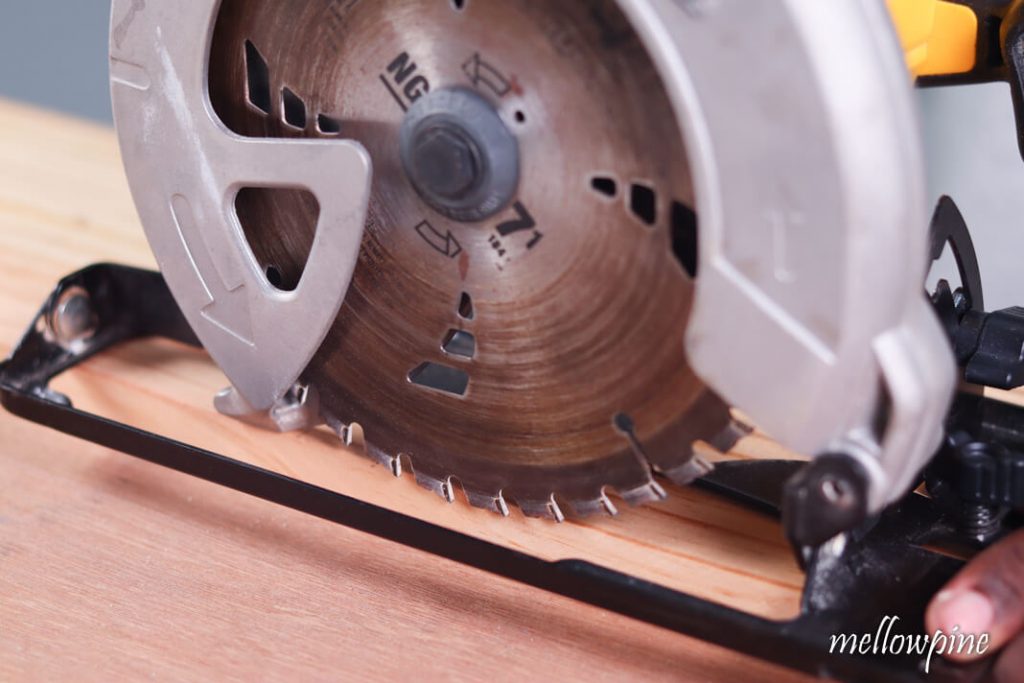
Parts of a Circular Saw
Before you start using a circular saw, it’s important to know the parts of a circular saw.
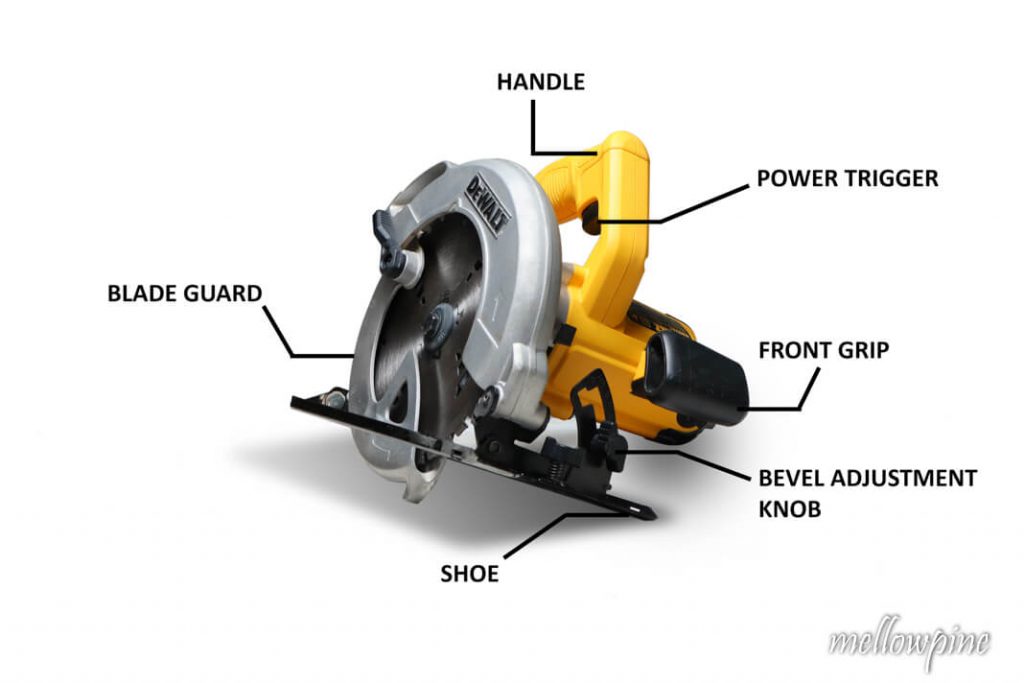

Here I have a sidewinder-type Dewalt Circular Saw.
Now, there can be variations depending on the model but there is a general similarity among circular saw parts.
How to Use a Circular Saw for Beginners- Each Cut Explained
In this section, I’ll show you in detail, how to make every type of cut that can be made using a circular saw.
Before going into detail, here’s a quick picture of each type of cut.
Crosscut -Credit: John Abraham/mellowpine

Rip-cut -Credit: John Abraham/mellowpine
Dado cut -Credit: John Abraham/mellowpine
Groove cut -Credit: John Abraham/mellowpine
Miter cut -Credit: John Abraham/mellowpine

Bevel cut -Credit: John Abraham/mellowpine
Compound cut -Credit: John Abraham/mellowpine
Plunge cut -Credit: John Abraham/mellowpine
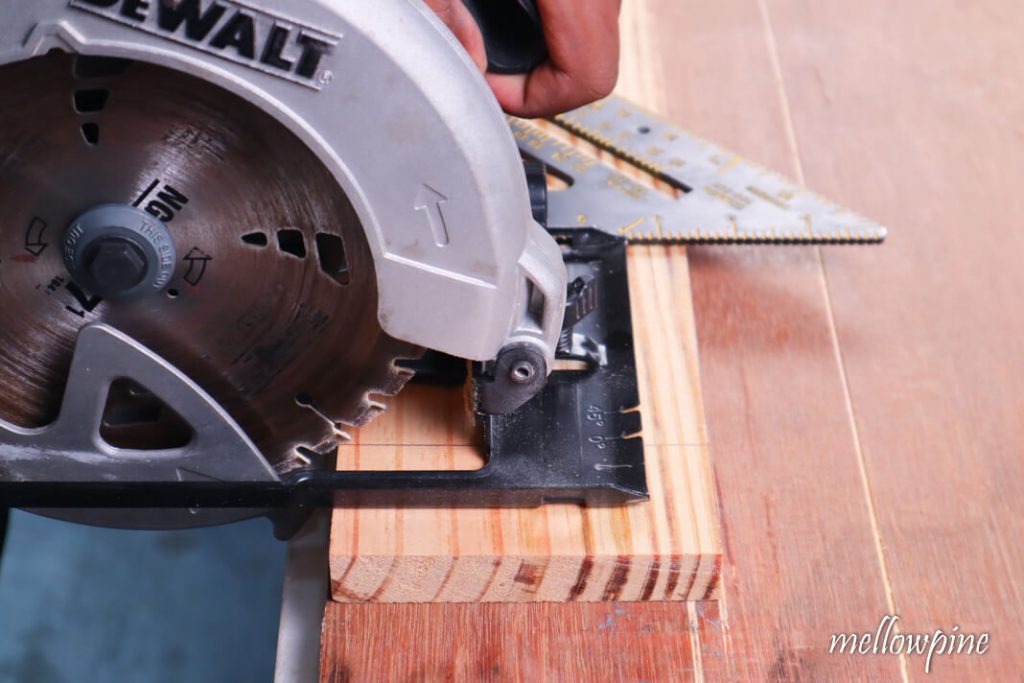
1) How to Crosscut with a Circular Saw
A crosscut is a cut that’s made perpendicular to the grain.
Typically you use a circular saw or miter saw for a crosscut.
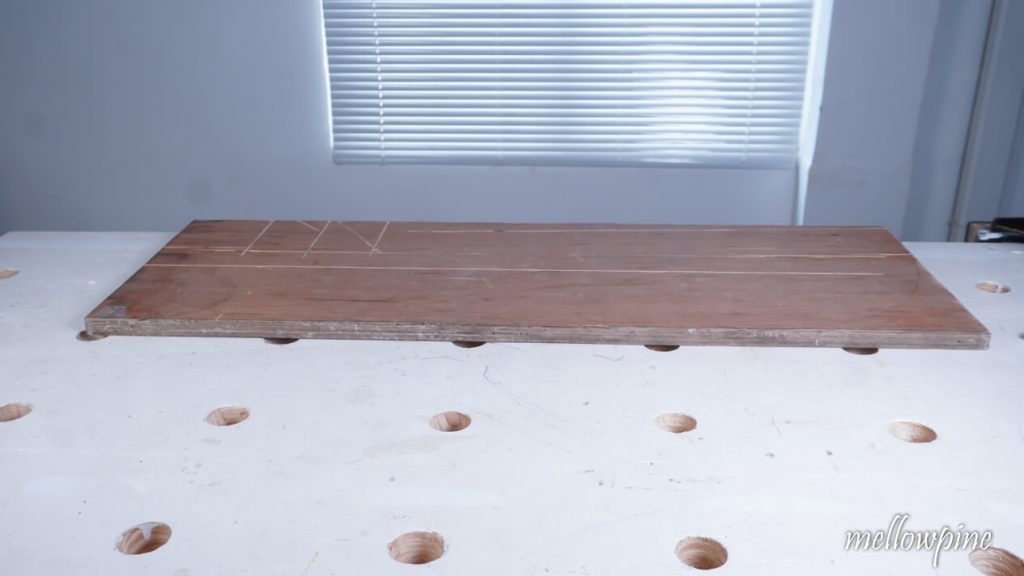
Begin by placing the sacrificial sheet on to the work surface.
Now place the wood on top of the sacrificial sheet. This is done to protect the work surface if the cut gets too deep.
Clamp the wood tightly on the sacrificial sheet with two quick grip clamps.
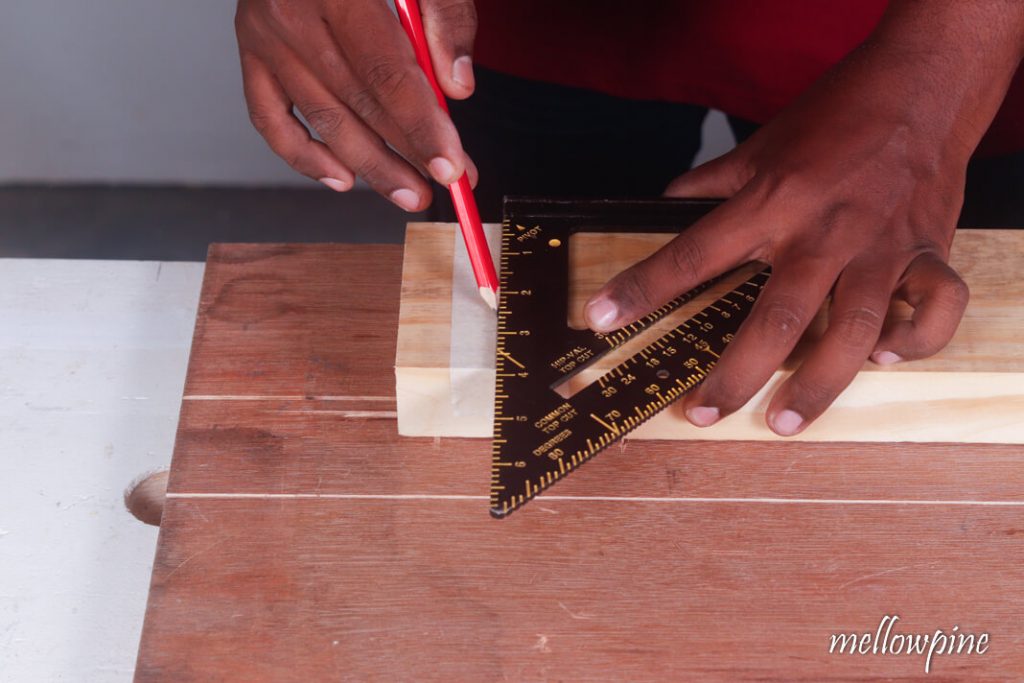
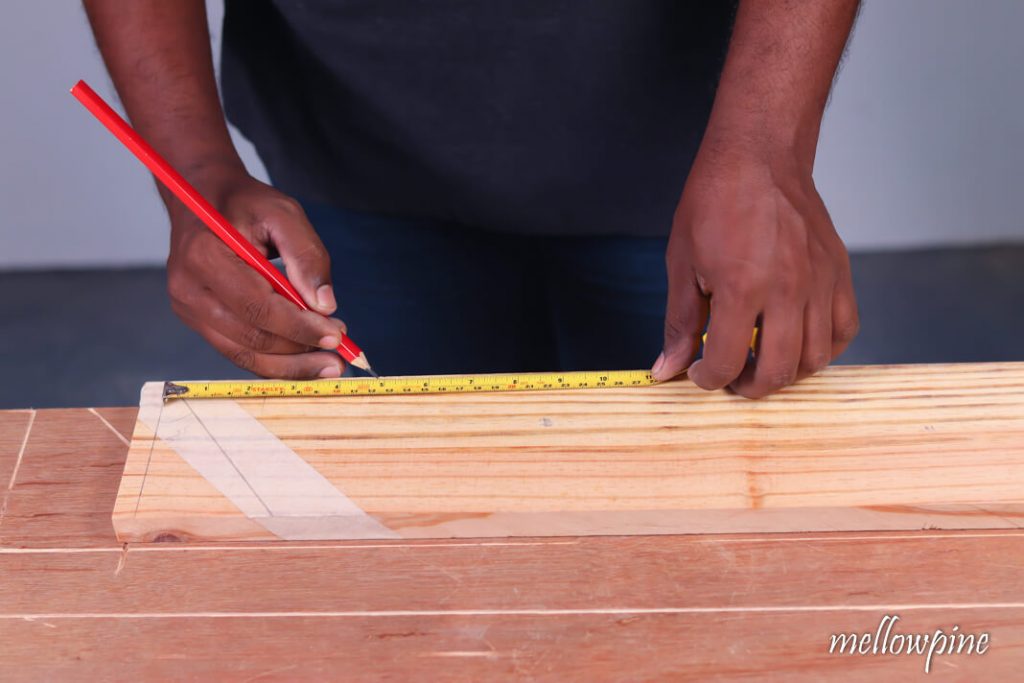
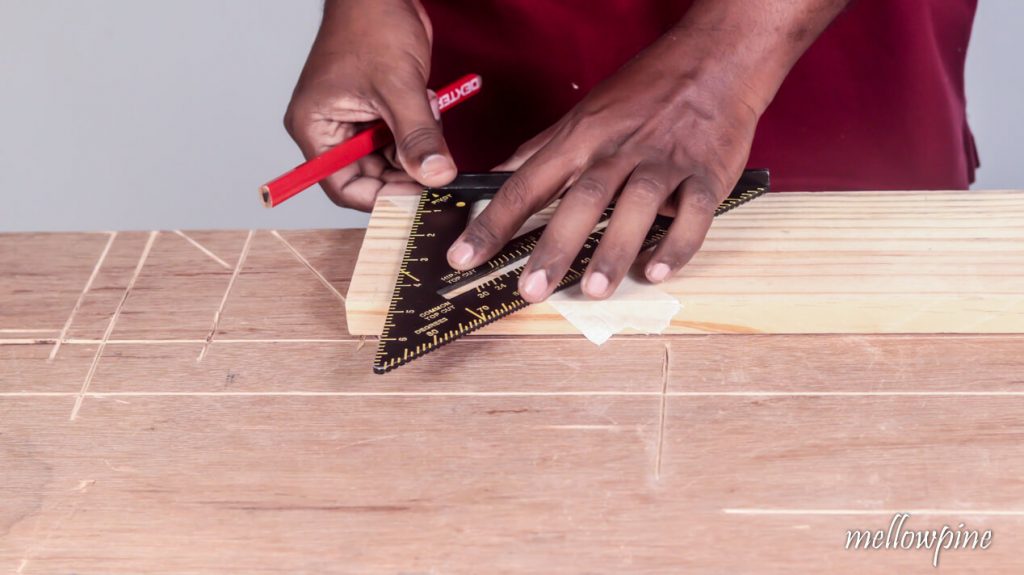
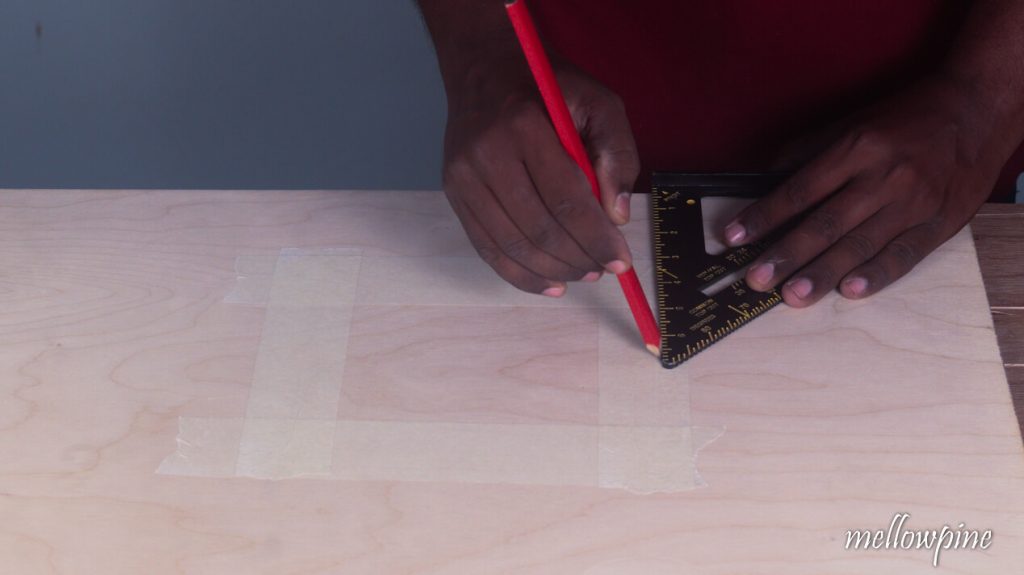
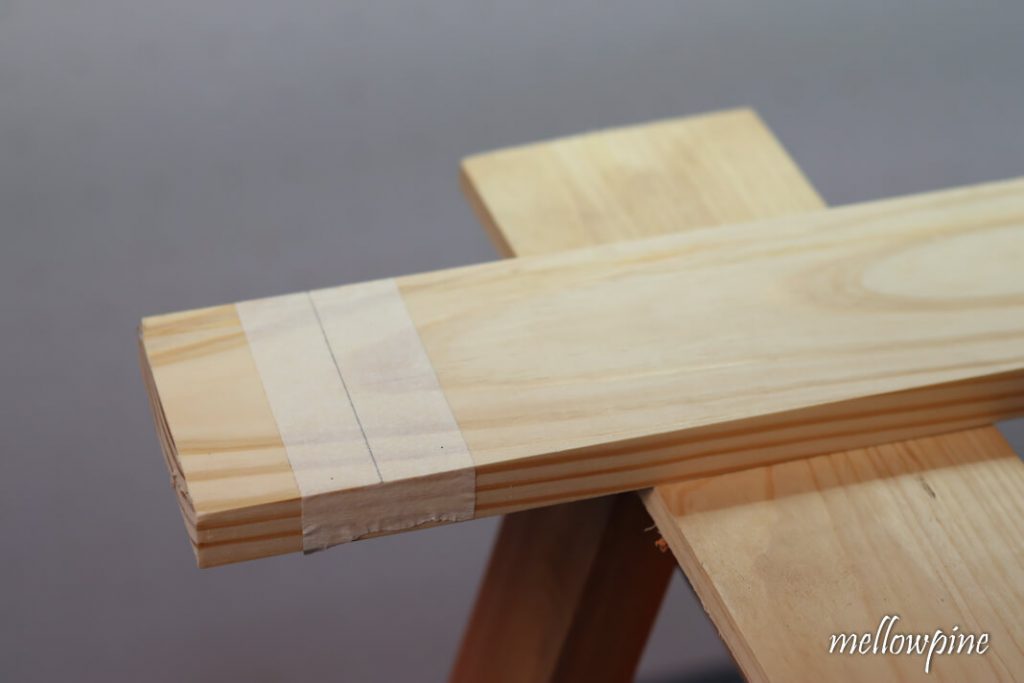
Fix some masking tape over the area where you are going to draw the line of cut.
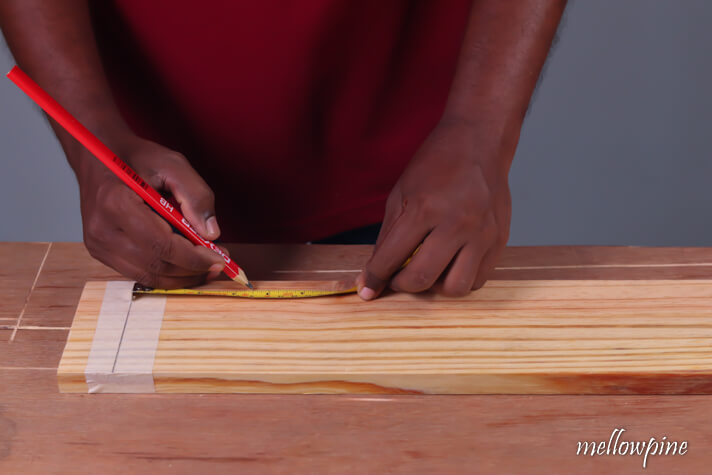
Using a carpenter’s pencil and speed square mark the line of cut.
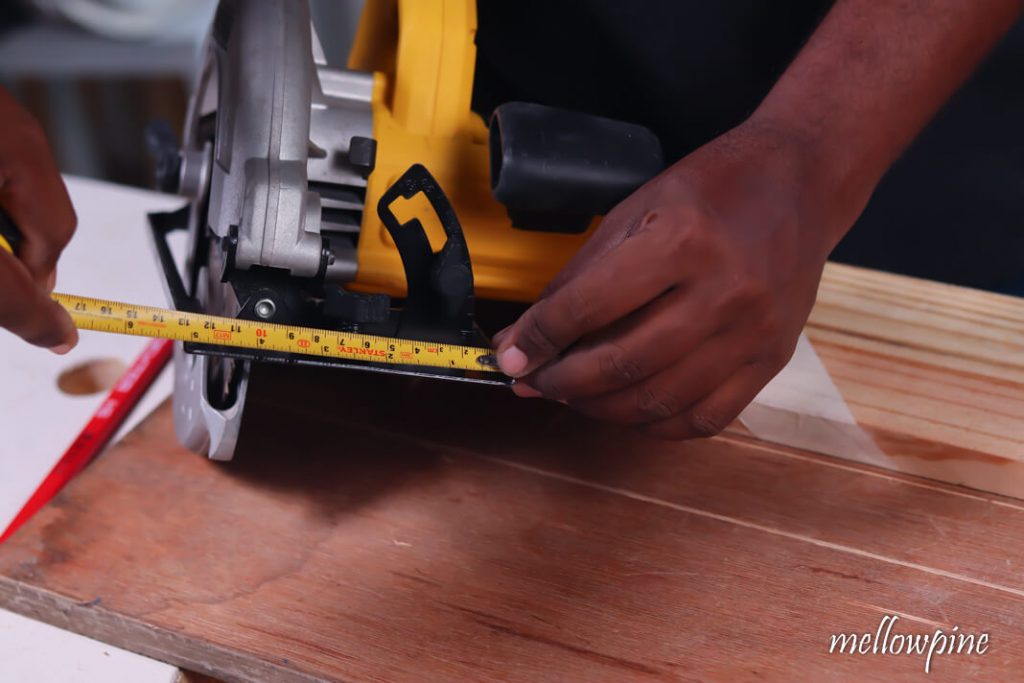
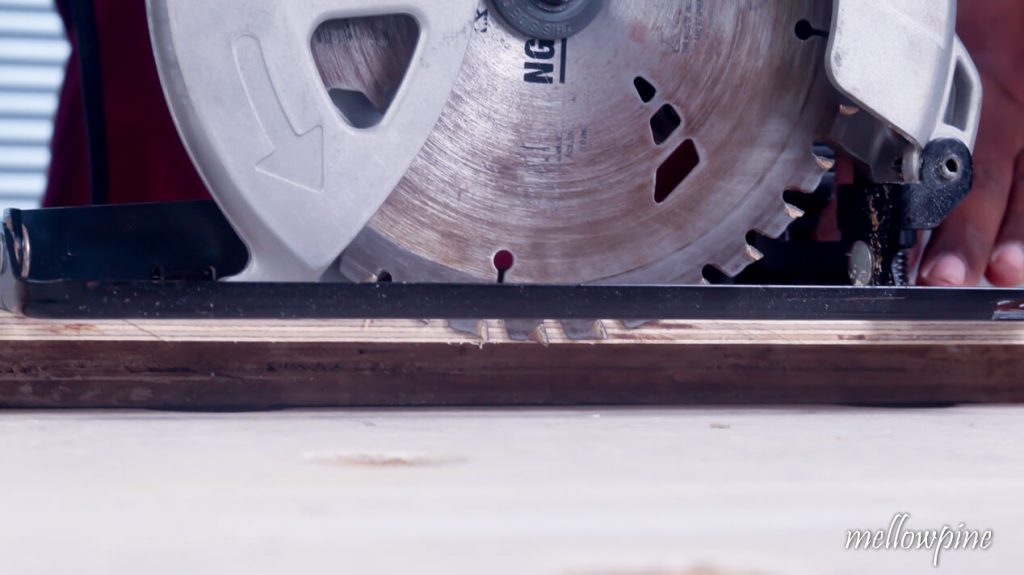
Set the depth at approximately 1/4th of an inch more than the thickness of the wood to be cut.
The blade should be deep enough to do a through-cut in the wood while grazing the sacrificial sheet.

Plug the saw into an outlet.
Retract the blade guard and align the saw blade with the mark.
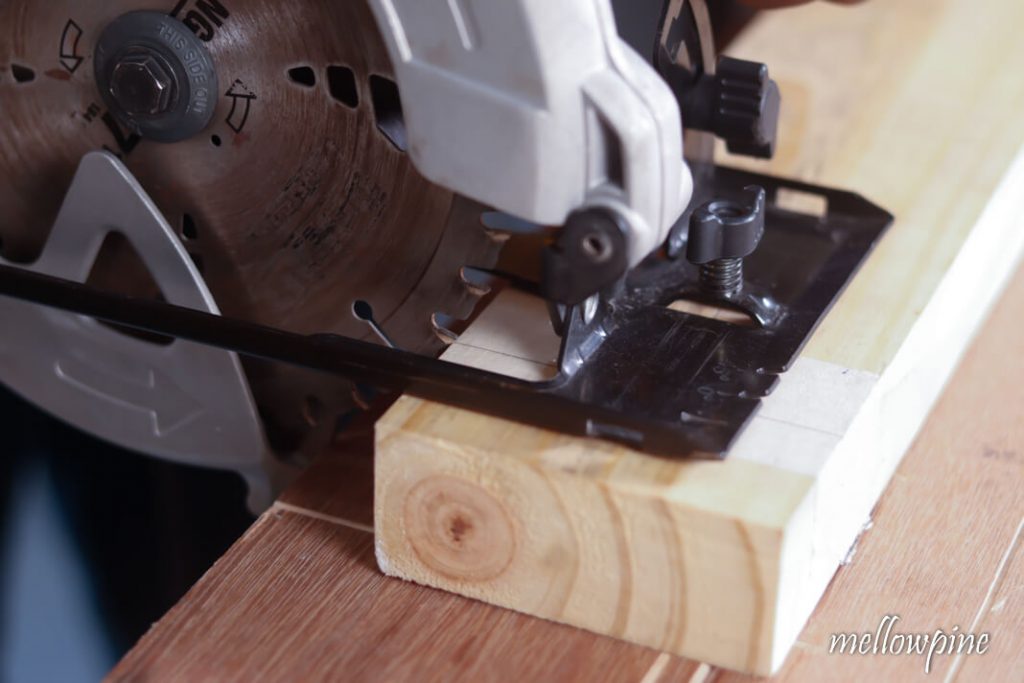
Turn the saw on and let it reach full speed.
Begin sawing along the scrap side of the line freely without exerting any excessive pressure on the saw.
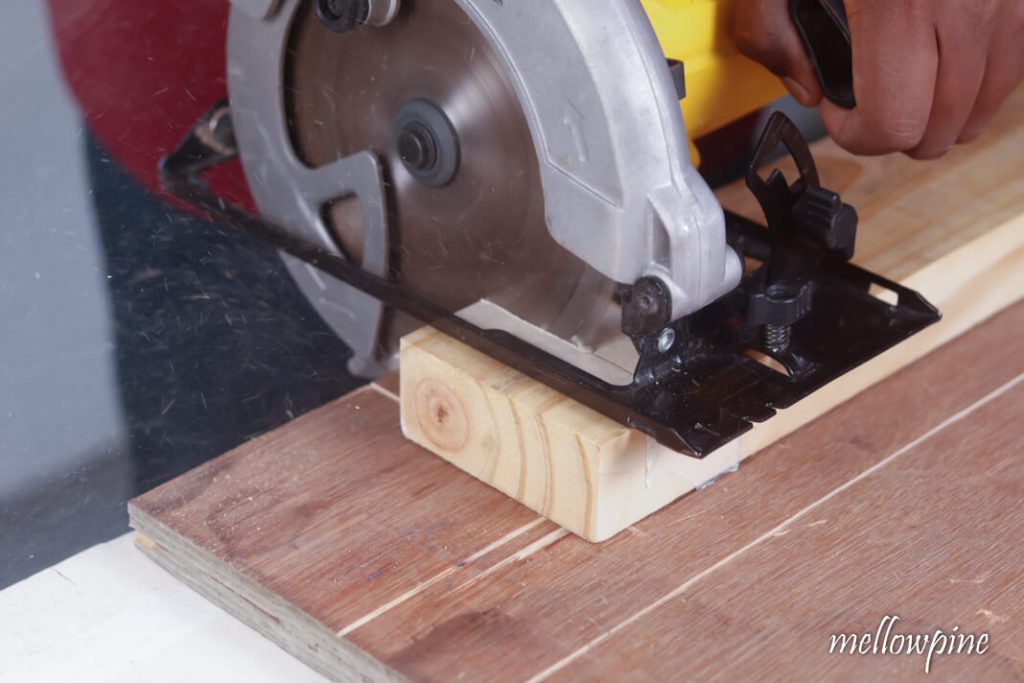
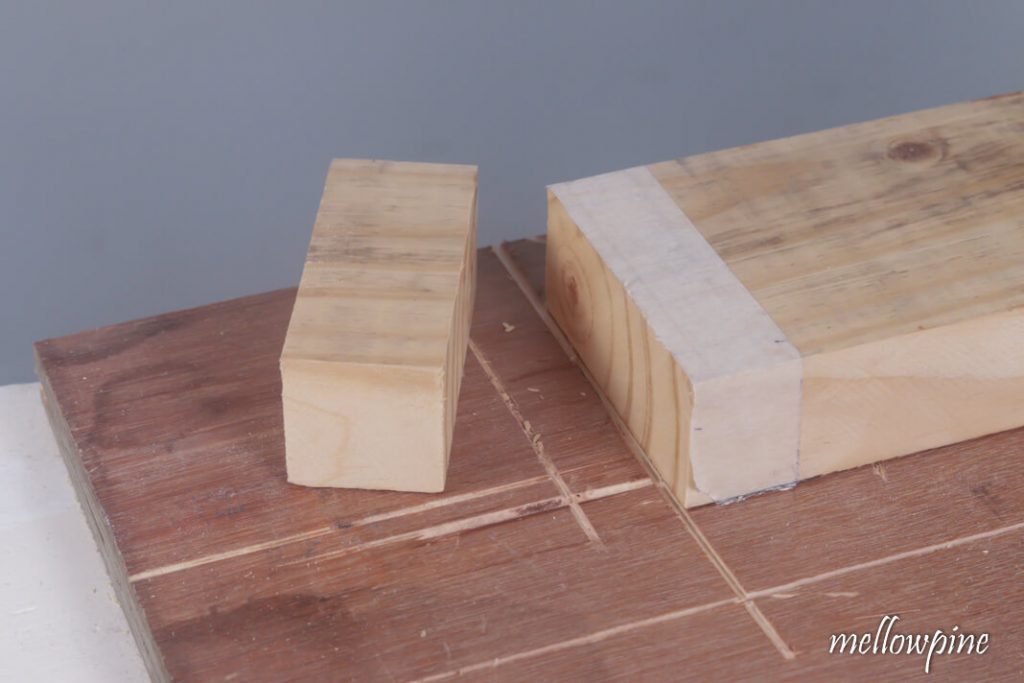
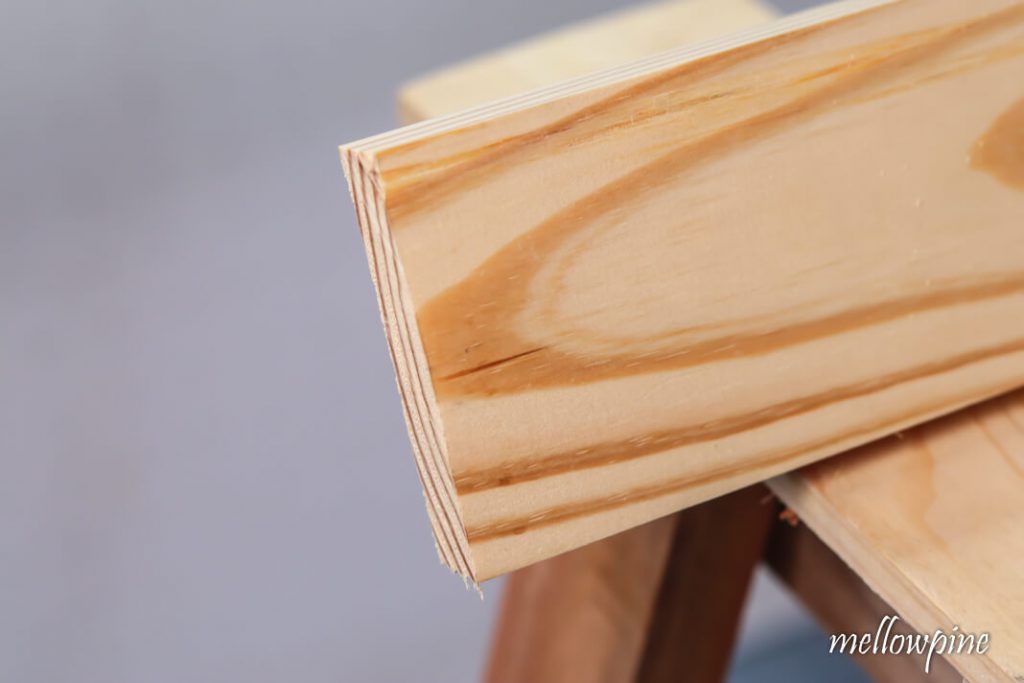
Once the cut is complete, release the trigger and turn off the power.
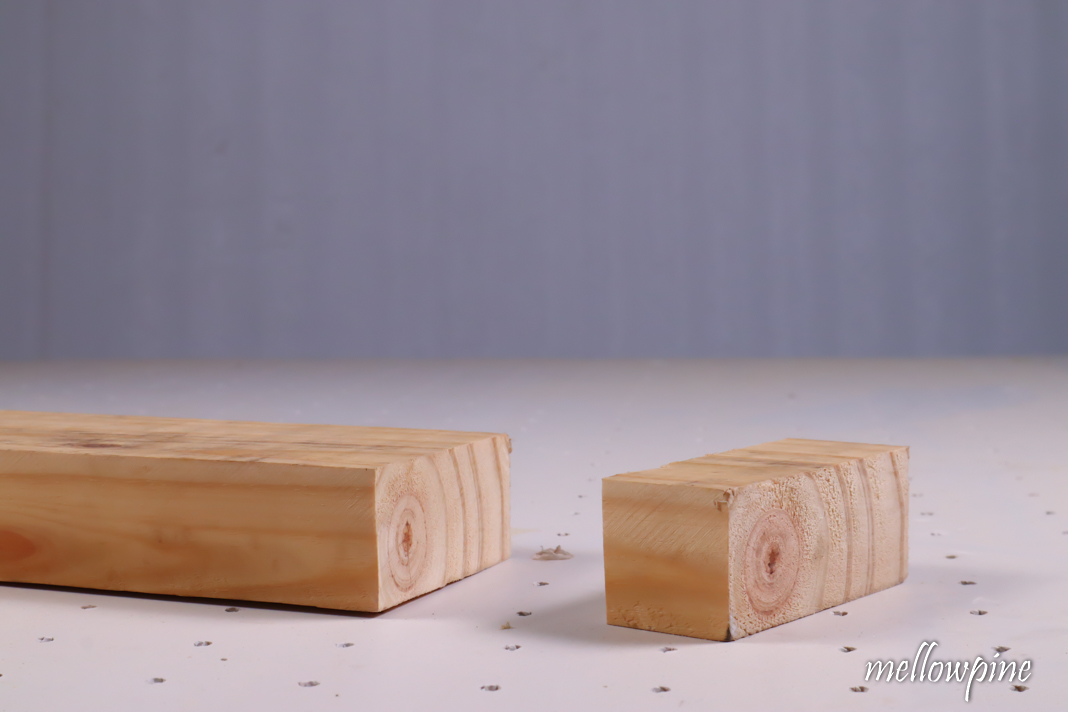
That completes the crosscut using a circular saw.
If you don’t have a work table you can look at methods for using a circular saw without a table.
2) Rip-cut with a Circular Saw
A rip cut is a cut parallel to the grain of the wood.
Typically you use a circular saw or table saw or bandsaw for rip cutting.
There are three main methods to rip cutting with a circular saw.
All three are discussed below.
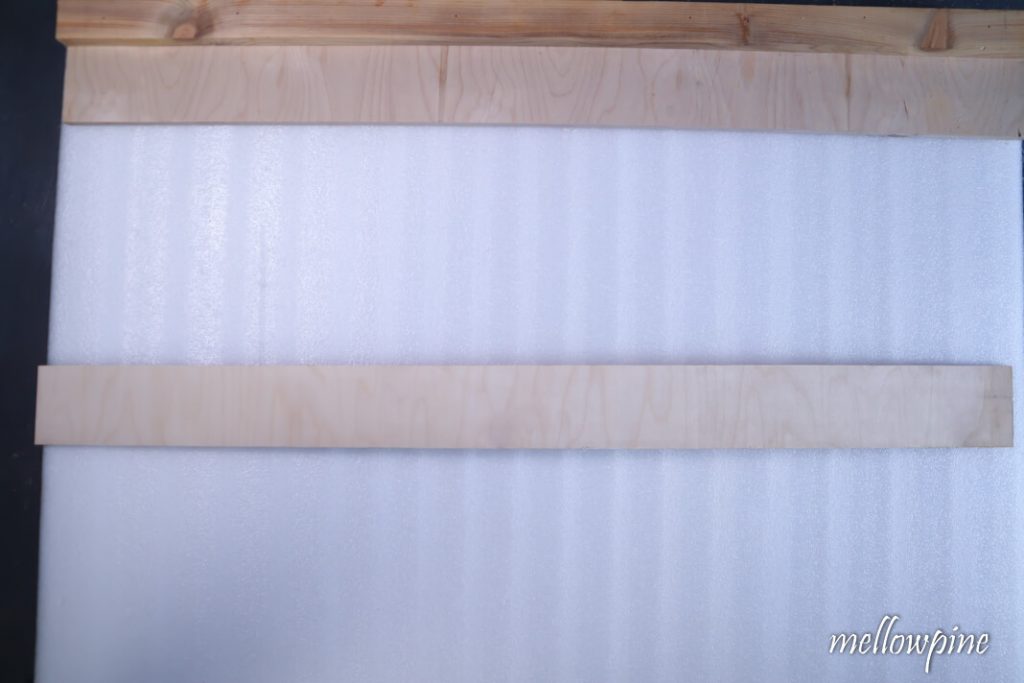
Method 1: Straight Edge
The cheapest method is to use a straight edge.
The straight edge can be made in your shop using cheap materials.
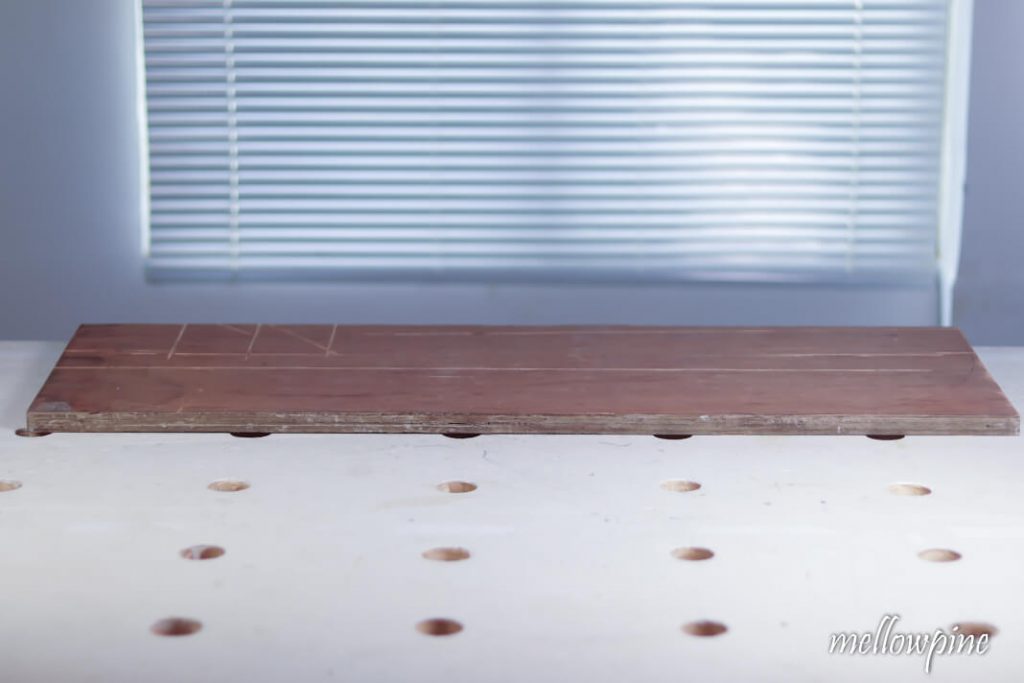
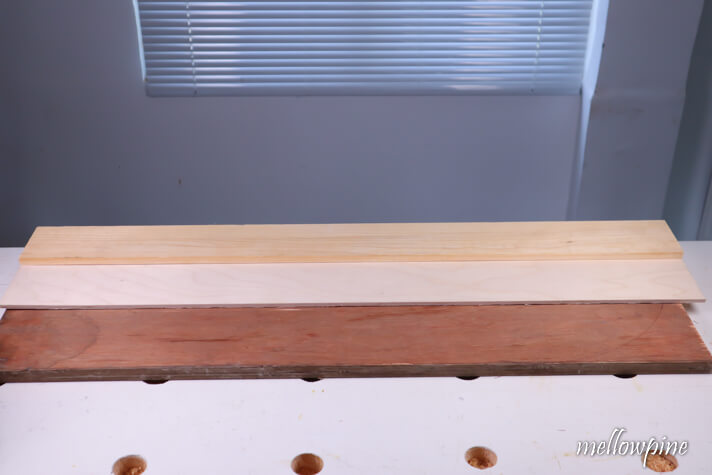
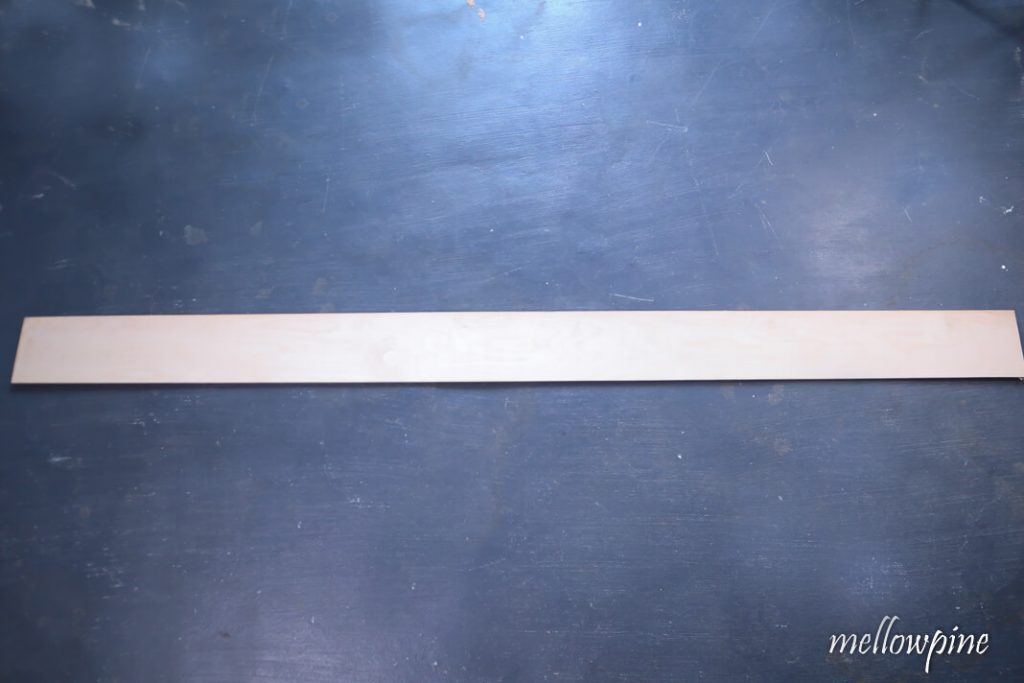
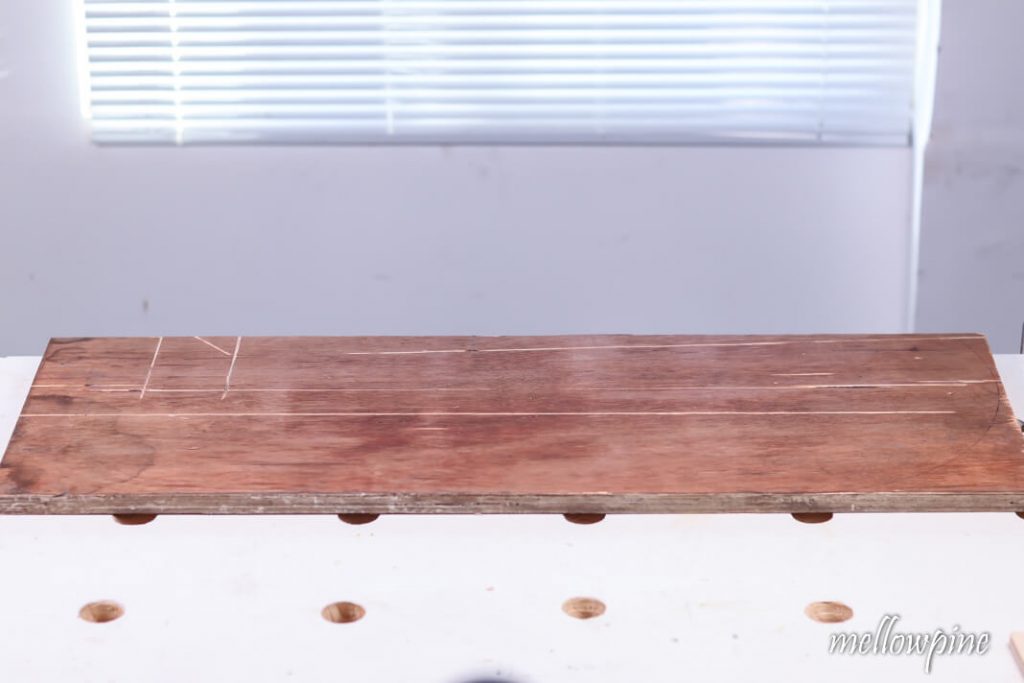
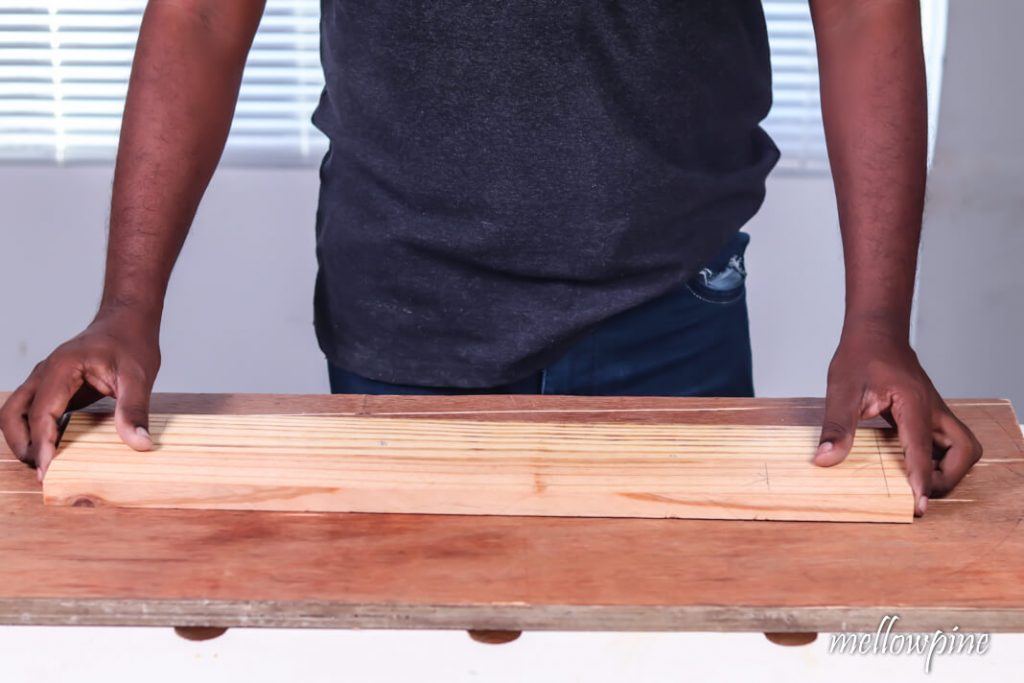
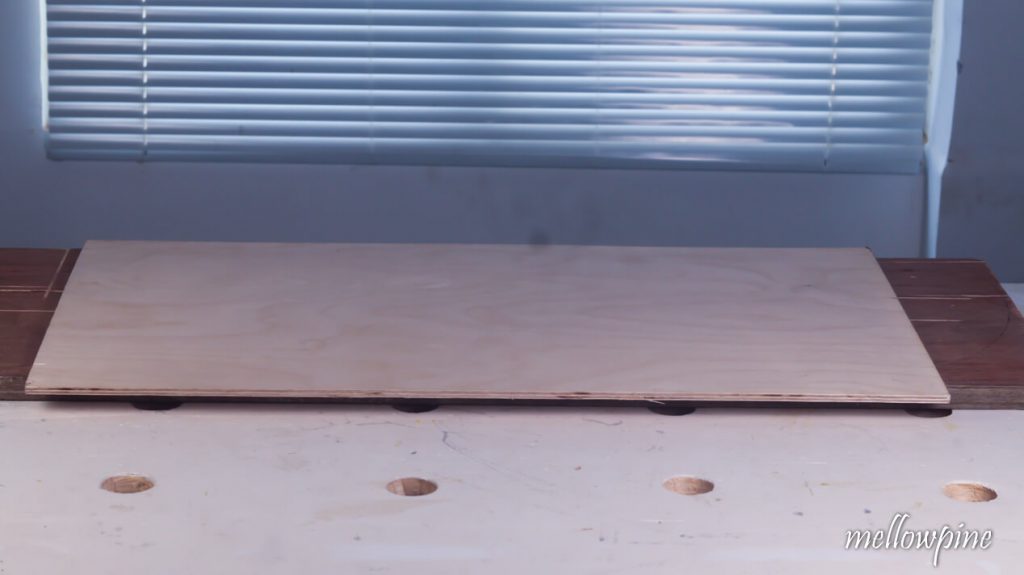
In order to make a straight edge take a sheet of plywood and a plank.
Remember, rip cuts are long and hence the length of the cuts depends directly on the length of the straight edge used.
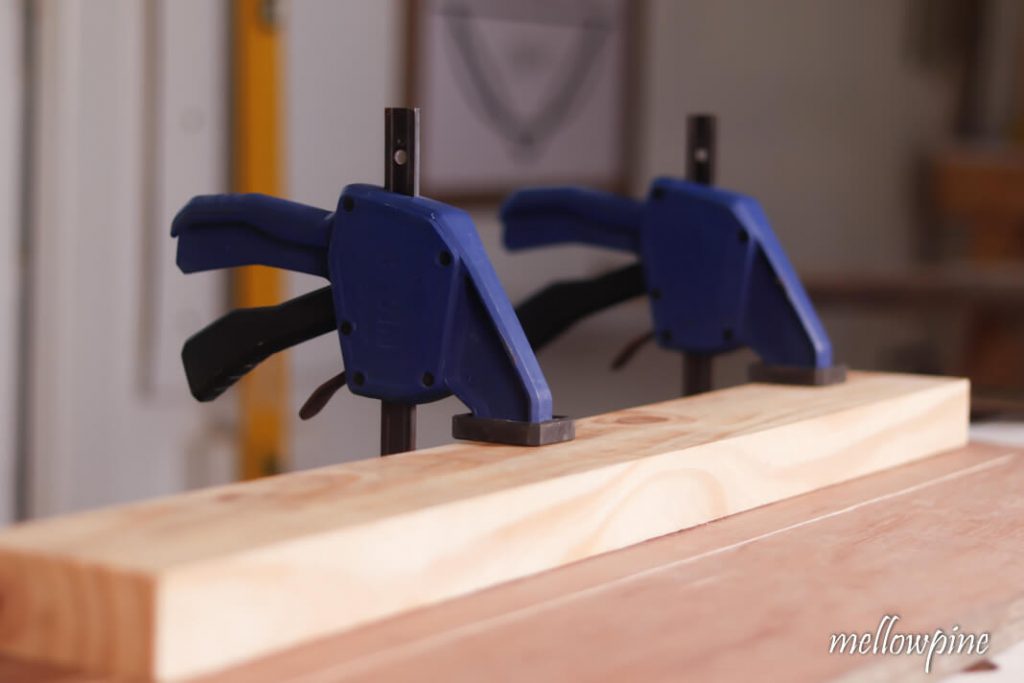
Glue a wooden plank on top of the plywood while making sure the factory edges of both are aligned with each other.
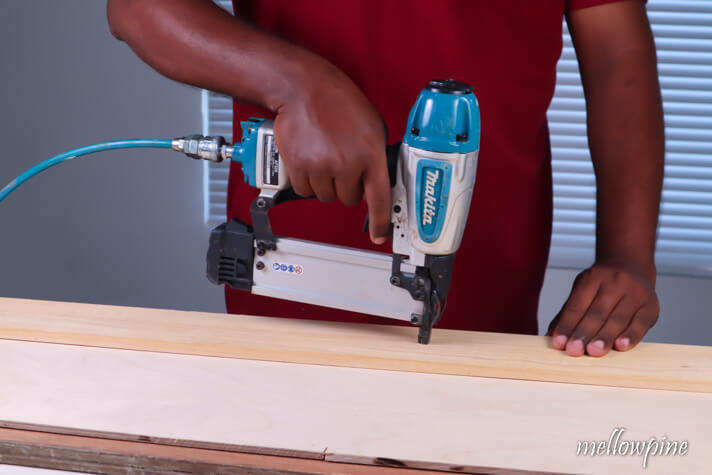
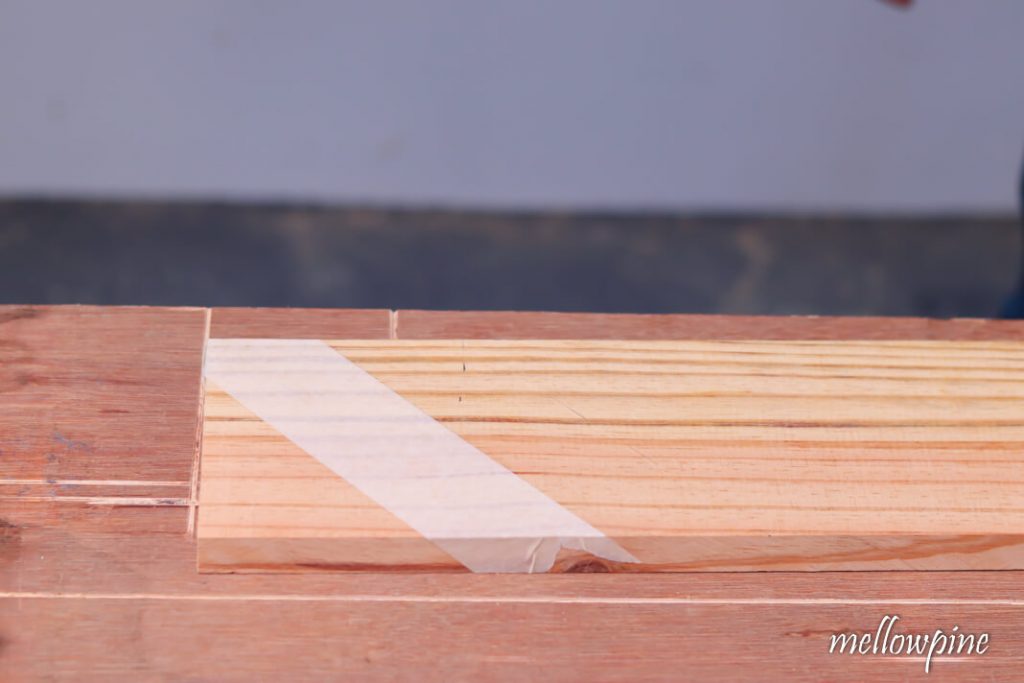
Now cut off the excess plywood that projects more than the blade of the circular saw.
With this, your straight edge is made and. Use this to make a straight cut along
with any wood of varying edges.
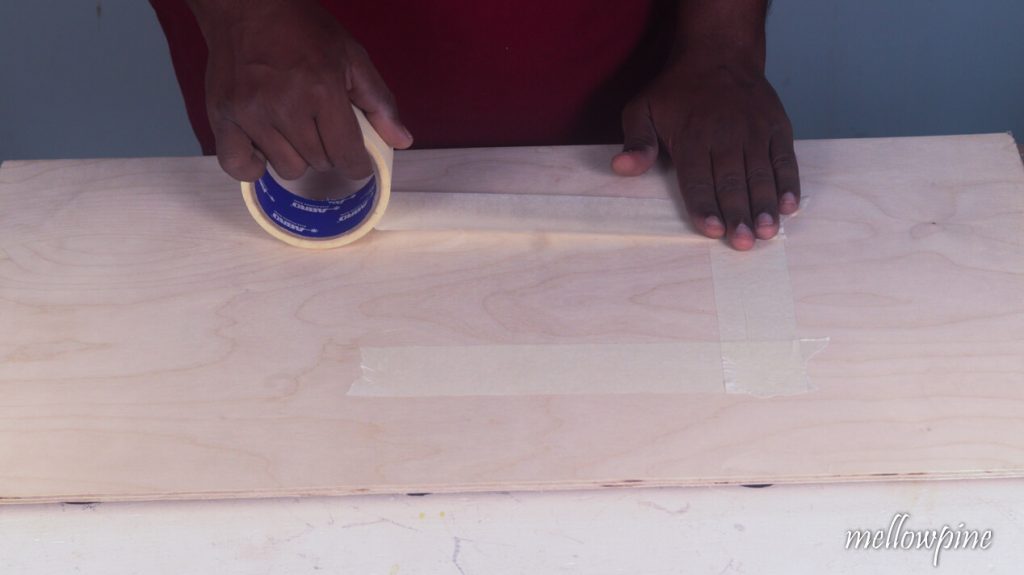
For cutting using the straight edge, place the wood on the work surface and mark it for cutting.
Now place the straight edge and make sure its aligned with the mark made on the wood, and clamp it down.
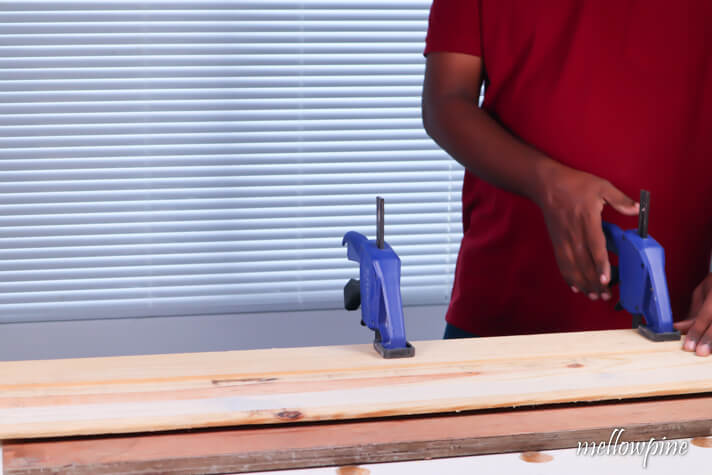
Fix the straight edge with two quick grips and saw along the mark.
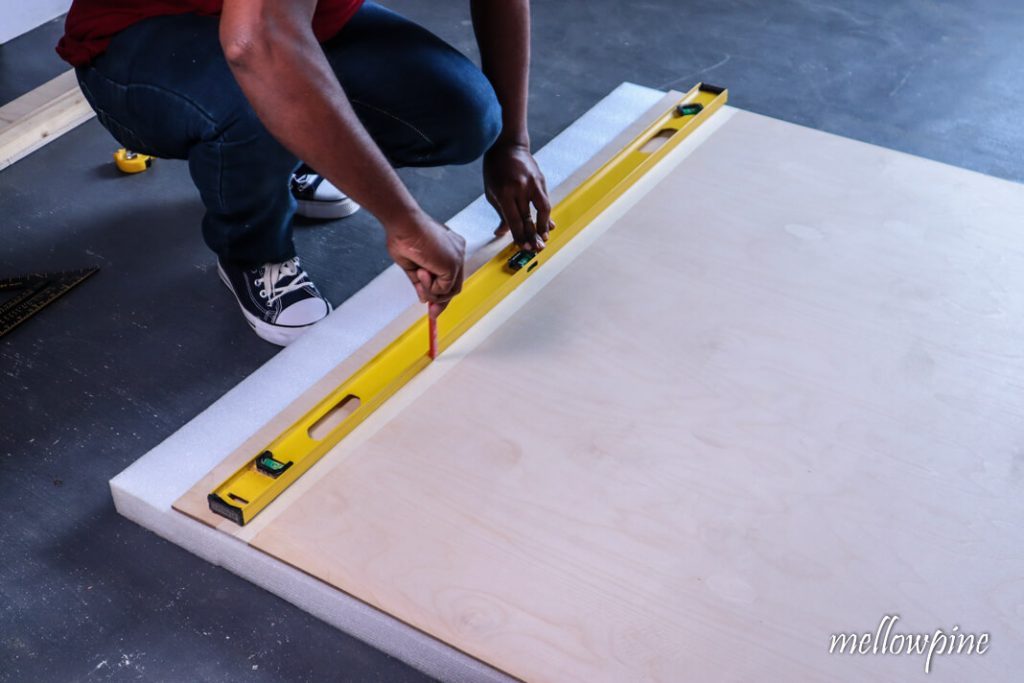
Method 2: Using a level as straight edge
This method involves two clamps and a level.
All the steps are similar to method 1, except that you use a level instead of a straight edge.
In this method, you are limited by the length of the level but it’s an easy way to cut straight with a circular saw.
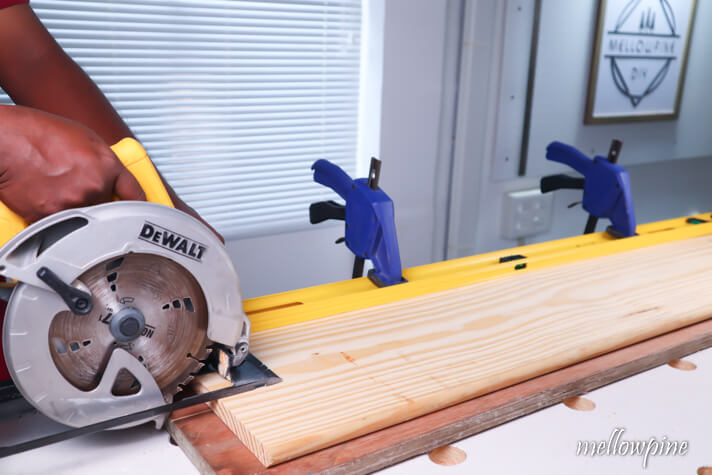
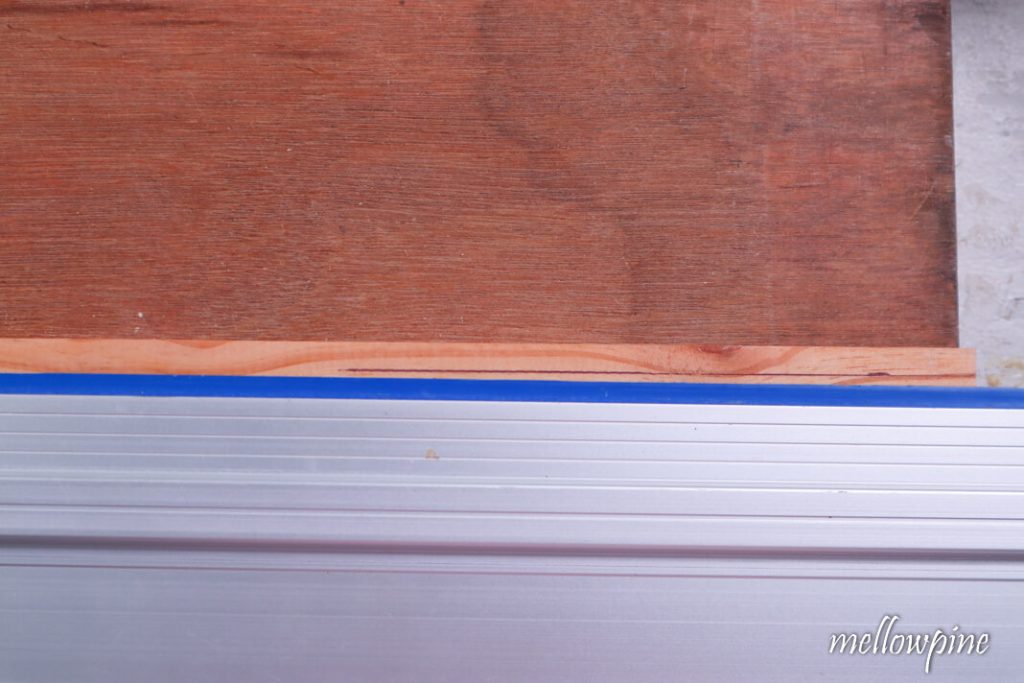
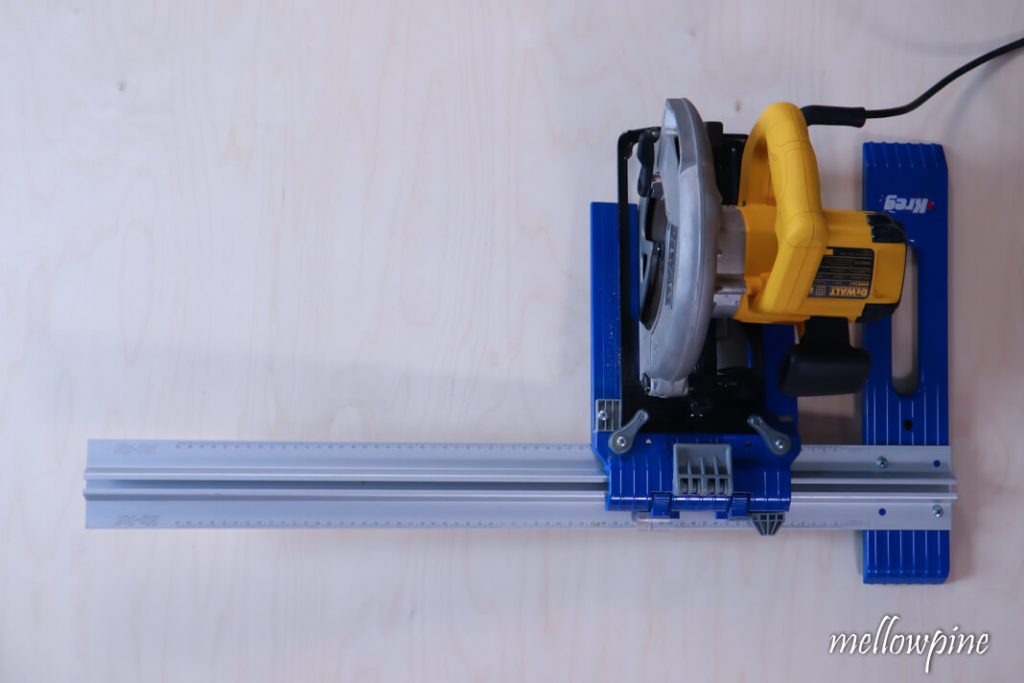
Method 3: Using a Circular Saw Track/Guide
In this third method, I use a circular saw track/guide to make the rip cut.
There are two types of tracks available, the Kreg Accu-cut track and Kreg rip cut guide.
I’ll show you how to rip cut using both.
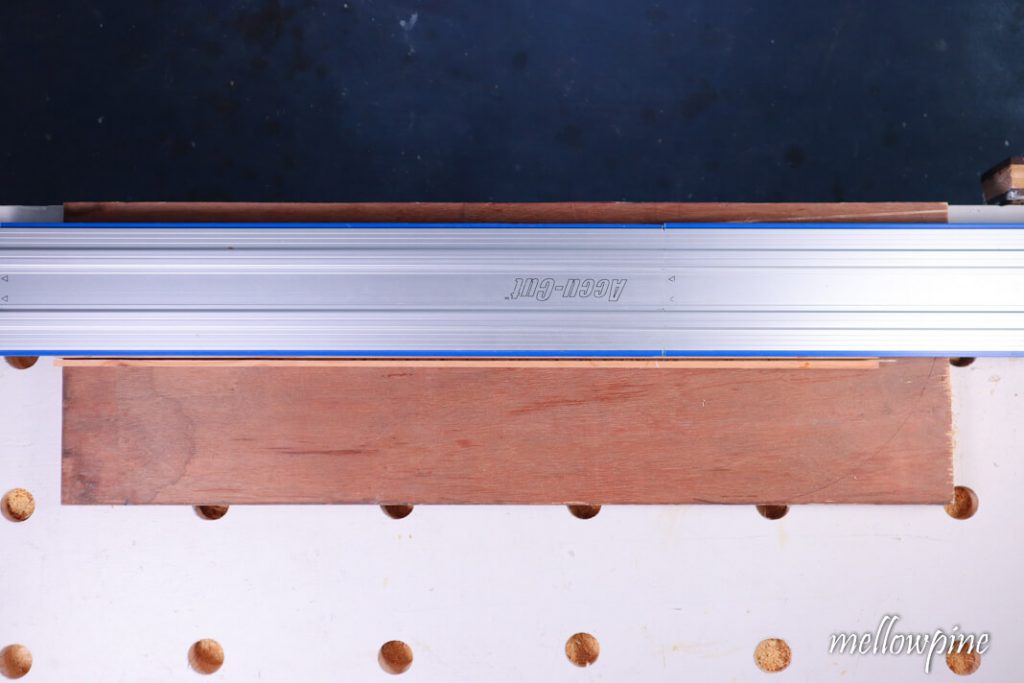
Using Kreg Accu-cut Track
Begin by measuring and marking the line of cut along the length of the wood to be ripped.
For this, you can use the speed square or the track of the Accu-cut, along with a carpenter’s pencil.
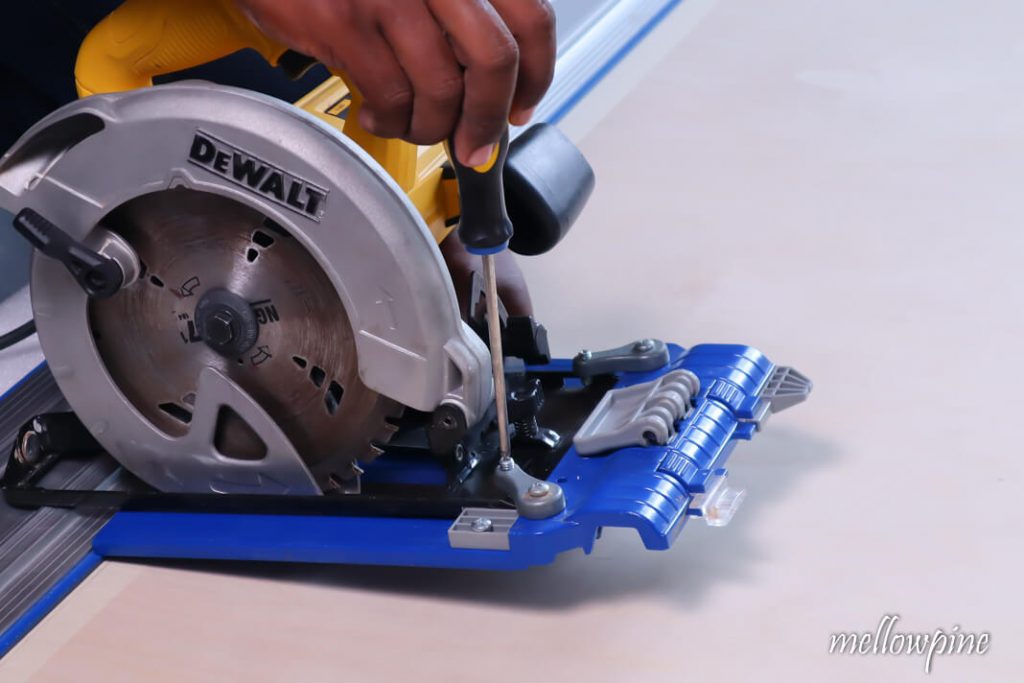
Attach the sled of the accu-cut onto the circular saw.
Align the track to the cut line.
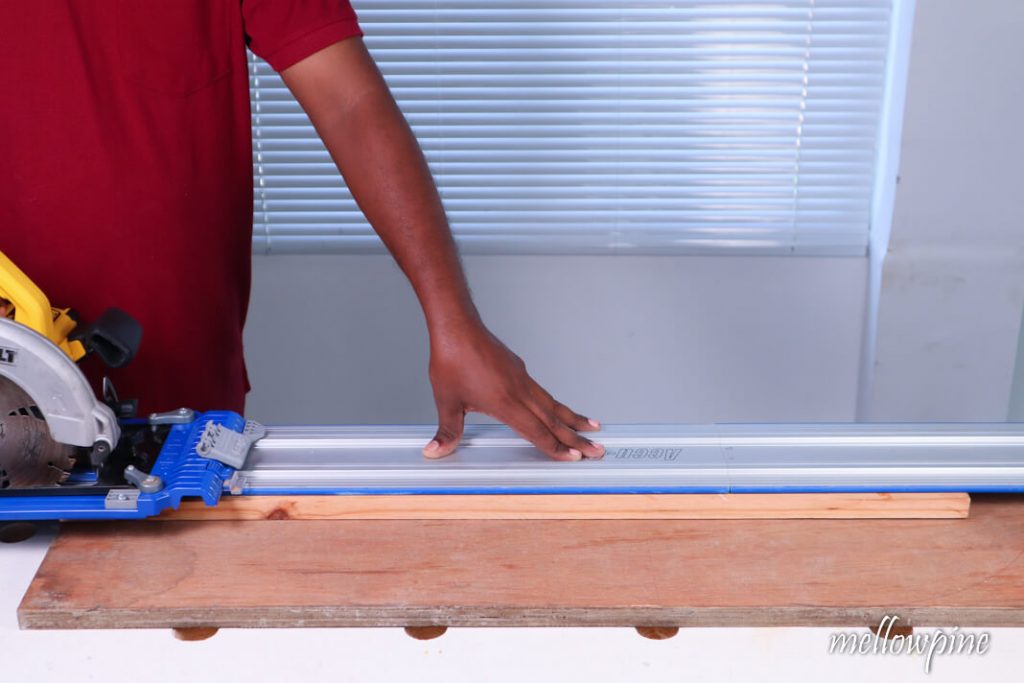
There is no need to clamp the accu-cut as it comes with anti-slip pads underneath the track.
Attach the sled onto the track of the accu-cut and begin cutting along the line.
Using Kreg Rip-Cut Tool
With this tool, it is easy to rip large sheets like 4×8 plywood sheets using a circular saw.
Begin by attaching the sled to the track.
Using the edge of the plywood as a reference, press the rip guide flush against the factory edge of the plywood.
Mark the needed width and lock down the sled to the track.
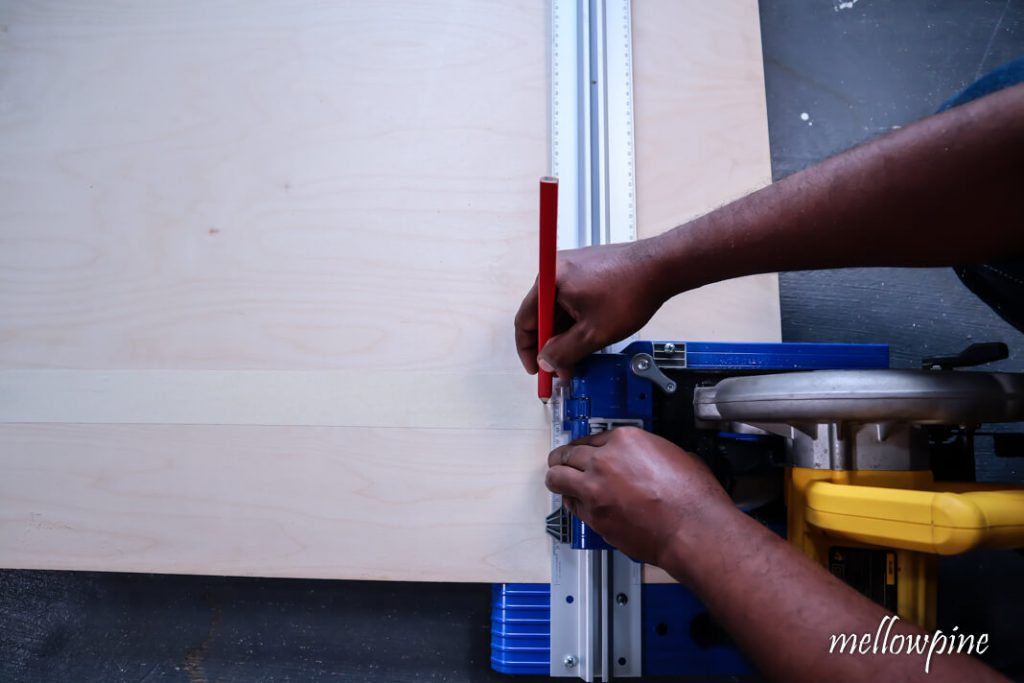
Make sure the blade is just outside the line of cut.
Begin cutting through the plywood.
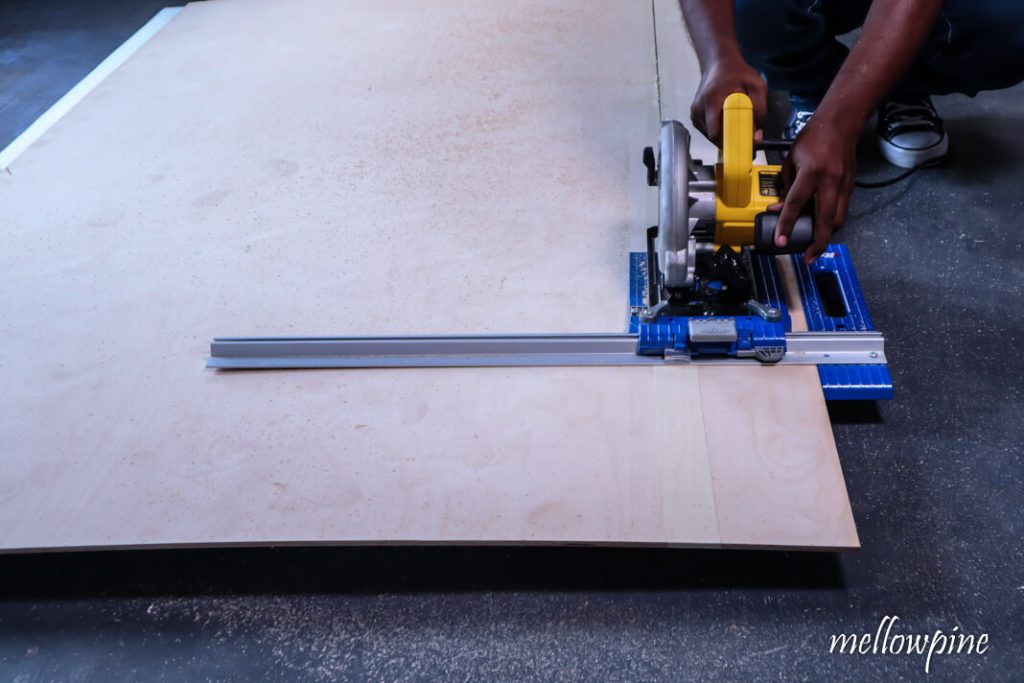
Cuts of up to 24 inches wide can be made with the Rip-cut guide.
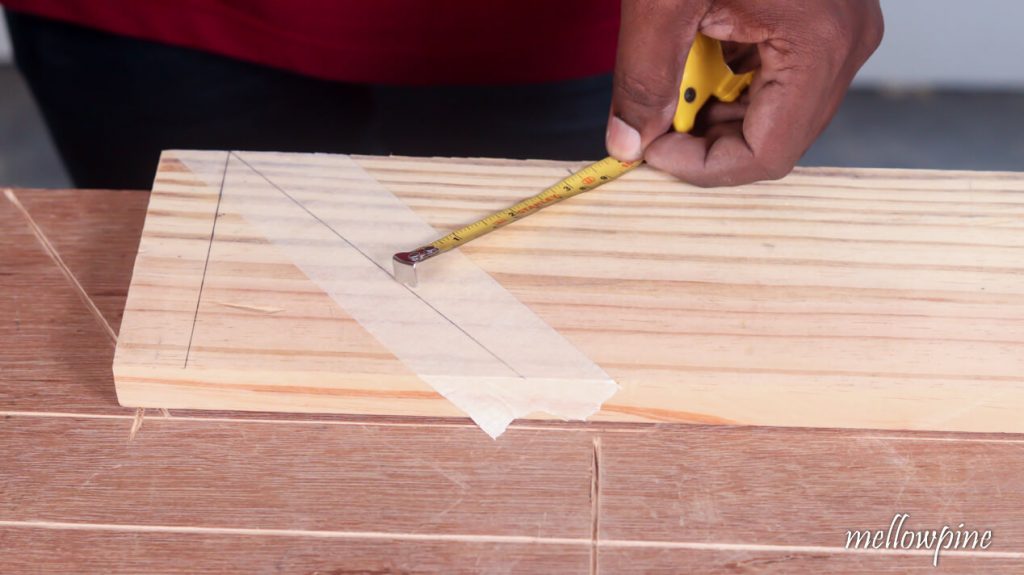
3) Miter Cut with a Circular Saw
A miter cut is a crosscut that’s at an angle (other than 90°) to the wood piece.
The most common tools for a miter cut are the circular saw and the miter saw.
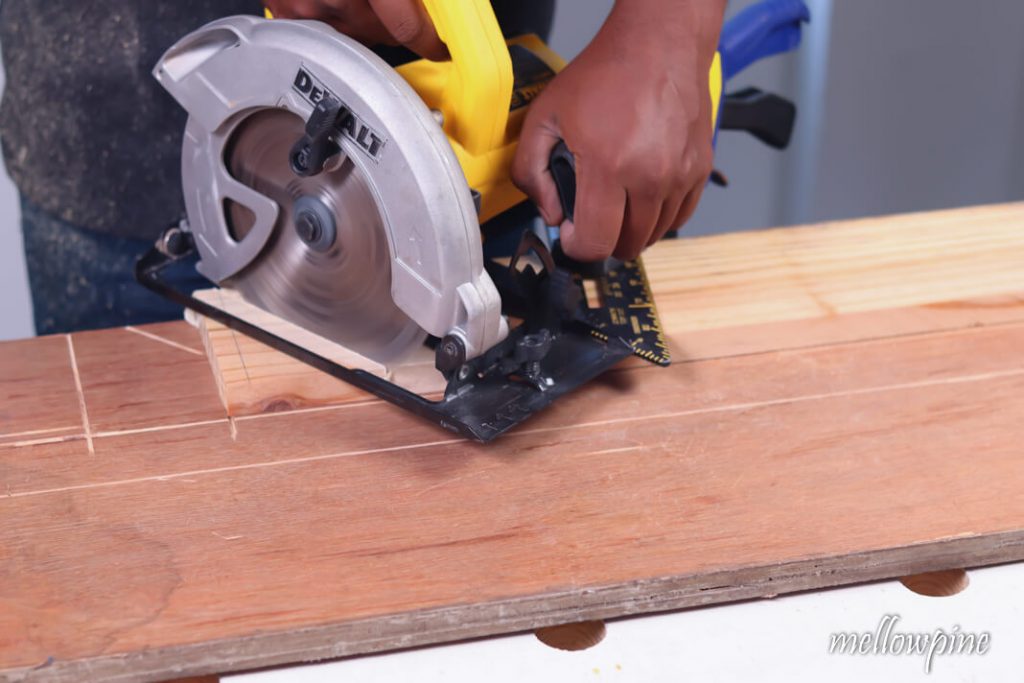
To do a miter cut with a circular saw, place the sacrificial sheet onto the work surface.
Now place the wood on top of the sacrificial sheet.
Once the wood is firmly placed, stick some masking tape over the area where you will likely draw the mark.
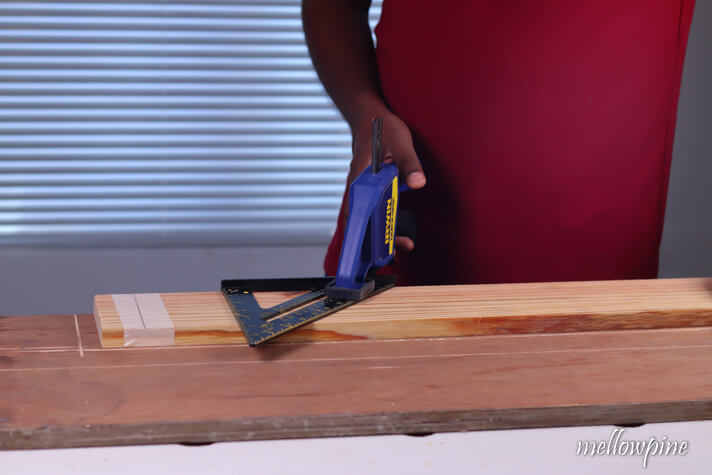
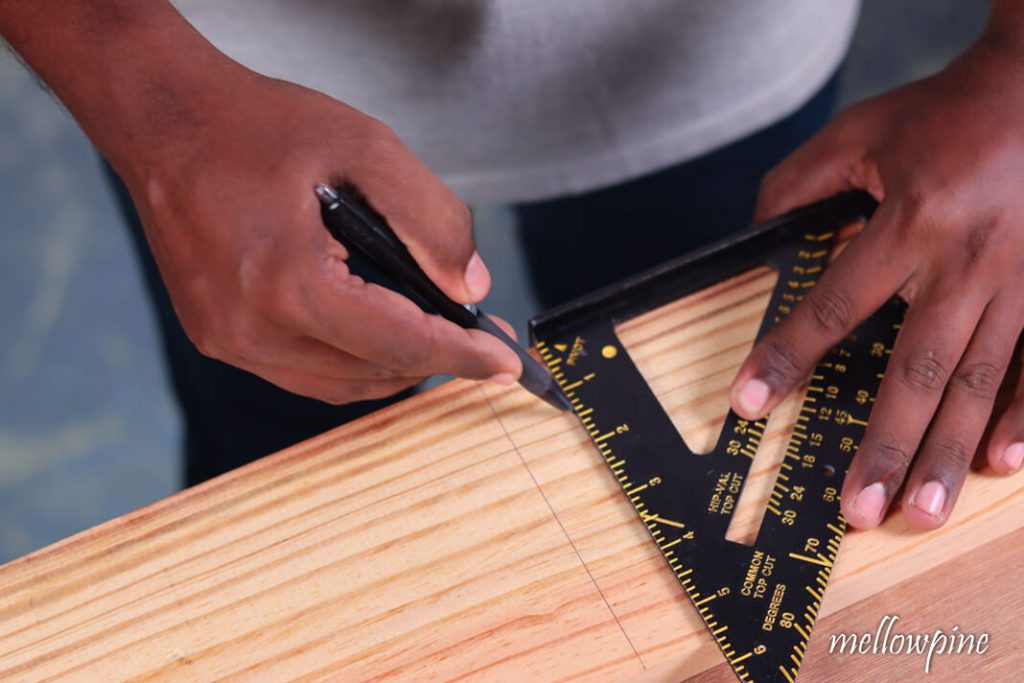
After applying the tape, using a speed square and a carpenter’s pencil, draw the line at 90 degrees to the bottom edge of the wood.
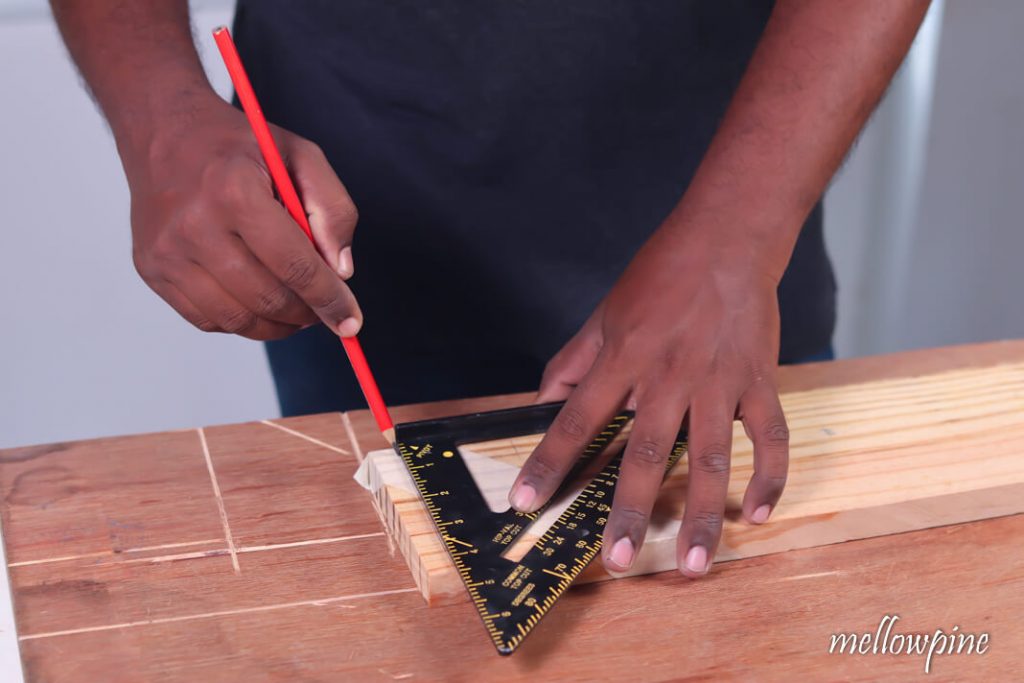
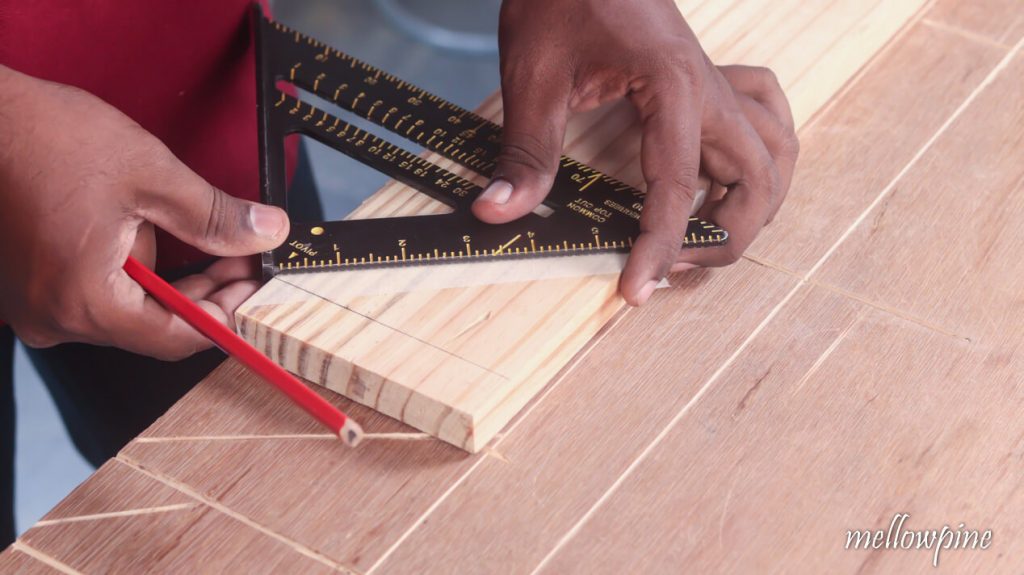
Using the pivot point of the speed square and the carpenter’s pencil, align the speed square with the perpendicular line drawn on the wood.
Keeping the pivot point constant, begin rotating the speed square in either the clockwise or anticlockwise direction for an angle with the previously drawn perpendicular line.
To know the angle formed while rotating the speed square, look at the slanted edge of the speed square to see the graduations marked on the speed square.
This denotes the angles formed.
When the desired angle is made with the wood’s edge, draw a line along the edge of the speed square with the pivot point as the base.
The angle formed by this line and the previously drawn perpendicular line is the same angle shown in the gauge of the speed square.
Remove the speed square to reveal the angle made.
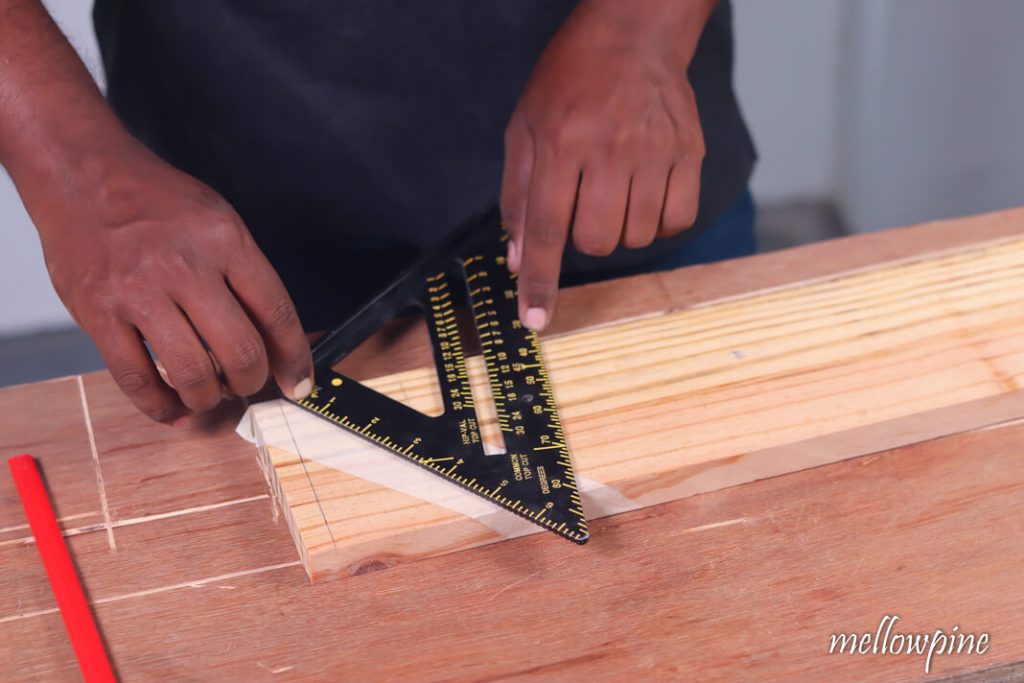
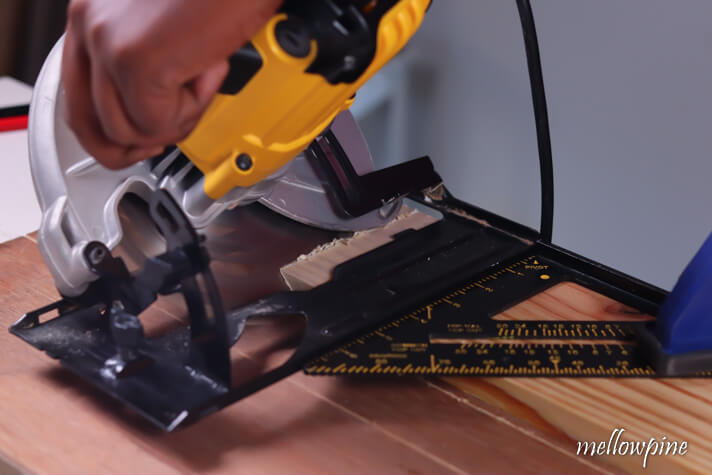
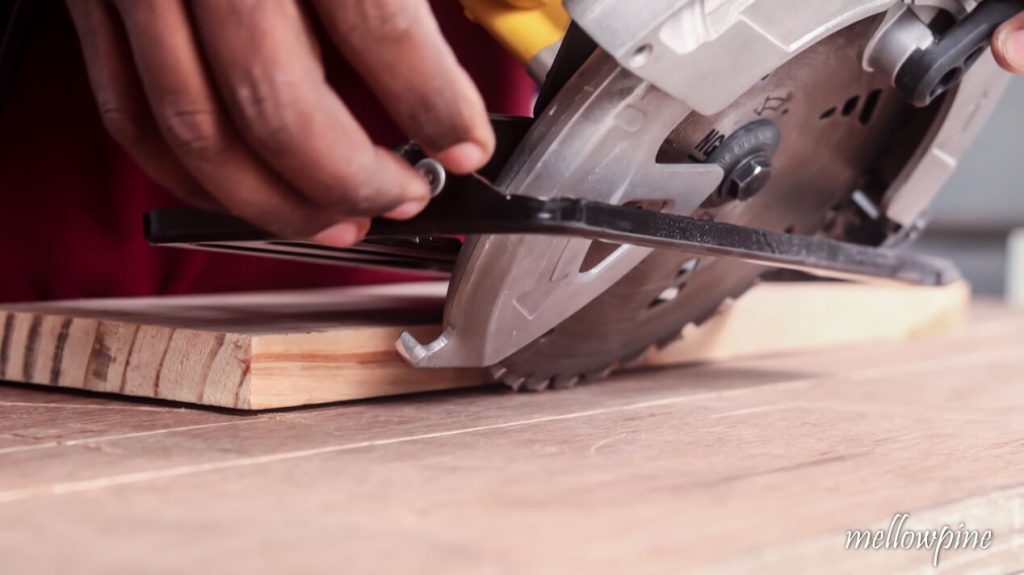
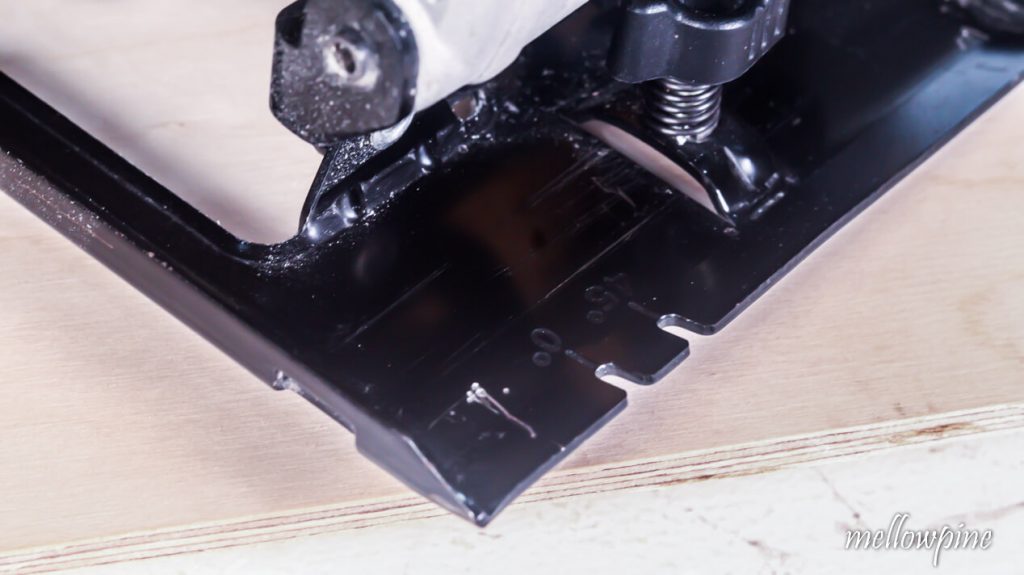
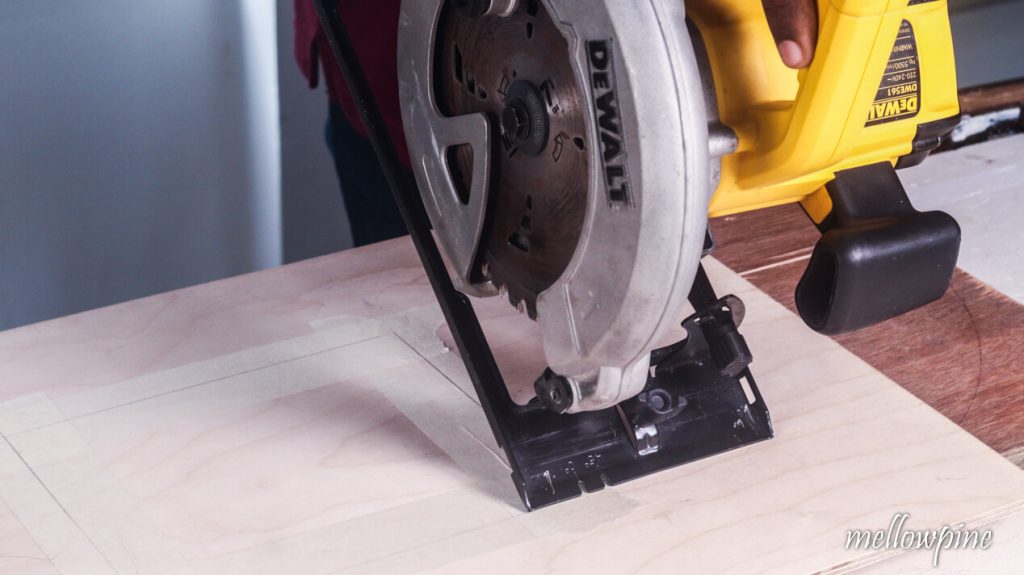
To cut the miter cut, begin by adjusting the depth of the blade to match the depth of the wood you wish to cut.
Measure the offset distance from the blade to the edge of the shoe.
Transfer this distance onto the wood and align the speed square with that line.
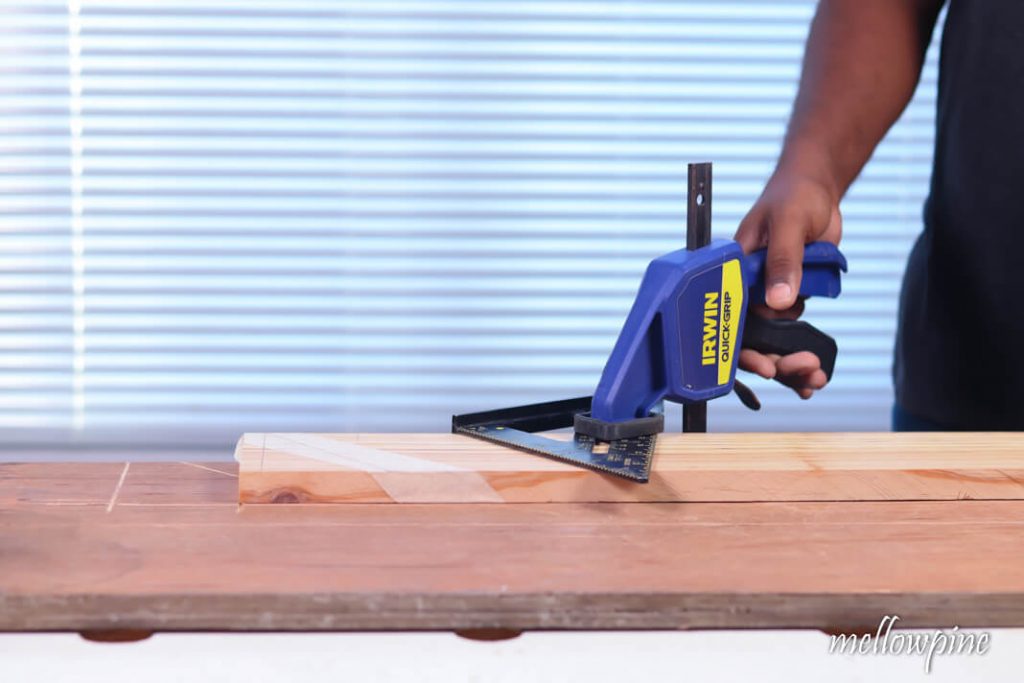
Make use of quick grip clamps to clamp down the speed square along with the wood onto the work surface.
Now when you place the circular saw against the speed square, the blade of the saw and the mark to be cut will coincide.
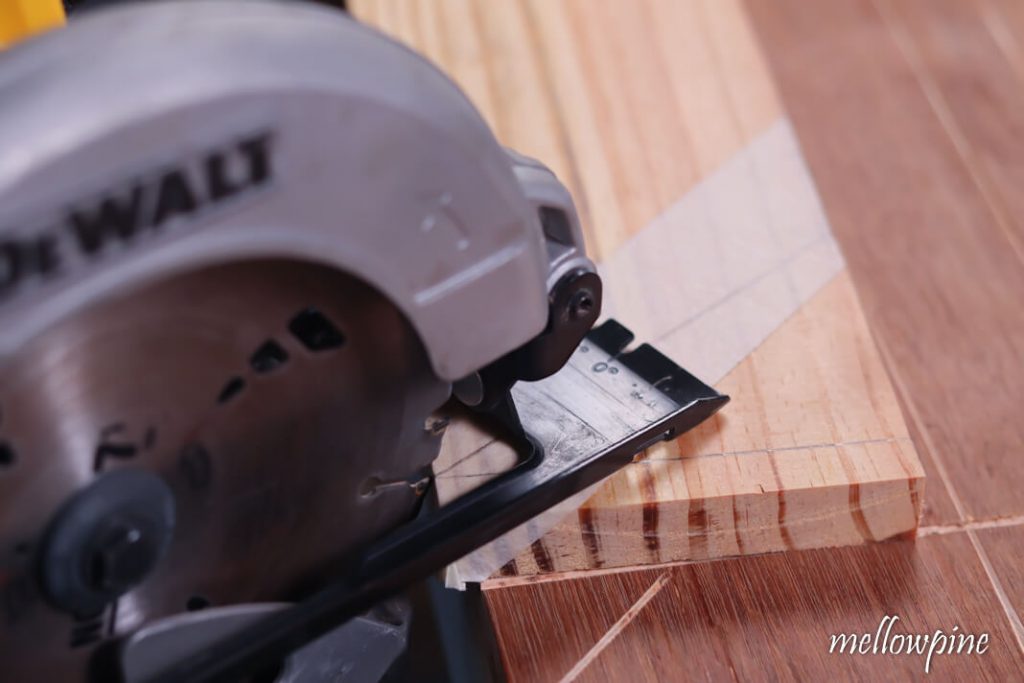
Using the speed square as the guide, start cutting along the slanted line (miter line).
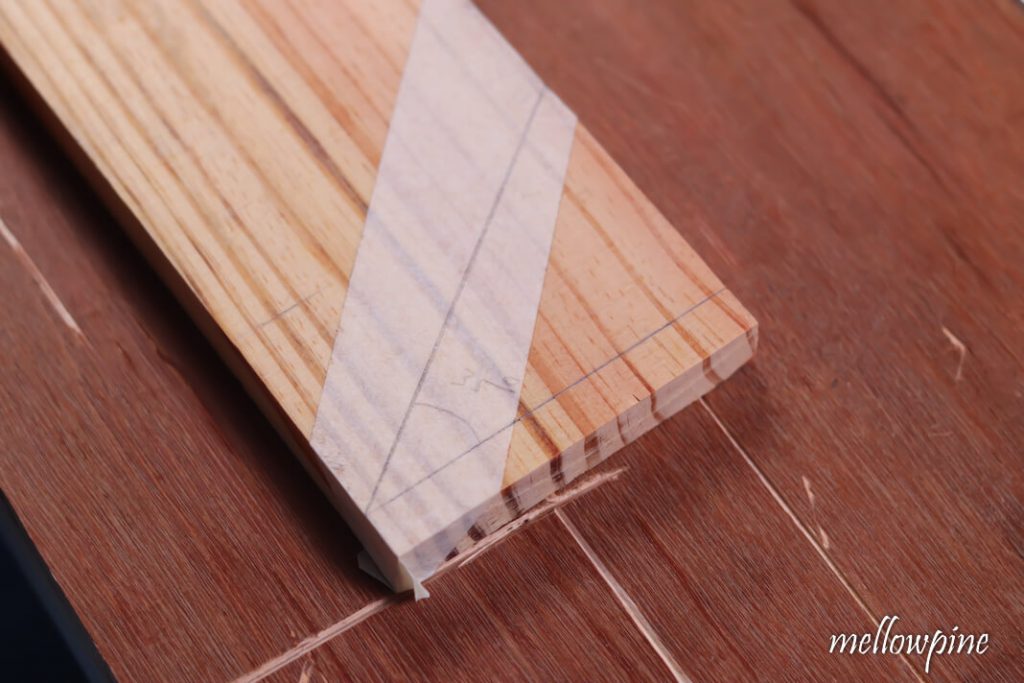
Finish the cut and remove the masking tape.
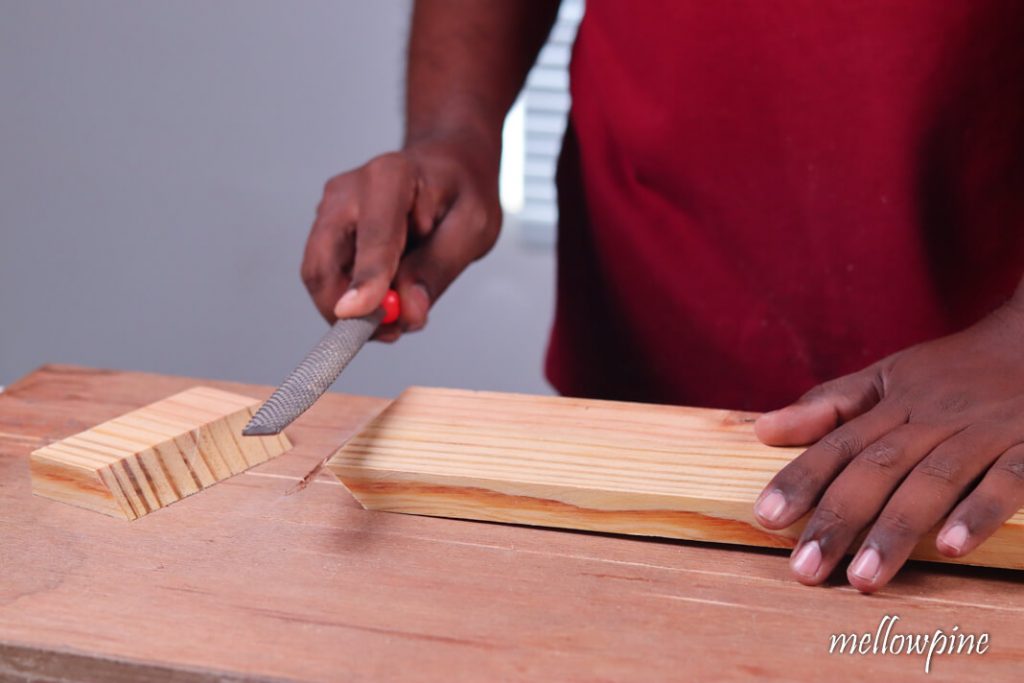
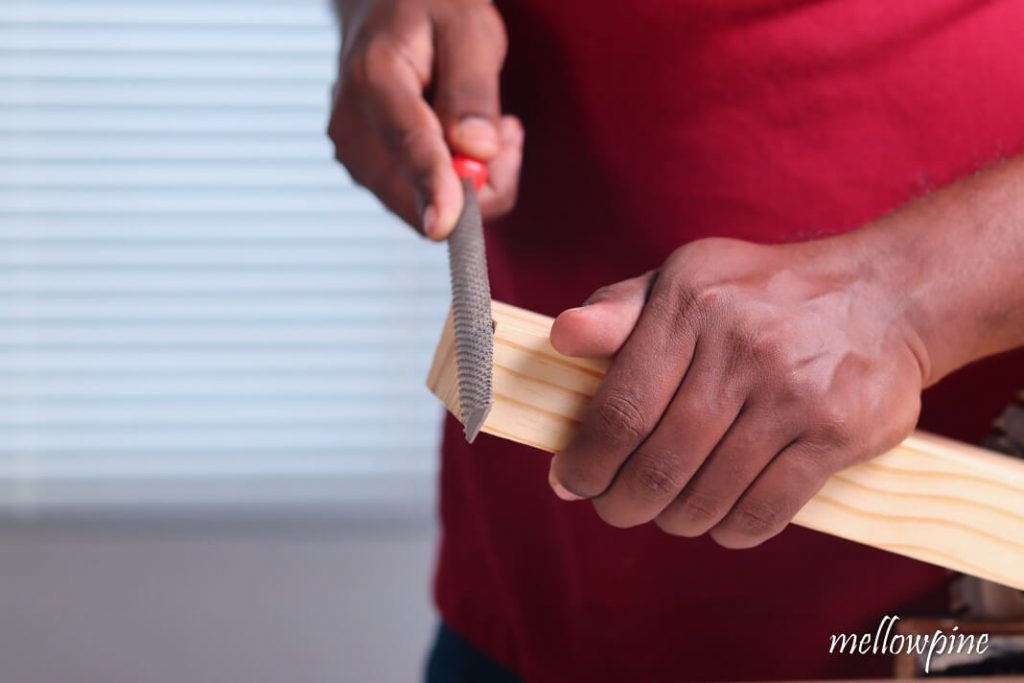
Smoothen the edges with a rasp or sandpaper if needed.
With this step, you’ve completed a miter cut with a circular saw.
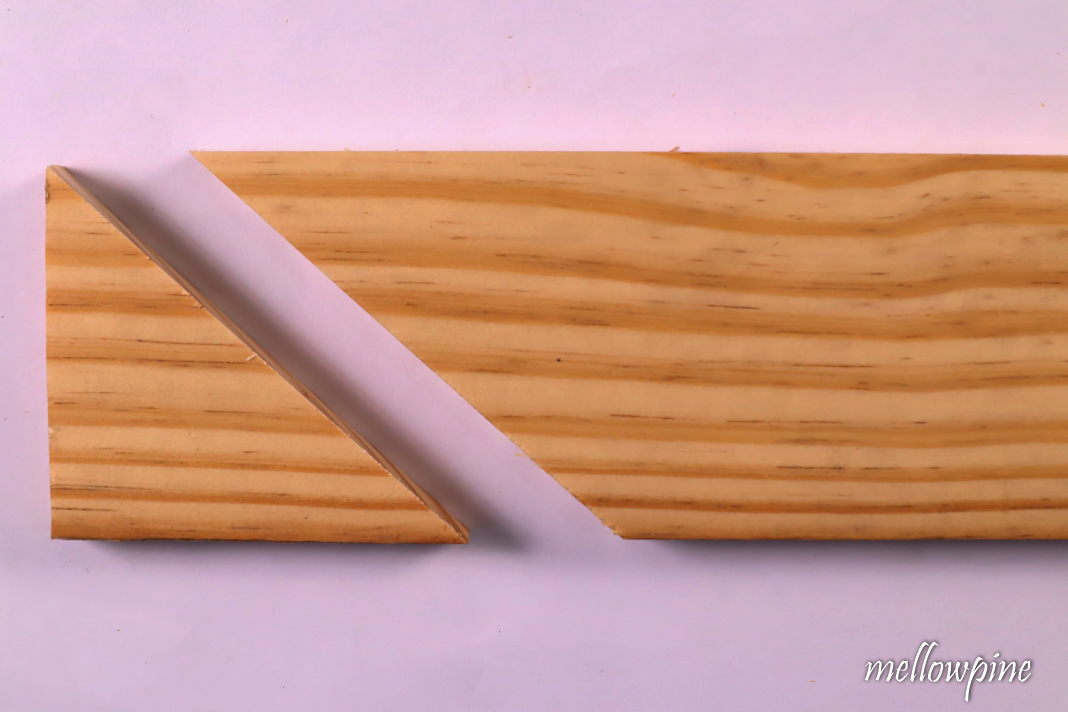
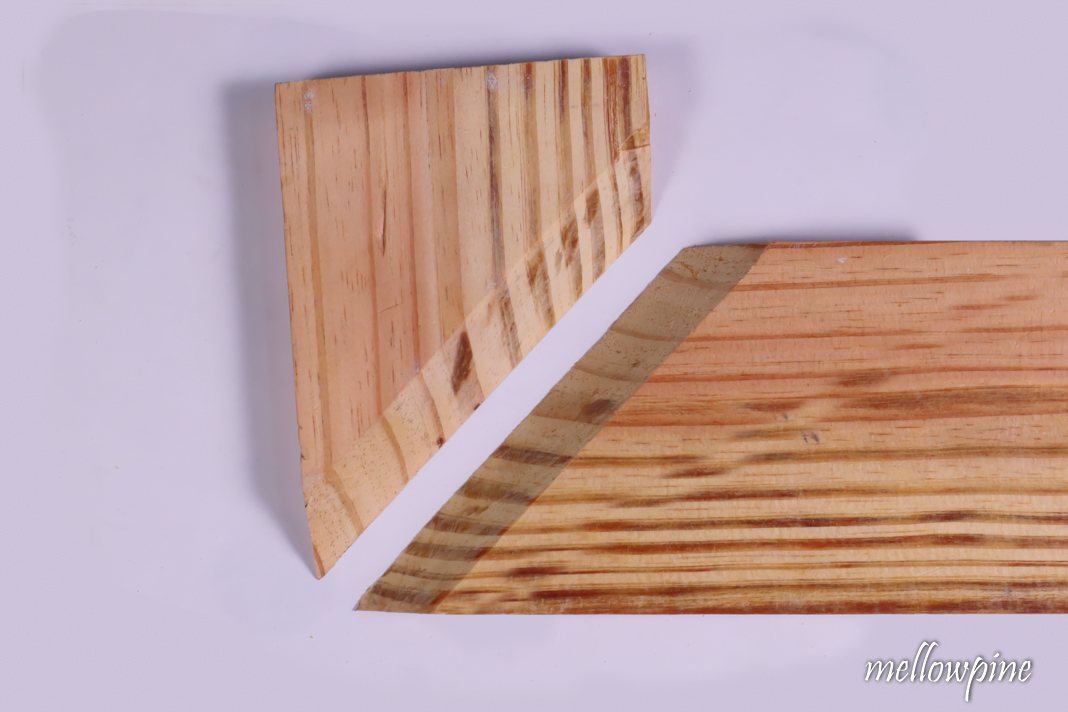
4) Bevel Cut with a Circular Saw
A bevel cut is a cut that’s angled relative to the face of the material.
You can do a bevel cut using a circular saw.
To begin, place the sacrificial wood on the work surface.
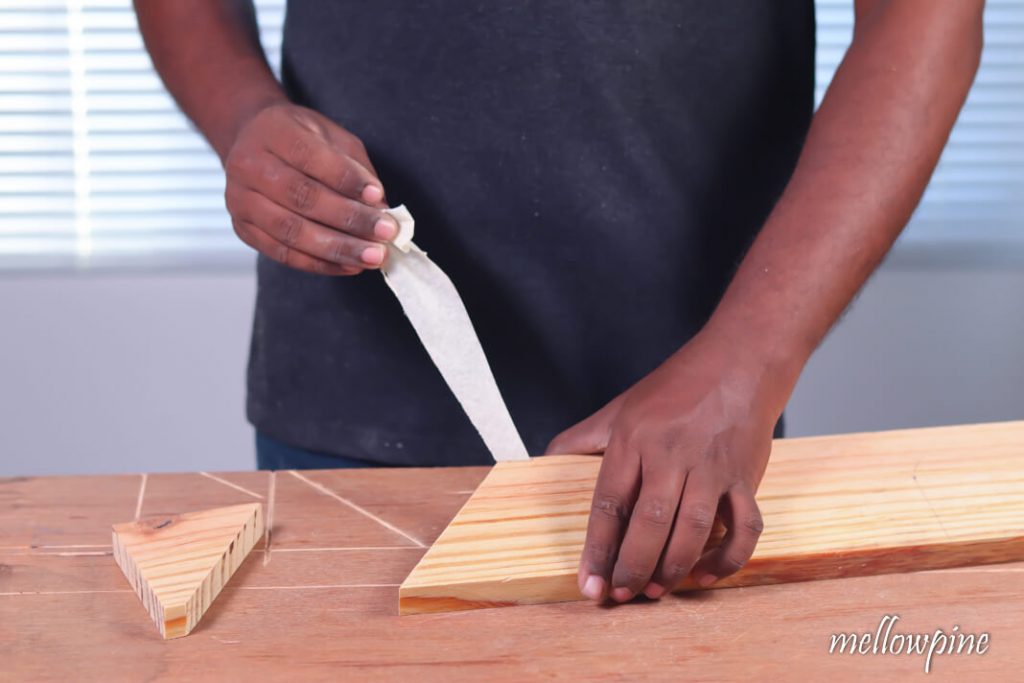
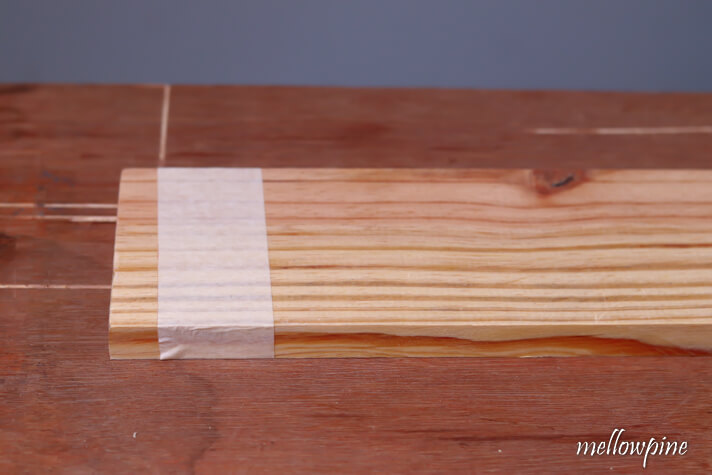
After setting the wood on top of the sacrificial sheet, apply some masking tape.
Mark over the tape using a speed square and a carpenter’s pencil.
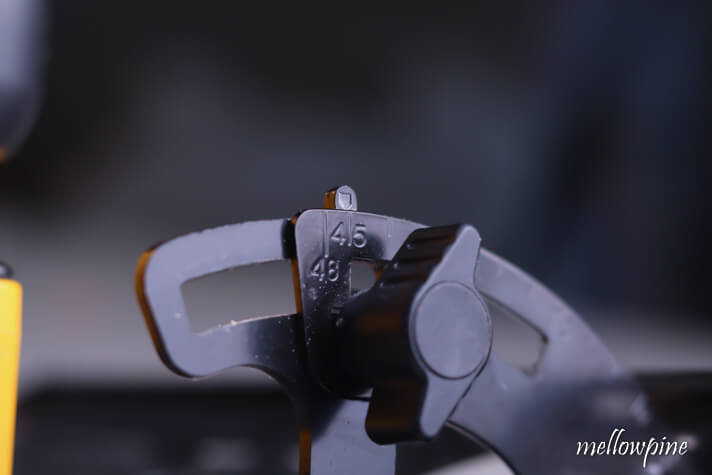
To adjust the angle of the blade, loosen the screw near the angle guide so that the blade may now sway freely.
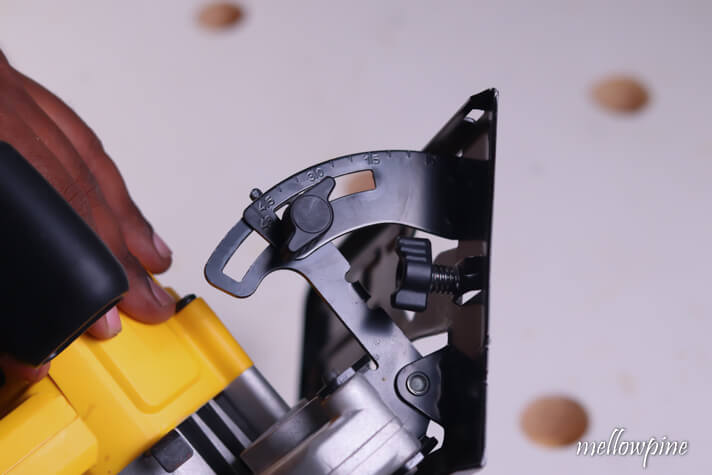
Using the indicator provided on the saw, adjust the saw blade angle with the help of the angle guide on the saw itself.
In this particular case, you can set the angle to 45 degrees.
Adjust the depth of the blade according to the depth of the wooden piece you wish to saw. Set the depth at approximately 1/4th of an inch more than the thickness of the wood to be cut.
Measure and mark the offset distance from the saw blade and the edge of the shoe of the saw.
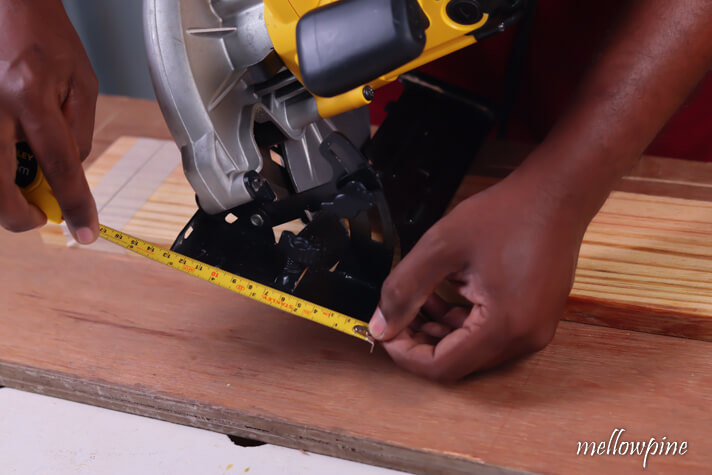
Transfer this offset distance onto the wood to be cut.
After positioning a straight edge or a speed square to align with the line, clamp it down on the wood using a quick grip clamp.
Begin cutting while using the clamped straight edge or level as your guide.
Saw completely through till the end and make sure the wood is separated into two.
Remove masking tape after the bevel cut is done.
Provide the finishing touches using a rasp or sanding paper.
With this step, you’ve completed a bevel cut using a circular saw.
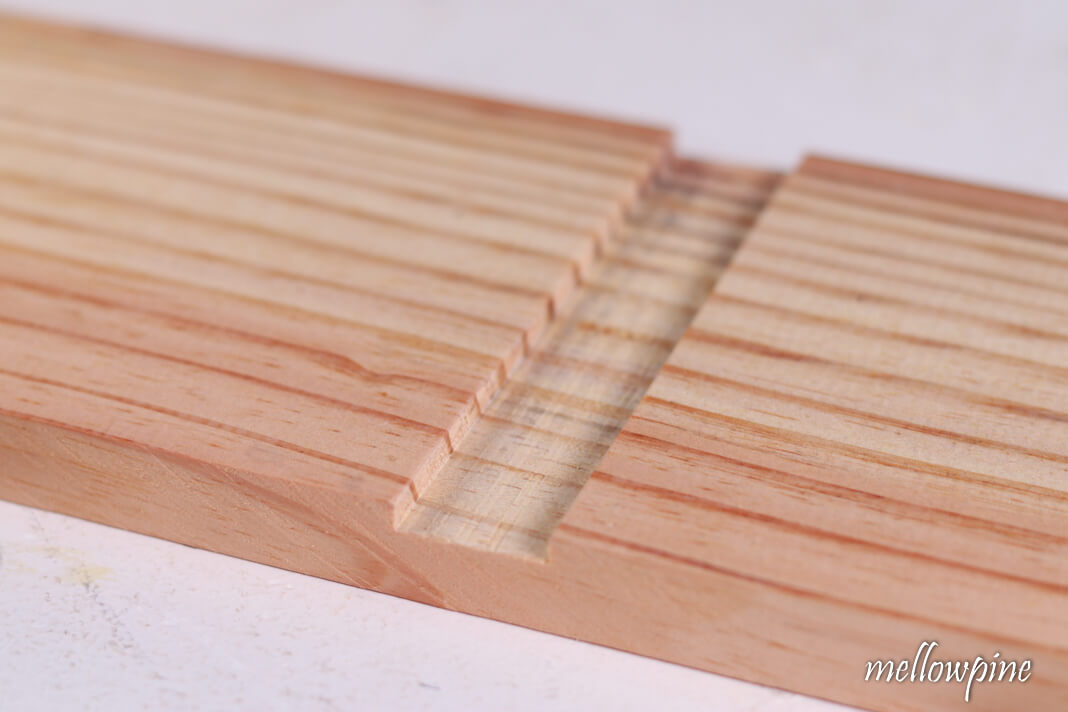
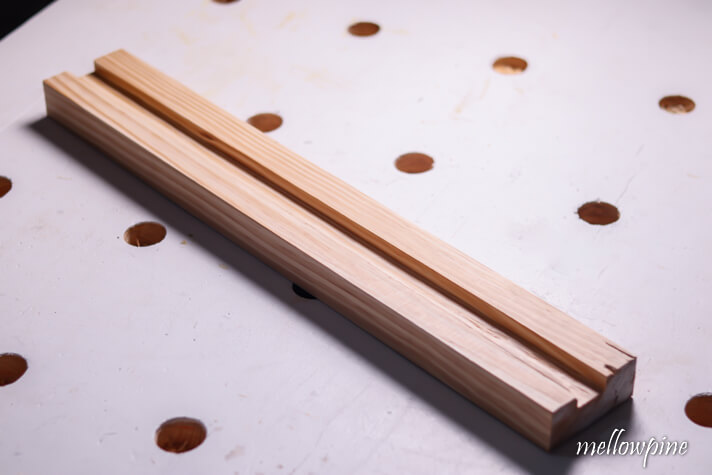
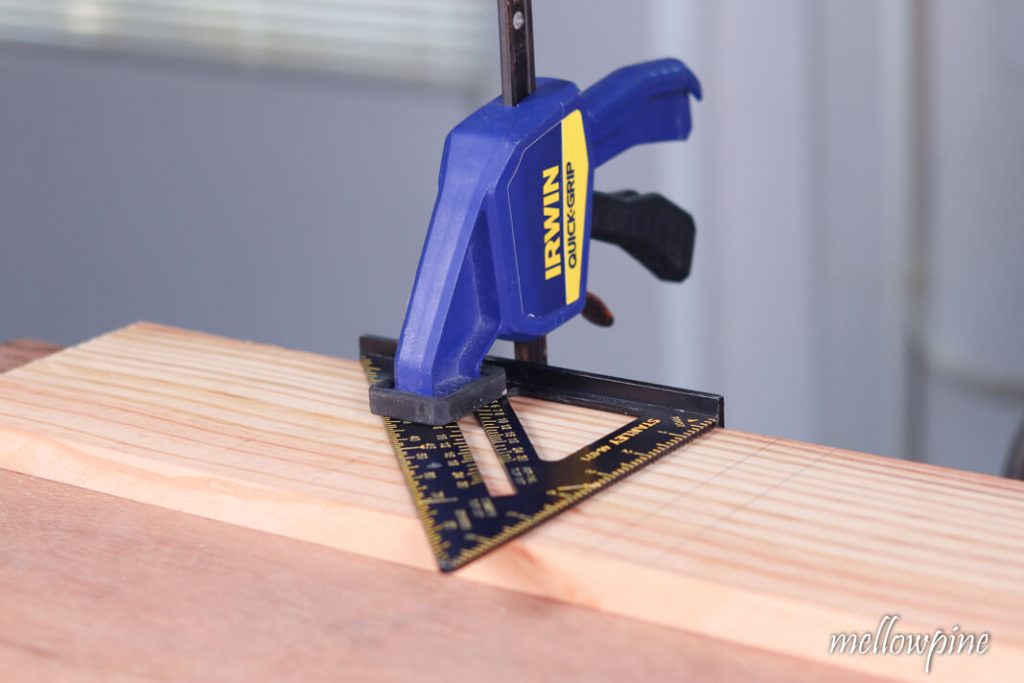
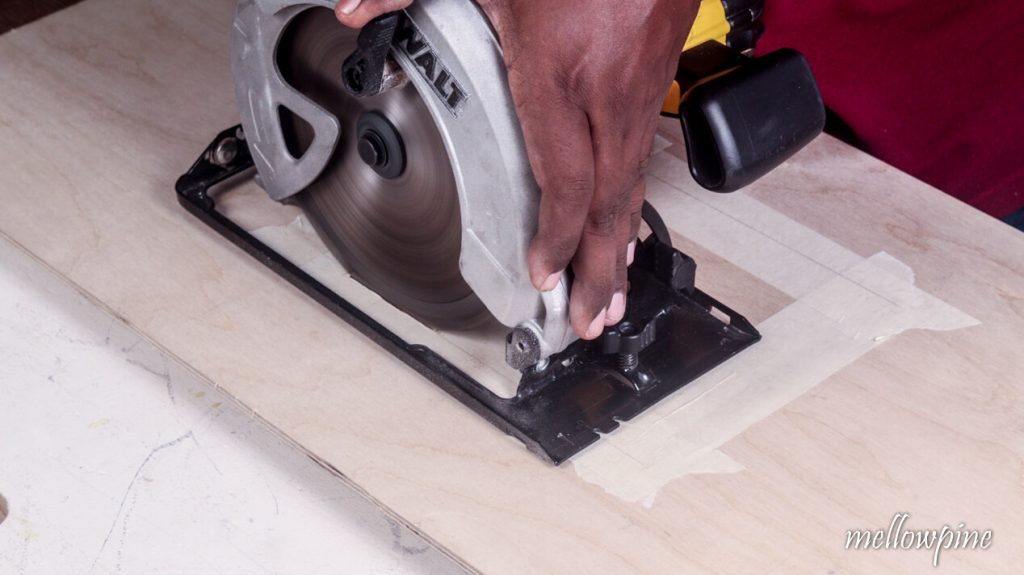
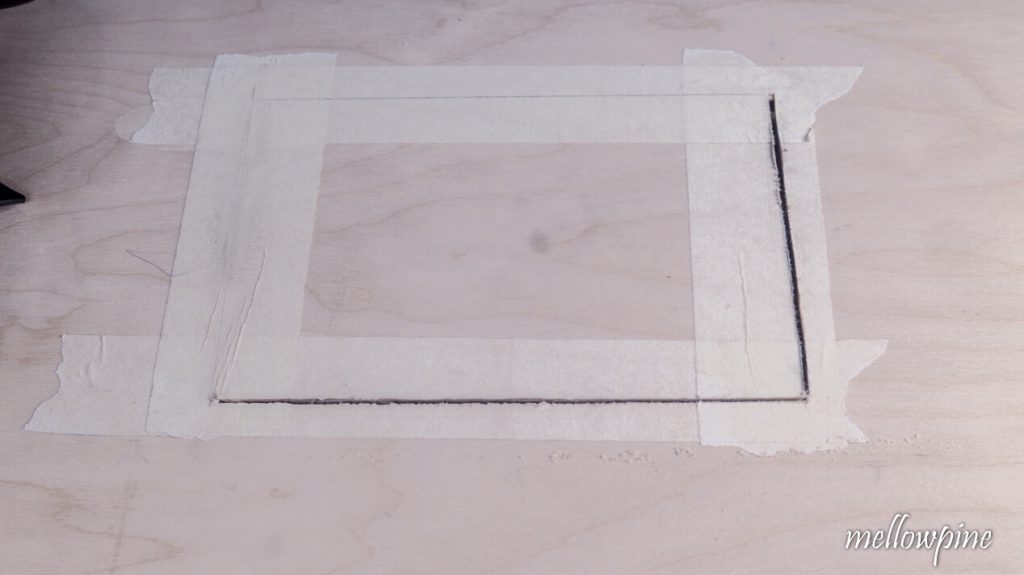
5) Groove Cut with a Circular Saw
A groove cut is a slot or trench cut into a member which runs parallel to the grain of the wood.
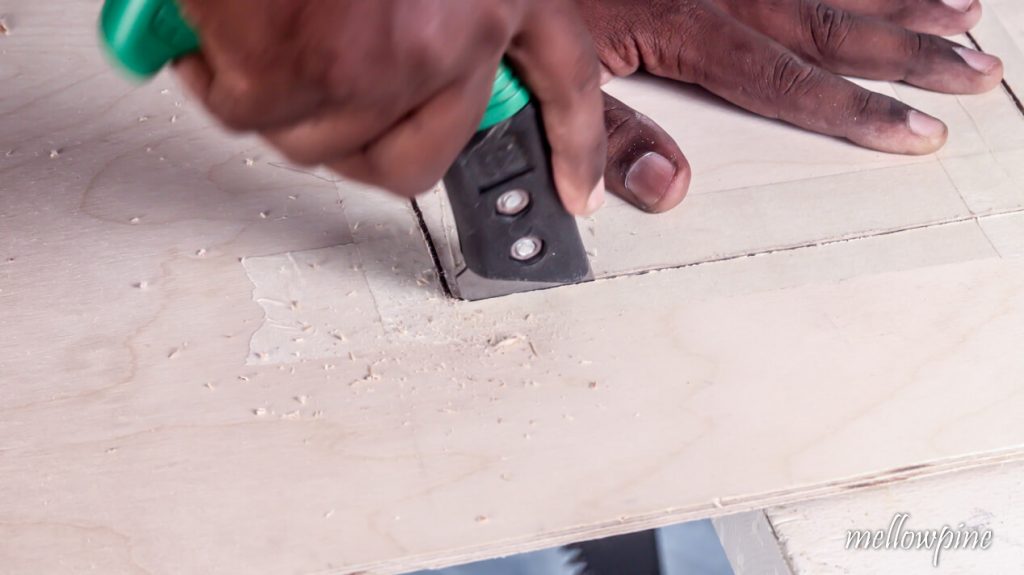
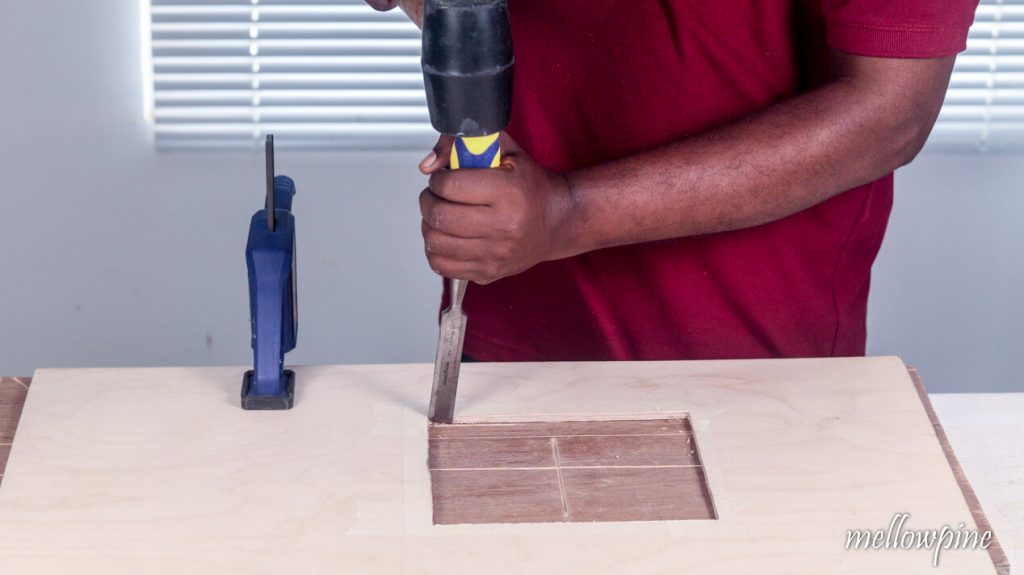
You can do a groove cut using a circular saw and a chisel.
To begin, place the sacrificial sheet on the table and place the wood to be grooved on top.
Using a speed square, measure and mark the groove onto the wood while making sure both lines are parallel.
Adjust the height of the blade in the circular saw to match the depth of the groove you need. Set the depth at approximately 1/4th of an inch more than the thickness of the wood to be cut.
To do this, keep the blade at the edge of the wooden piece and adjust according to the cross-section of the wood visible from the side.
Remember, cutting more than half of the thickness might lead to the groove being too deep and cutting the wood into two.
Set the speed square such that the blade of the circular saw falls just inside the boundary line of the groove. Then clamp the speed square in place.
If you only have one speed square, Make a pass on one side and then unclamp the speed square and clamp it next to the other boundary line.
Make multiple passes with the circular saw.
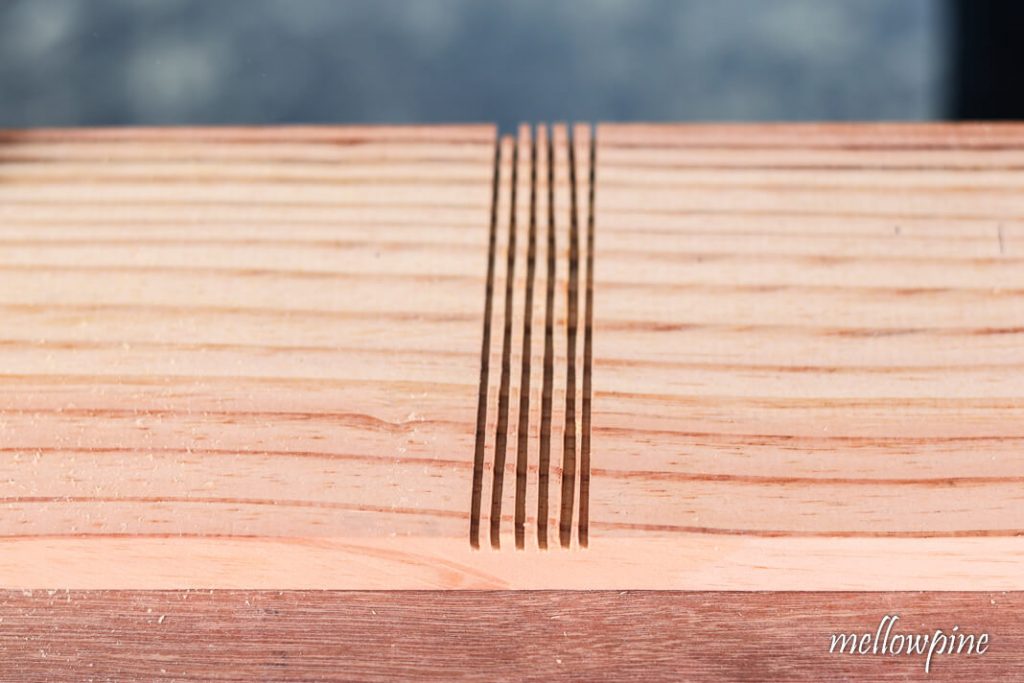
Using a hammer and a chisel clear away the wood to reveal a smooth groove.
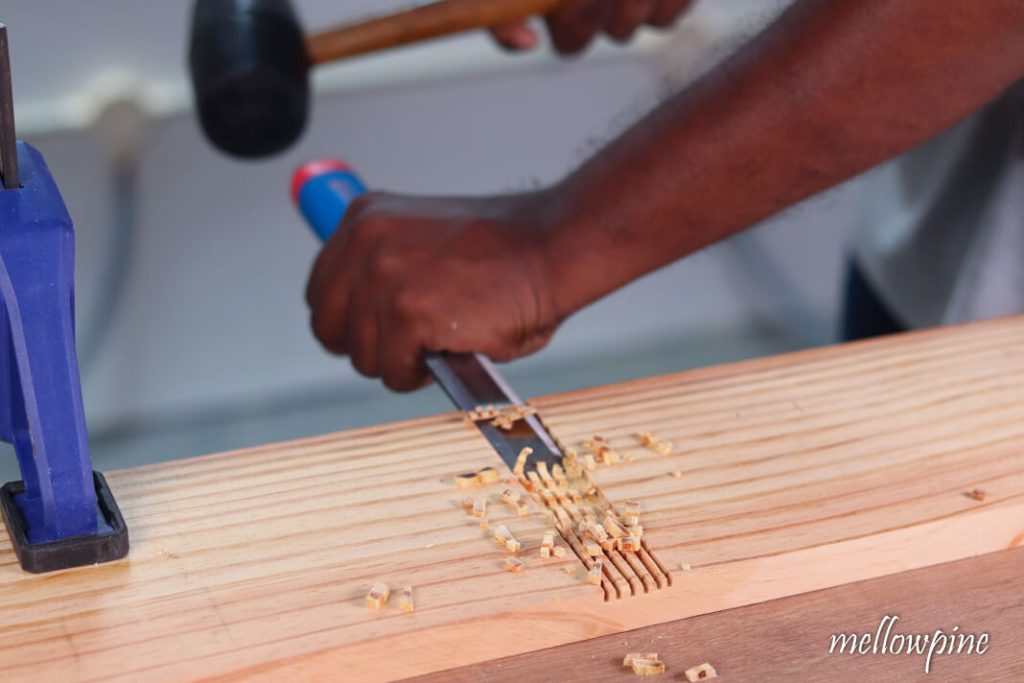
With that, the groove cut is completed.
6) Compound Cut with a Circular Saw
A compound cut is the combination of both a miter cut and a bevel cut.
Both a miter angle and bevel angle are involved in a compound cut.
To make one, begin by placing a sacrificial sheet onto the work surface.
Place the wood to be cut on top of the sacrificial sheet.
To adjust the bevel angle, you may use the angle guide and indicator of the circular saw.
Loosen the angle knob and tilt the saw blade to your desired angle before tightening the knob again.

Once the angle of the saw blade is fixed, it’s time to set the miter cut angle.
Using a speed square and a carpenter’s pencil, draw a line perpendicular to the wood’s edge.
Using the base of this line as a point, set the pencil on edge and align that point marked on the speed square to the pivot point.
While keeping the speed square on the pivot point, rotate the speed square clockwise or anticlockwise direction to get your desired angle.
The horizontal edge of the wood that intersects the speed square will denote the angle formed.
Use a pencil to draw the line denoting the angle formed.

Once both the miter and bevel angle has been fixed, measure the offset distance from the edge of the shoe to the circular saw’s blade.
Transfer the distance back to the wood so the blade will align with the cut line.
To set the blade depth, keep the blade over the edge of the wood to be cut and adjust accordingly.
Set the depth at approximately 1/4th of an inch more than the thickness of the wood to be cut.
align the blade with the cut line and turn the saw on.
once the saw reaches full speed, begin cutting into the wood.
cutting the wood all the way should yield a compound cut (mitered plus beveled cut)
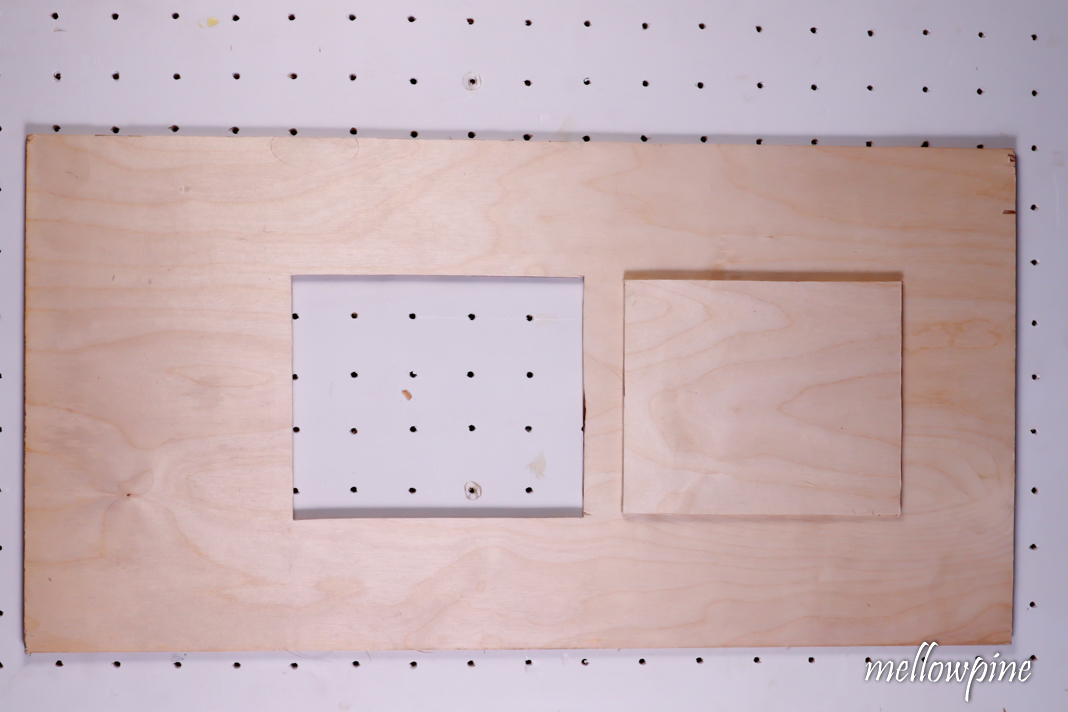
7) Plunge Cut with a Circular Saw
A plunge cut is a cut that’s made inside a board or sheet without starting at any edge.
To do this with a circular saw you need to start the saw while it’s up in the air and bring it down (plunge) onto the board while it’s running.
Some people prefer using a jigsaw or a router for plunge cuts rather than a circular saw.
To do a plunge cut with a circular saw, start by placing the sacrificial sheet onto the work surface.
Wood is to be kept on top of the sacrificial sheet.
Fix some masking tape on the area where you’re likely to draw cut lines.
Using a carpenter’s pencil and a speed square, draw the cut lines on top of the masking tape fixed on the wood.
To set the depth of the blade, take the blade to the edge of the wood. Set the depth at approximately 1/4th of an inch more than the thickness of the wood to be cut.
With the blade at the edge, adjust the blade depth according to your need.
Once the blade depth is set, align the blade with the cut line marked on the wood.
Using the guard, place the saw on the cut line.
Keep the end of the shoe on the cut line.
You may adjust the saw further using the notch on the end of the shoe.
Out of the two notches provided, one is for when the blade is straight and the other for when the blade is at an angle.
Once the blade is aligned with the cut line, retract the guard and plug in the saw.
Keep the saw inclined with the wood, with the blade in the air and the edge of the shoe on the wood.
Turn on the saw and let it run at full speed before bringing it down in contact with the wood.
Plunge the saw into the wood carefully, making sure to pay attention to the sound the saw makes.
If you hear the wood pinching or hear the saw blade having difficulty turning, immediately turn off and remove the saw without risking kickback.
While cutting, be careful around the corners. Cut slowly and carefully to avoid cutting beyond the lines.
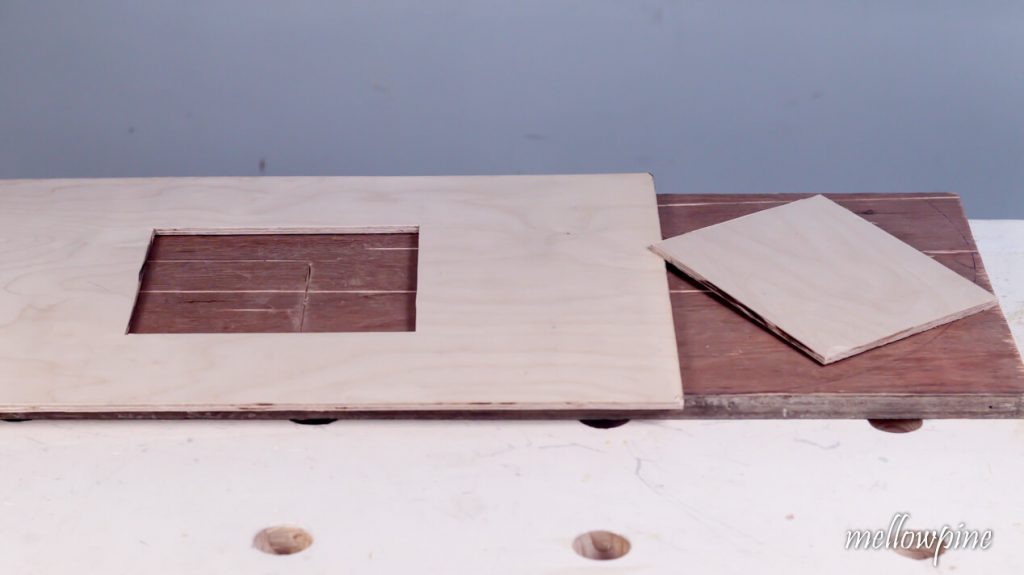
Once all the sides are cut, use a jigsaw or hand saw to remove the wood block from within the larger wooden piece.
Clean further with a chisel and hammer, if needed.
Smoothen with sandpaper
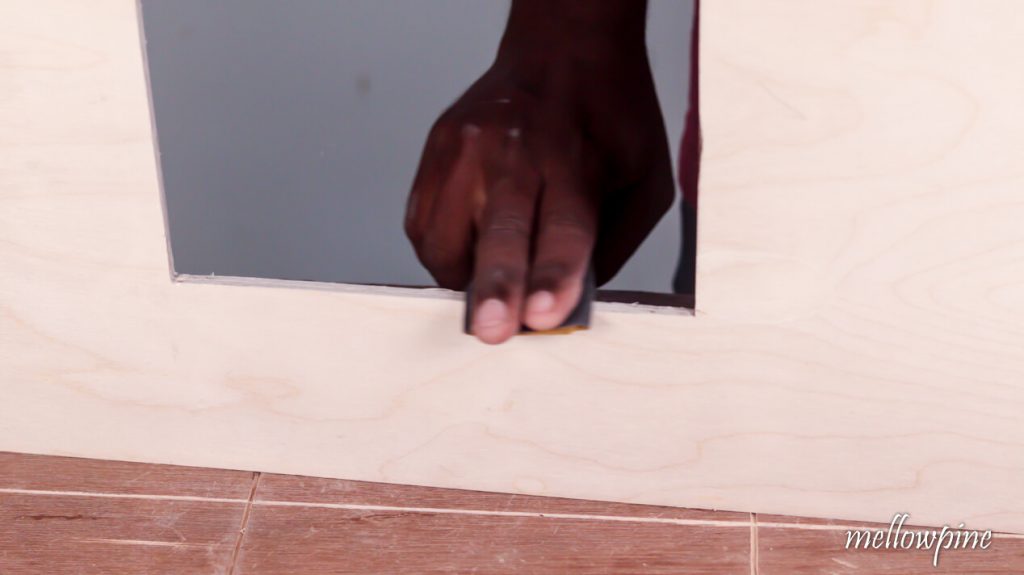
With this, your plunge cut is complete.
How to Use a Circular Saw Without a Table
When using a circular saw without a table, you can either use sawhorses or place the wood on the floor (on top of an insulation sheet).
If you prefer sawhorses, you need to make a pair of sawhorses for which plans are available for free in plenty online.
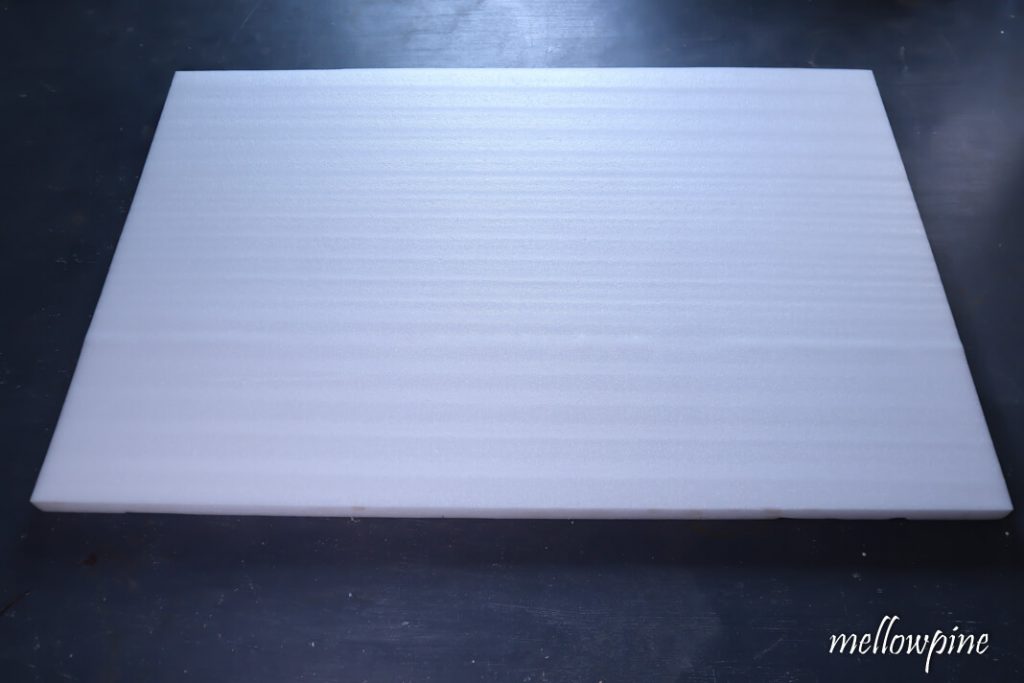
For the insulation sheet method, you need to buy a rigid foam insulation sheet from a hardware store.
Method 1: Using sawhorses
Sawhorses are an excellent substitute for a work table when using a circular saw.
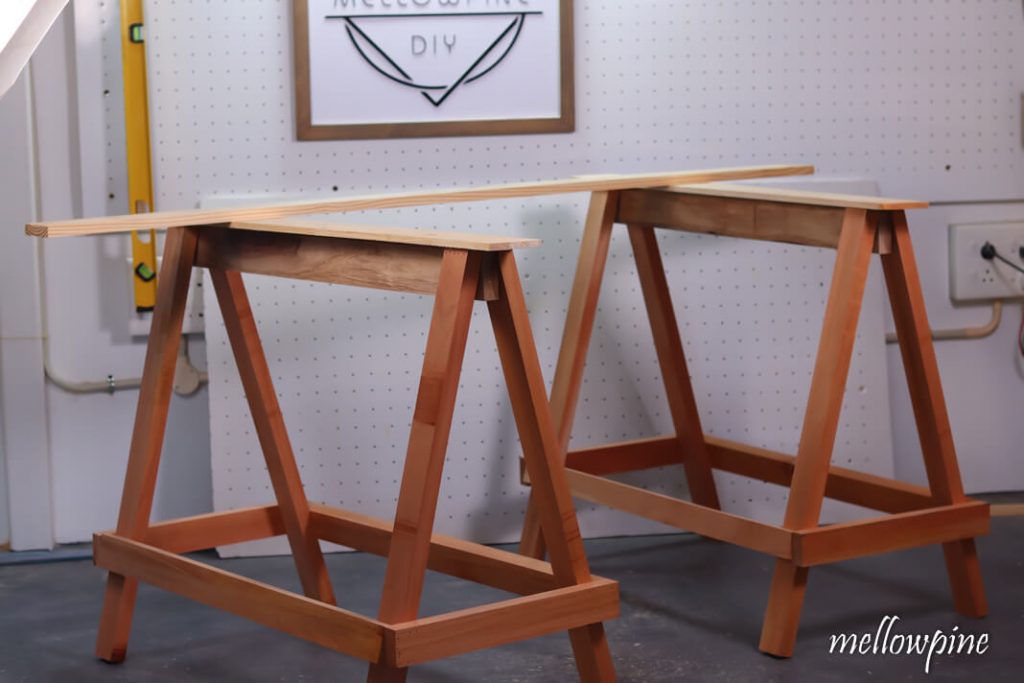
They provide steady and comfortable seating for wood or any other material you wish to cut.
One disadvantage of using a sawhorse is that it’s hard to clamp the material onto the sawhorses while cutting.
To cut, begin by placing the wood onto two sawhorses.
Make sure the wood doesn’t tip over and fall.
Before you make the cut, you need to mark the cut line.
Fix masking tape on the area on which you will draw the cut line
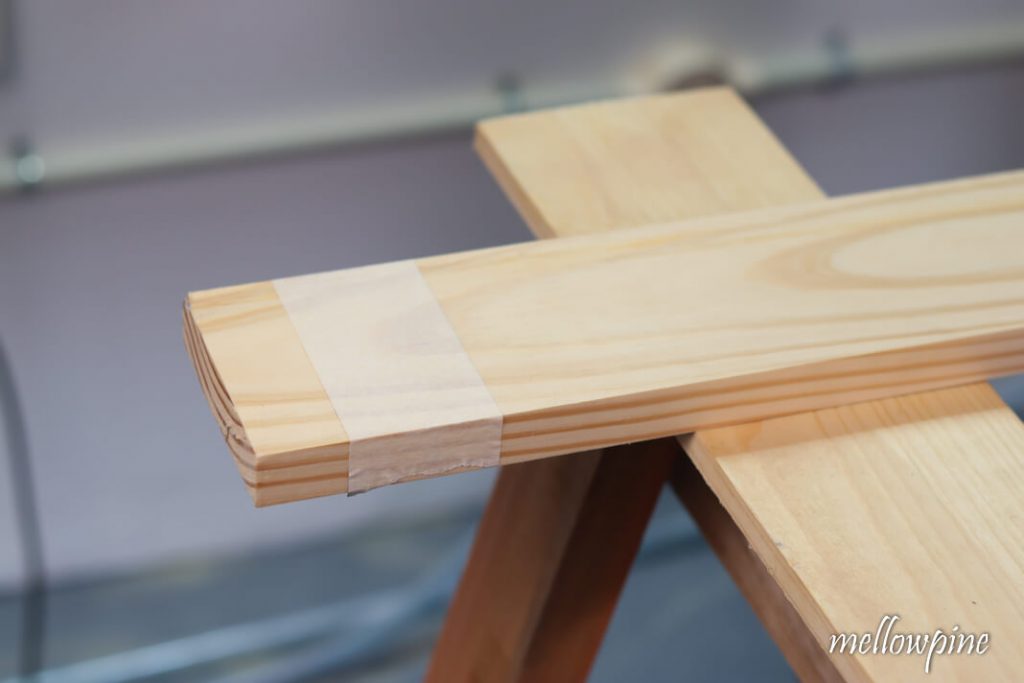
Mark the cut line using a carpenter’s pencil and a speed square.
Set the blade depth according to the thickness of the wood.

Hold down the wood with one hand while cutting with the circular saw to maximize the grip.
Turn on the saw and cut all the way through.
Since the wood is supported on either side, there is no need for a sacrificial sheet underneath.
Method 2: Using insulation sheet
Unlike the sawhorses, insulation sheets can be used to cut large plywood sheets as well.
What you need is a 4×8 rigid foam insulation sheet (Pink or white usually).
Rigid foam sheets are cheap and do not dull the circular saw blade.
Thus they’re ideal sacrificial sheets for using a circular saw on instead of a table.
The sheet provides a soft and thick surface which helps in even using the sheet as a sacrificial sheet.
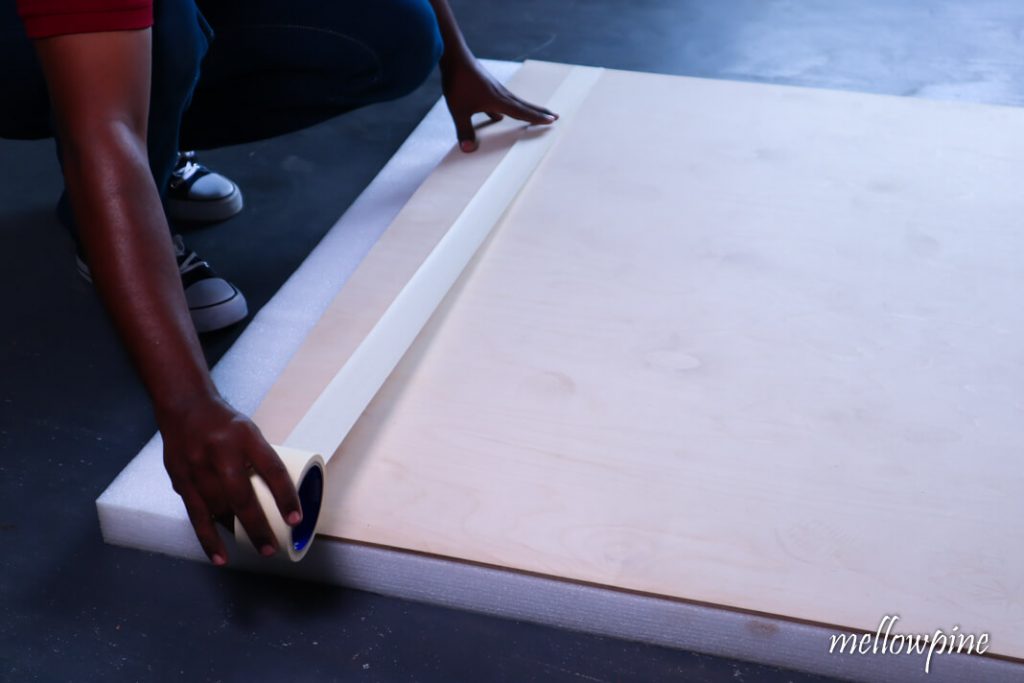
Begin by placing the insulating foam on the ground and lay the wood to be cut on top of that sheet.
Here, the insulation foam works as both a sacrificial sheet and the work surface.
Before making the cut, you need to draw the cut line.
Use some masking tape to cover the area on which you will draw the cut line.
Mark the cut line using a carpenter’s pencil and a speed square.
Set the blade depth according to the thickness of the wood.
Turn on the saw and cut all the way through.
With this step, you have successfully cut the plywood sheet without a table using your circular saw.
Tips for Accuracy While Using a Circular Saw
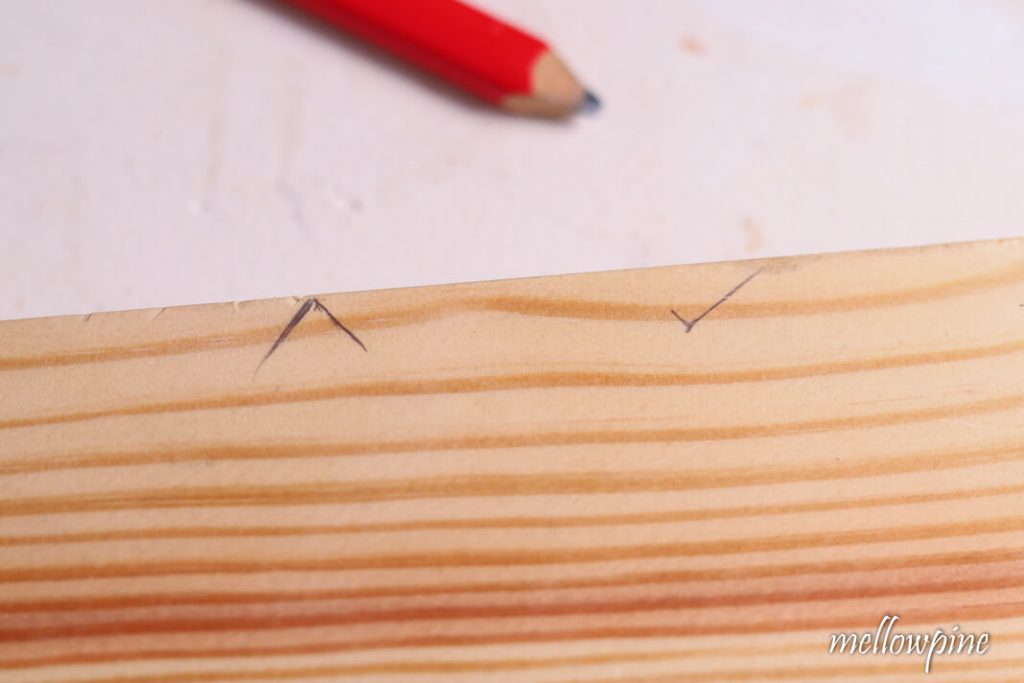
- While marking, never mark just as a point. Instead, mark it as a ‘tick’ mark or a ‘crow’s foot’ mark. Doing so helps in identifying the point to be cut easily.
- Using masking tape before drawing the mark on it can help reduce splinters and lend a more pleasing finish.
- Make sure to cut outside of the line, so the wood piece that you intend to use has the correct dimensions.
- Use a rasp to clean and smoothen the cut after sawing. Alternatively, A hand sander or sanding paper can also get the job done.
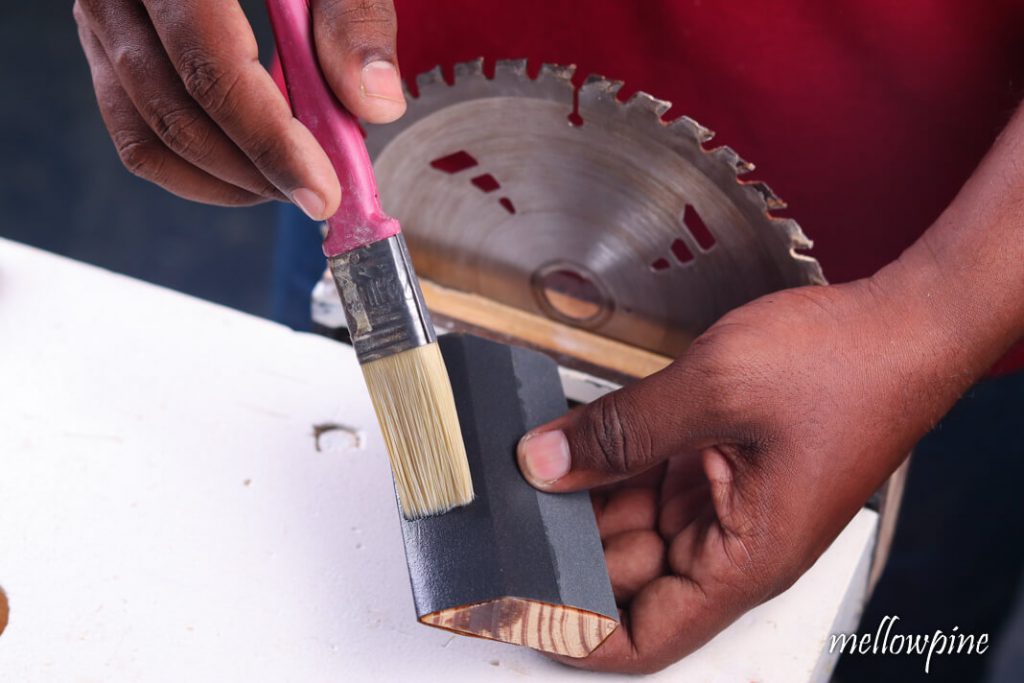
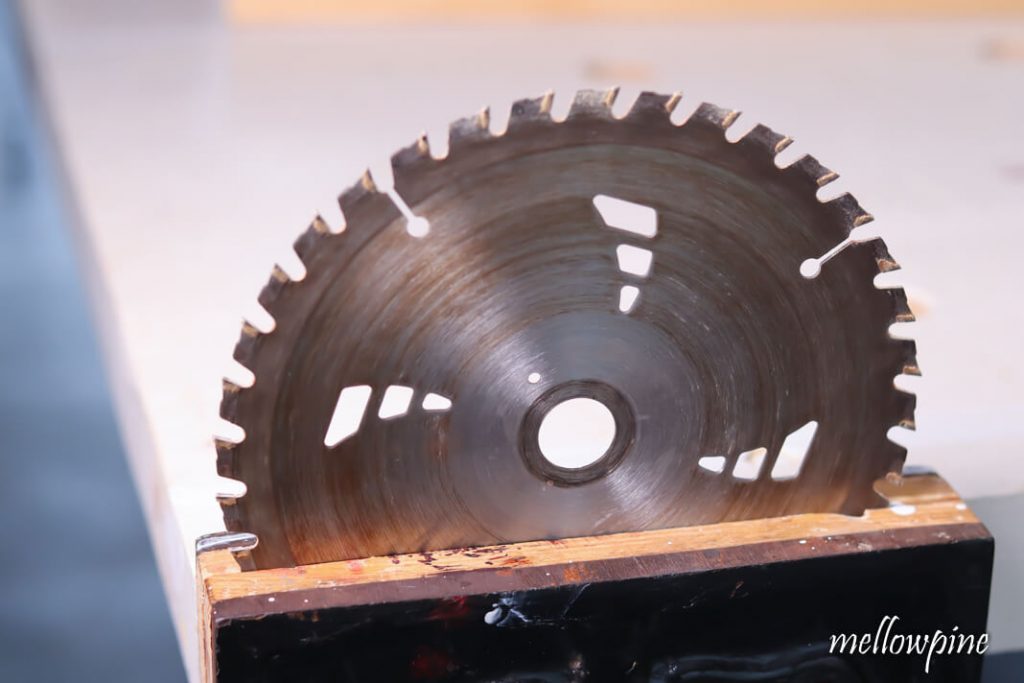
- Sharpen you circular saw blade when it starts to get dull. Carbide blades cut with its teeth and its sides, you can end up rounding off these edges. So be careful while sharpening circular saw blade.
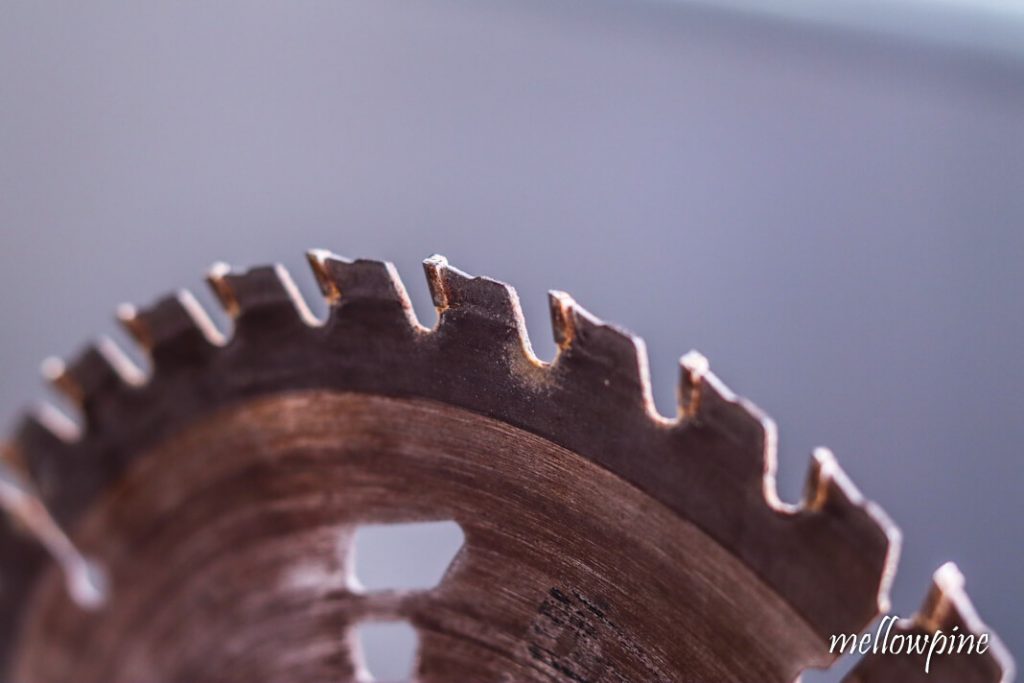
- One way to look out for the dullness of the blade is by examining the cuts themselves. When new cuts are made using a dull blade, they often tend to have rough finishes and take a longer time to complete. The sound of the motor can also be an indicator.
- Clean your circular saw blade every once in a while.
- Heat generated while cutting will be excessive in dull blades, and so be on the lookout for burned marks on the cut.
- Using oil/ lapping fluid prolongs the life of the sandpaper used for sharpening the blade.
- Make sure the board has a straight edge before ripping. If the board edge is not straight, you cannot use a rip fence to get a straight cut.
- If you are using wet wood or treated lumber, use a blade that’s appropriate for that purpose.
- Use a sharp blade with an appropriate number of teeth.
- More teeth on the saw blade means better cut but takes longer to cut and large teeth means quick but rough cuts.
You might be interested in this:
Tips for Safety While Using a Circular Saw
- Make sure depth is set all the way down before you begin adjusting.
- Before making any adjustments or changing the blade, make sure the saw is unplugged.
- If the piece completely seperates from the wood, let it fall. Never try to catch it while holding a runnning saw in your hand.
- Never stay right behind or too close to the running blade to avoid injury in case of kickback. Kickback is extremely dangerous and must be prevented at all costs.
- Once the saw is turned on, keep it steady but never try to force it back in case it veers off.
- Using excessive force will create pinch points in the wood leading to damage for both the user and the saw.
- Make sure the saw teeth are facing in direction of rotation. (Anti-clockwise direction in case of circular saw).

- While holding the blade between a bench vice, remember to not exert too much pressure as it will bend the blade and render it useless.
- If you can smell something burning, immediately stop sawing and re-adjust the mask and saw blade.
- Wear sturdy work shoes or boots, long sleeve shirts, and long pants while working with concrete blocks.
- Using masking tape before cutting can help reduce splinters
- Always wear ear protection and a mask while using a circular saw.

- Ensure the blade and rip fence are locked in place before starting the ripping.
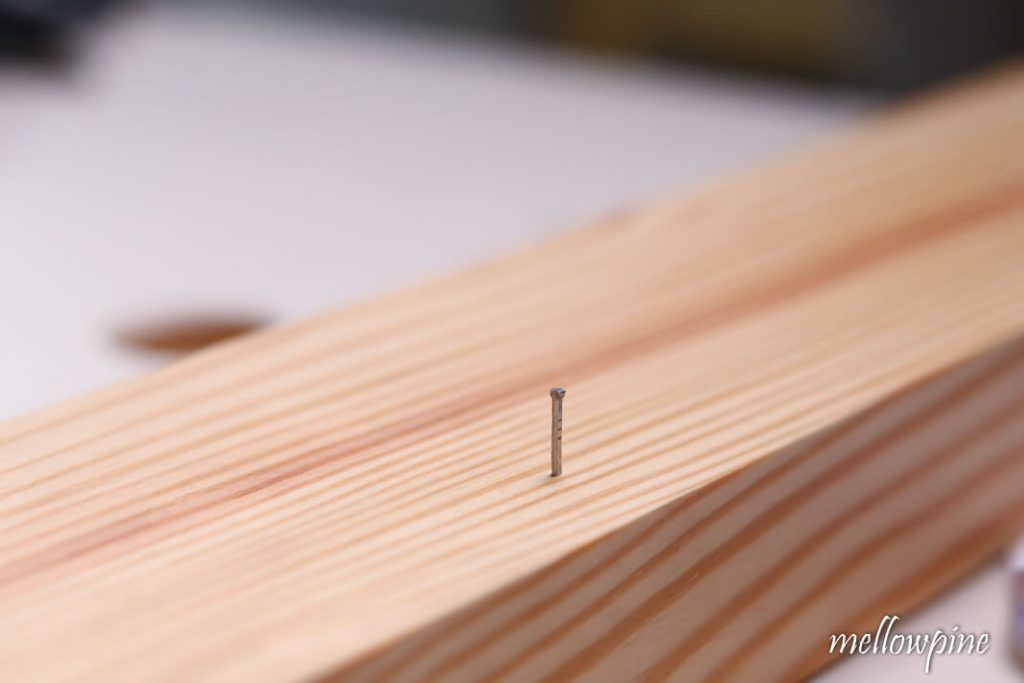
- Before cutting any material, especially wood, make sure there are not obstructions such as nails inside the wood.
Frequently Asked Questions (FAQ)
Should I get a circular saw or miter saw?
A circular saw can make eight kinds of cut and is much less expensive as compared to a miter saw. If your only requirement is to make crosscuts and miter cuts, get a miter saw. For all other cuts, get a circular saw.
Should I buy a table saw or circular saw?
A circular saw is cheaper in comparison with the more expensive table saw. If you intend to make rip cuts often, a table saw might be a better choice while for most other cuts, a circular saw is enough. A circular saw is also easier to use.
Can a circular saw cut a 4×4?
It is possible to cut a 4×4 with a circular saw but not with a single pass of the blade. It will take two passes from either sides of the 4×4 to completely separate it. If the thickness of wood is less than twice the thickness of the blade then it is possible to cut the wood into two with the circular saw itself, if not you will need a hand saw to finish the job.