


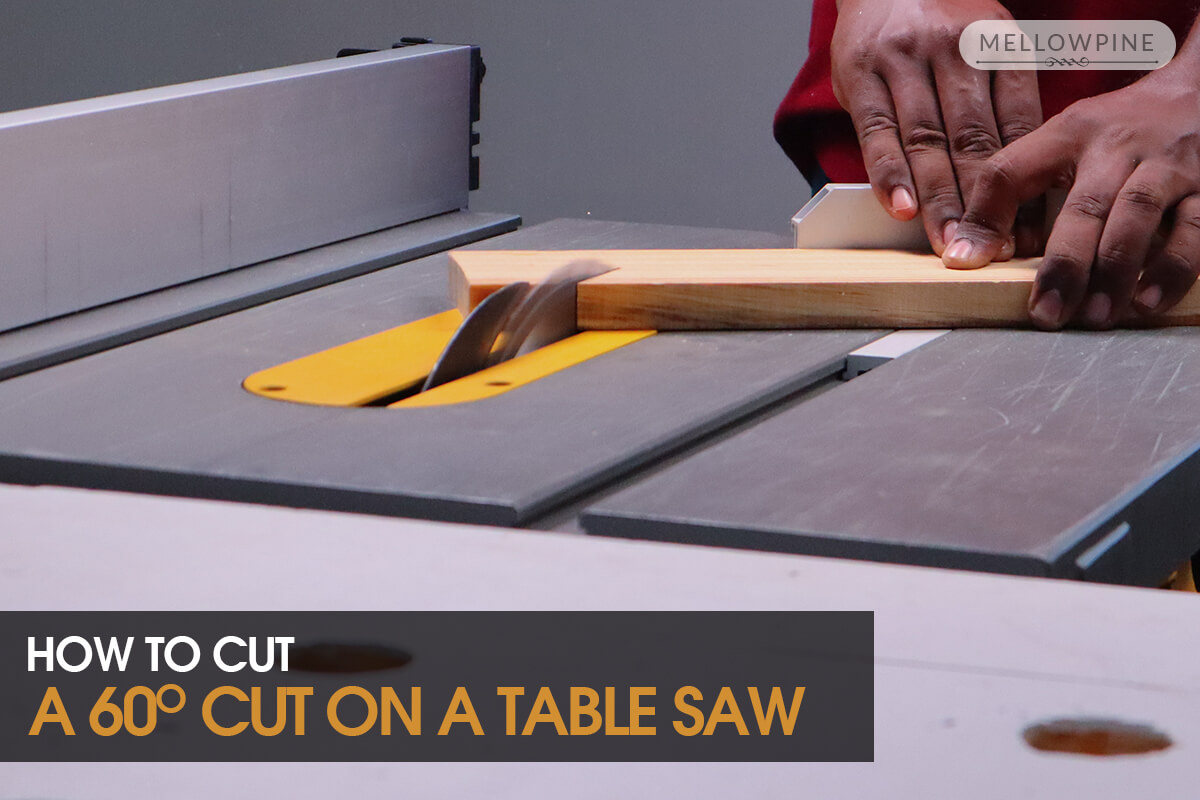
A table saw is a great tool to make precise 60-degree cuts for your projects.
There are two kinds of 60 degree cuts possible on a table saw, a 60-degree miter cut and a 60-degree bevel cut.
Things You’ll Need
- Table Saw
- Speed Square
- Pencil
- Tape
- Miter Gauge Fence
I’ll show you how to do the 60-degree cut on a table saw in two sections:
How to Make a 60 degree Miter Cut on a Table Saw
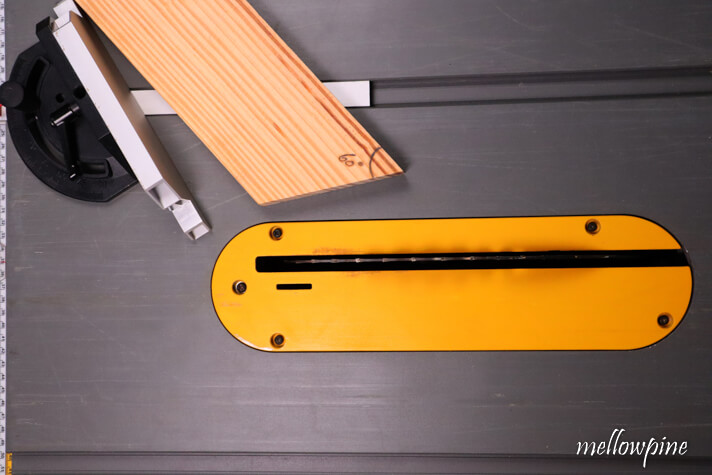
In this guide, I’ll be using the miter gauge that came with my table saw to guide the miter cut.
Almost all table saws come with a miter gauge these days.
Insert the miter gauge into the table saw’s track.
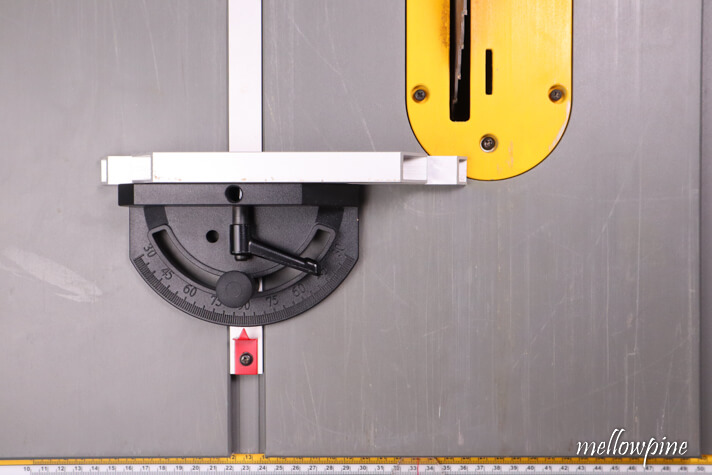
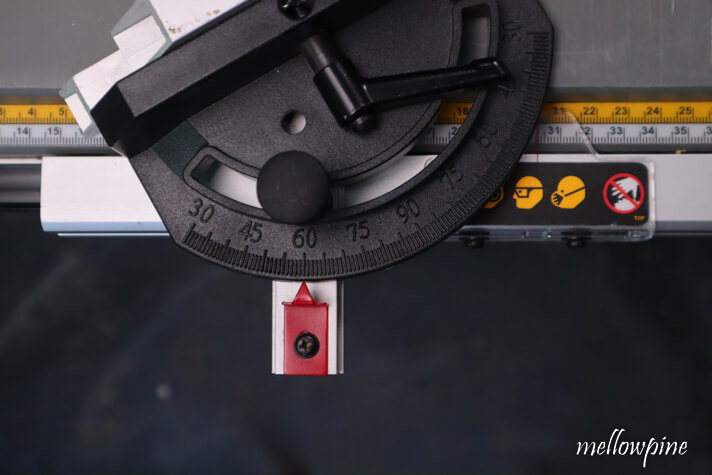
This miter gauge has angles varying from 90 degrees in the center and 30 degrees to both left and right of the center. (marked as increments of 15 degrees).
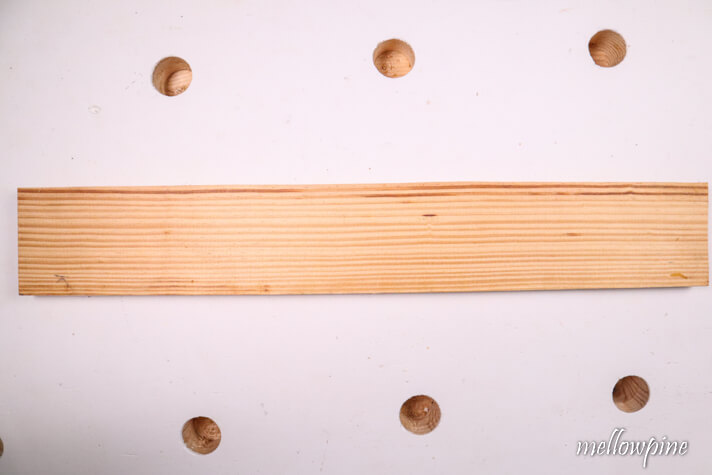
Take the wood to be cut and place it on the table saw bed.
Using tape and a pencil, measure and mark the point at which you need to make the miter cut.
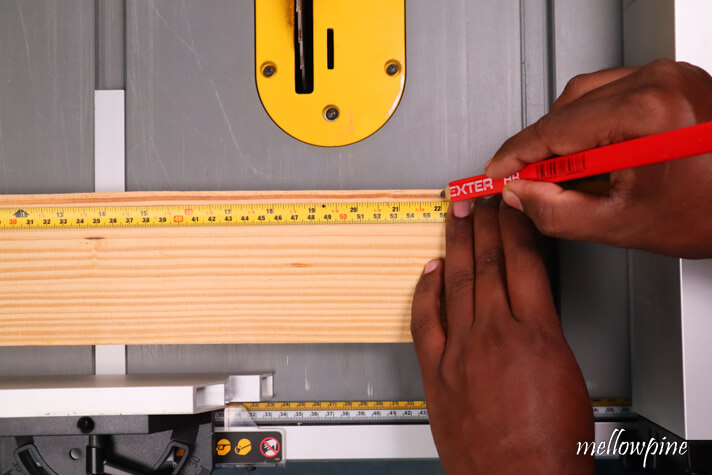
For additional accuracy, you can use a speed square to draw a 60-degree line of cut onto the face of the wood.
A line of cut helps in checking the accuracy of your cut after making the cut.
Remember to mark the line on the face and lower edge of the wood.
The lower edge will come in contact with the blade first.
If the length of the wood to be cut is very long, consider removing the rip fence to allow for more room.
In general, a bigger piece of wood will give you more grip and is safer to miter cut on the table saw.
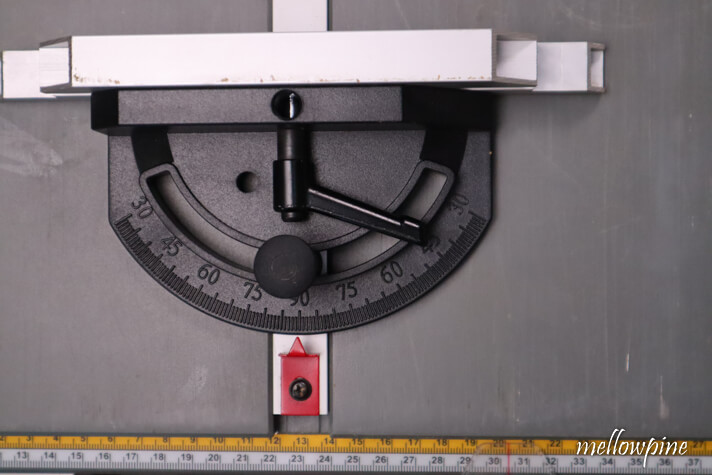
In the miter gauge fence, loosen the knob and change the angle to 60 degrees. You can do this either in the clockwise direction or in the anticlockwise direction, depending on your need.
Set the height of the blade ¼” more than the thickness of the wood being cut.

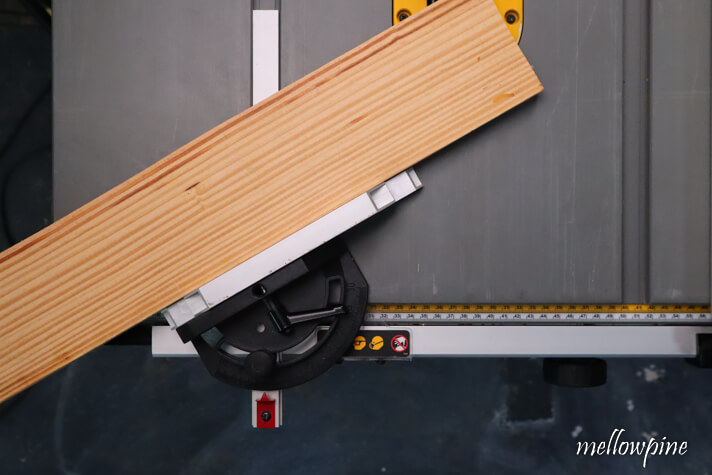
With the wood still on the miter gauge, slide the gauge forward and align the mark with the saw’s blade to check if the cut will be accurate.
If the wood you are working with is too large for the miter gauge to hold, you will have to lengthen the miter gauge.
To do this, first, check if your miter gauge fence has two holes for screws on its back.
If it does, you can easily increase the length of the miter gauge by screwing a long and straight-edged piece of wood onto the miter gauge.
A much safer way to do a miter cut on the table saw is by building a crosscut sled, but it will take some effort.
Making the cut
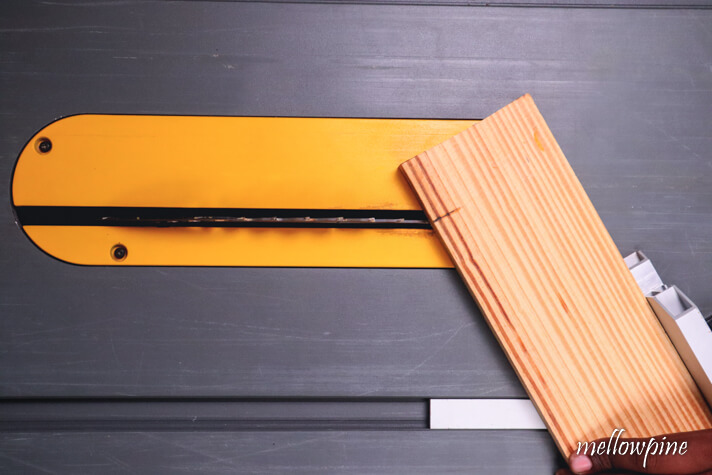
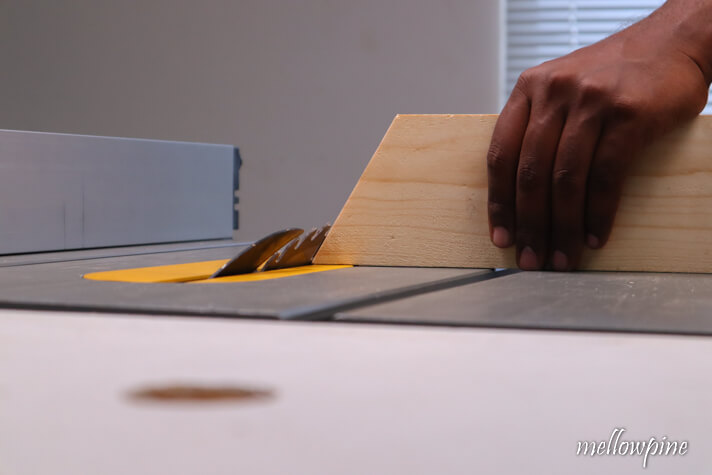
Place the wood to be cut onto the miter gauge and make sure to keep it pressed against the gauge.
Once the blade is aligned with the mark, plug in the saw and turn it on. Let it reach full speed before feeding the workpiece to the saw.
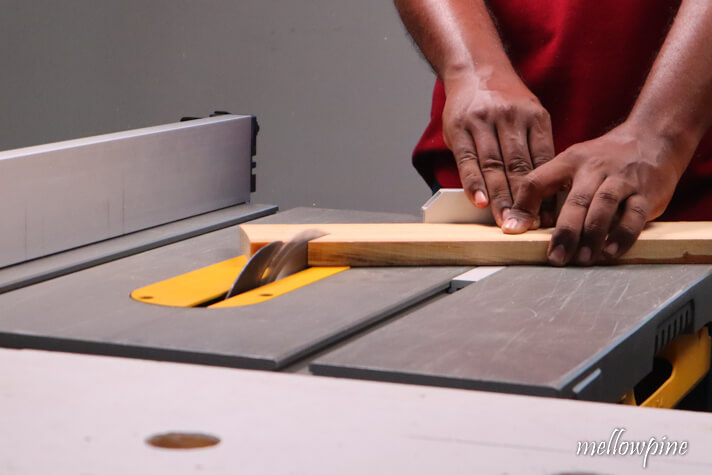
Slowly begin feeding the wood to the blade and make sure to support the miter gauge and the wood while cutting.
Make sure that the rip fence is set as far away as possible from the blade.
If the rip fence is near to the wood, it can act as a pivot point for the offcut and cause kickback.
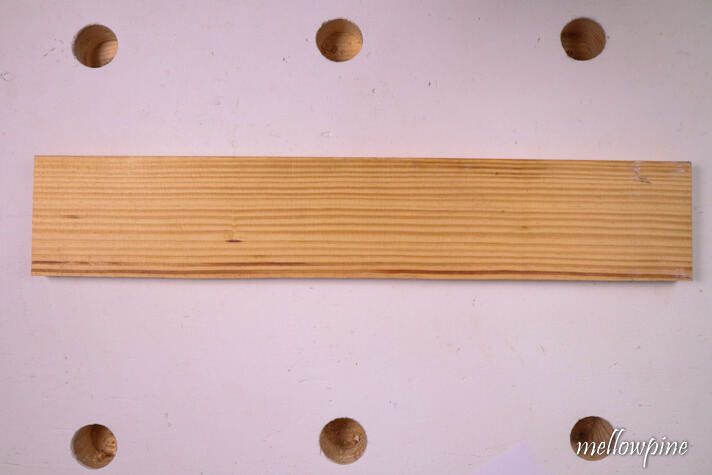
After making the cut, use a speed square to measure and confirm the accuracy of the angle.
With that, you have successfully done a 60-degree angle miter cut on the table saw.
A table saw is needed if you need to make a miter cut on a large piece of wood.
If the wood you wish to miter cut is not very wide, a miter saw can also do the job for you.
2. How to Make a 60 degree Bevel Cut on a Table Saw
Begin by setting the wood to be cut on the work table.
Since the angle you want to cut is more than 45 degrees and the maximum angle for adjusting blade tilt is also 45 degrees, any angle, more than that, will require a different approach.
First, subtract the angle you need from 90.
Here it will be 30 degrees. (90 minus 60).
Set the table saw blade angle to 30 degrees.
Don’t trust the bevel indicator on the table joint.
Although the bevel indicator was manufactured with precision in mind, years of handling sawdust, dirt, and debris will clog up the inside and lead to inaccurate cuts.
A better alternative to setting up your bevel angle is using a digital angle box or an adjustable bevel gauge and a protractor.
If neither of those is available to you, make a 60-degree scrap piece by miter cutting and use that to set the bevel angle.
Making a piece for setting the angle on the table saw
Set the angle on the miter gauge to 60 degrees and do miter cut on a scrap piece of wood.

Now you may use this piece of wood to set up the angle on the blade.
Since the angle on the scrap piece of wood is 60 degrees, the blade will be set at 30 degrees from the vertical.
Once the angle is set, it’s time to cut the wood vertically.
Vertical cutting is what we’ll be doing to make the 60-degree bevel cut.
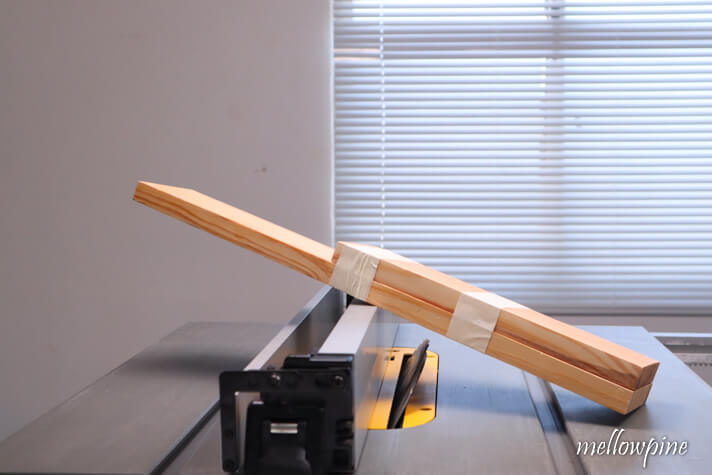
Since it’s difficult to cut a single piece of wood vertically, you need to attach another scrap piece of wood to make it stable while cutting.
To do this, take a scrap piece of wood. The thickness doesn’t matter as long as it’s tall.
The scrap wood will act like a push block and help cut the bevel.
Adjust the rip fence such that the distance between the fence and the blade is equal to the thickness of the scrap wood.
This ensures that the blade will begin cutting at the edge of the wood we need without touching the scrap wood.
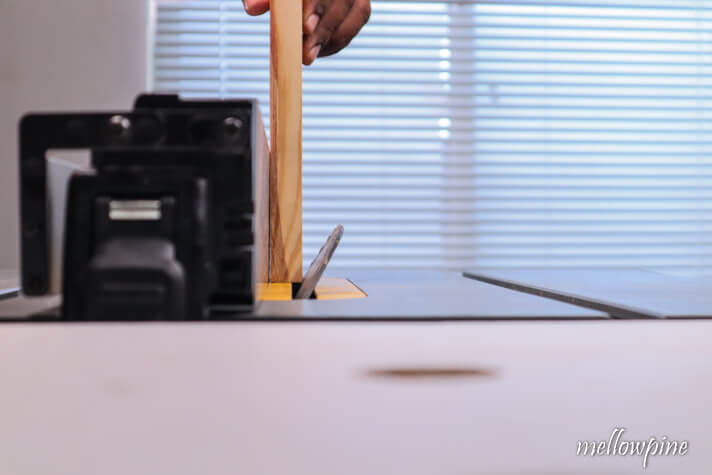
Attach the wood to be cut onto the face of the scrap wood using masking tape.
You can also screw it to the wood if you don’t mind the screw marks.
Now turn on the saw and begin cutting by pushing the combined setup.
Make sure to press the wood down and also against the fence.
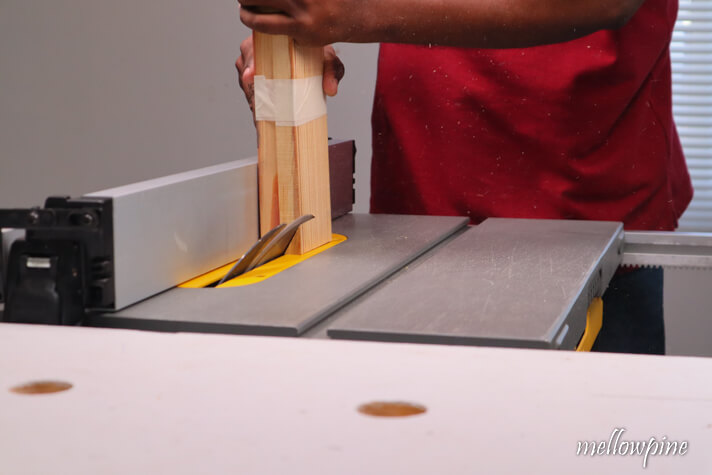
The scrap wood will come out at the other end unscathed and the wood will be cut with a 60-degree bevel.
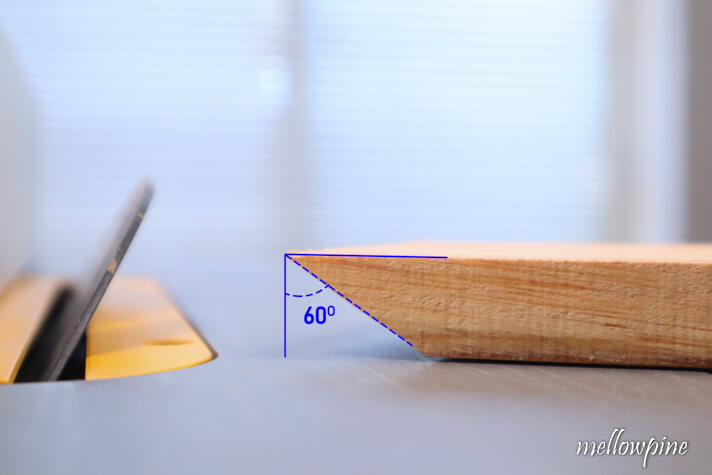
With that you have successfully completed a 60 degree bevel cut on a table saw.
You might be interested in these:
Tips for accuracy while using a Table Saw
- Make sure to cut outside of the line, so the wood piece that you intend to use has the correct dimensions.
- Use a sharp blade with an appropriate number of teeth. More teeth on the saw blade means better cut but takes longer to cut and large teeth means quick but rough cuts.
- If you are using wet wood or treated lumber, use a blade that’s appropriate for that purpose.
- If the length of the edge that is against the fence is shorter than the distance between the fence and the blade, then dont cut it using the rip fence.
- Miter fence of the table saw can help create perfectly square cuts as its parallel to the blade as well as perpendicular. This is a much better alternative than using hands to push the wood.
Tips for Safety while using a Table Saw
- When running the table saw, use industrial-grade eye and ear protection.
- When cutting, stand to one side of the saw blade; do not allow anyone to stand directly in front of the saw blade while it is running.
- When using a table saw, You should not use gloves. In addition, remove any rings, bracelets, or other clothing that might become entangled in the table saw or material.
- Never lift the saw blade above the material being cut by more than 1/4th inches.
- Before leaving the saw work area, lower the blade below the tabletop.
- Never stay right behind or too close to the running blade to avoid injury in case of kickback. Kickback is extremely dangerous and must be prevented at all costs.
Frequently Asked Question (FAQ)
How do you cut a 52-degree angle on a table saw?
In order to cut a 52-degree angle on the table saw, set the miter gauge angle to 52 degrees. Hold firmly against the miter gauge fence and make the cut.
Which type of stock should never be ripped on the table saw?
The round stock should not be ripped on a table saw. They are not stable, and with the added risk of kickback, it is not recommended that you cut it on a table saw.
Can a 10-inch table saw cut a 4×4?
With a 10-inch table saw, you can make a maximum cut up to 3.5-inches deep, and with a 12-inch table saw, you can cut up to 4-inches deep.