


Atomstack’s X7 is an open-frame diode laser engraver. It is an upgrade from their previous model, A5.
The X7 series has two versions, the X7 and the X7 Pro. X7 is a 5W machine, while X7 Pro is a 10W laser machine.
This article reviews Atomstack X7 by looking at its various features, capabilities, support, compatibility, upgrades, etc.
I’ve tested X7 on several materials like acrylic, denim, wood, glass, etc. I’ll also be sharing those results in this article.
What’s in this article?
MellowPine is reader-supported. When you buy through links on my site, I may earn an affiliate commission at no extra cost to you.
Atomstack X7 Review
Atomstack X7 Review Video

Subscribe to Mellowpine Lasers on YouTube for Laser tutorials and expert information- “Subscribe to Mellowpine Lasers YouTube Channel“.
Size
| Footprint (l x w) | Work Area (l x w) |
|---|---|
| 22.44″ x 23.62″ 570 mm x 600 mm | 16.1″ x 15.74″ 410 mm x 400 mm |
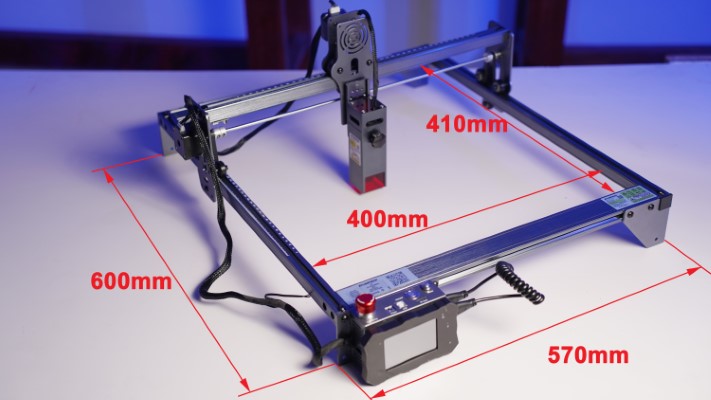
Footprint and work area of Atomstack X7
Atomstack X7 has an all-metal build made of anodized aluminum. It has a 22.44″ x 23.62″ footprint and weighs around 9.5 lbs.
The machine has an open-frame design made of four extruded aluminum profiles.
Its open design lets you easily load and unload workpieces from the work area. It has a work area of 22.44″ x 23.62″ (410 x 400 mm).
One of the linear extrusions has ruler markings on it. You can use it as a reference to figure out the rough position of a job.
Laser Module
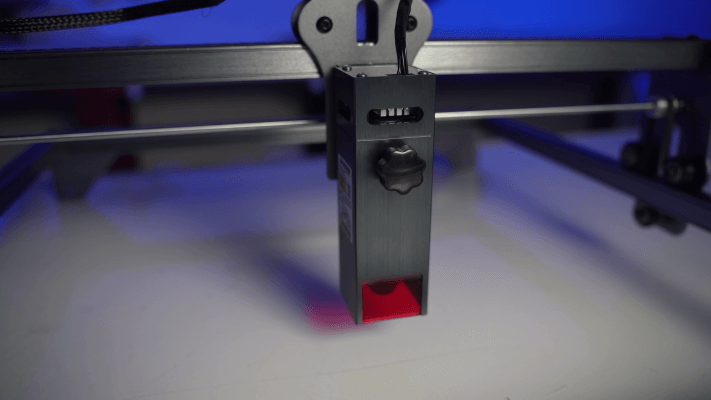
Atomstack X7 uses a 5W diode laser module. It uses quadruple laser compression technology to achieve a compressed spot size of 0.08mm.
Here the laser beam is passed through four consecutive lenses, which compress the laser beam to a small size.
This increases the energy concentration and allows the laser beam to achieve a sintering temperature of up to ~850℃. Also, such a small spot size allows you to engrave at high resolutions.
The laser module used in X7 has a standard lifetime of 10,000 hours, and you can get a replacement from Atomstack’s website or Amazon.
Generally, diode lasers are more energy-efficient and have lower power consumption than other types of lasers (CO2, fiber).
The laser head in X7 has an eye protection shield for blocking laser beams, but it’s not always reliable as some beams can escape through the focus gap.
So it’s better to use eye protection glasses. Accidental exposure to the beam can cause permanent damage to your eyes.
Atomstack doesn’t provide any safety glass with X7, but you can use any laser safety glass that can block the 455nm wavelength laser beam this diode laser emits.
Material Capability
Atomstack X7 can work on wood, composites, non-woven fabric, plastic, glass, paper, coated metals, stone, acrylic, rubber, ceramic, stainless steel, leather, etc.
The 5W diode laser module used on X7 is powerful enough for most engraving applications.
X7’s quadruple lens configuration provides a focal length of 30 mm to the laser beam, allowing it to stay in focus much longer.
This makes it possible to cut thicker materials like 15mm plywood. I’ve tested this machine myself and will discuss the results in this article’s “testing Atomstack X7” section.
Transmission/Linear drive
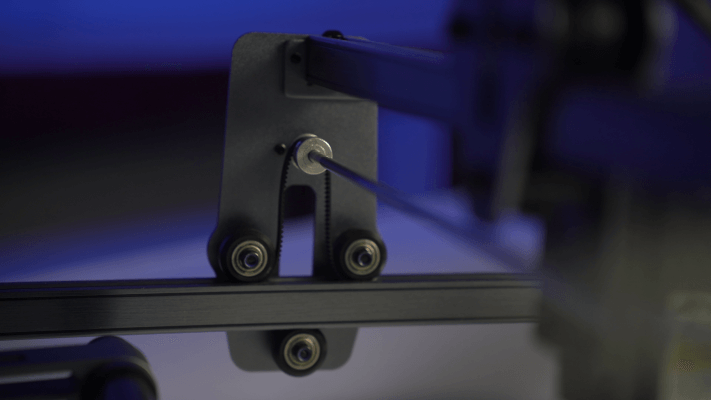
Atomstack X7 is driven using belt drives across the XY axes, and each of these axes is driven by a stepper motor.
Since the laser used on Atomstack X7 is a fixed-focus laser, you need to manually adjust the laser focus by moving the laser head up or down along the Z-axis.
Rollers locked inside the channels support the gantry’s movement on linear rails, providing a smooth transmission across the axes.
The maximum transmission speed X7 can achieve is 137.7 ipm (3,500 mm/min) and it has an engraving accuracy of 0.01mm.
Controller and electronics
Controller
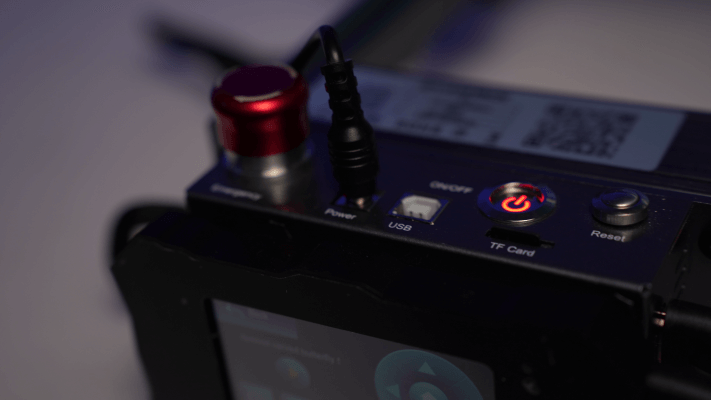
The controller module of Atomstack X7 is fixed to the front-facing frame. It houses the controller board, micro-SD slot, E-stop switch, power button, reset button, and USB port.
At the center of X7’s controller board is an ESP32 chip that allows X7 to function as a standalone system.
It also supports wifi connectivity, letting you operate the machine wirelessly.
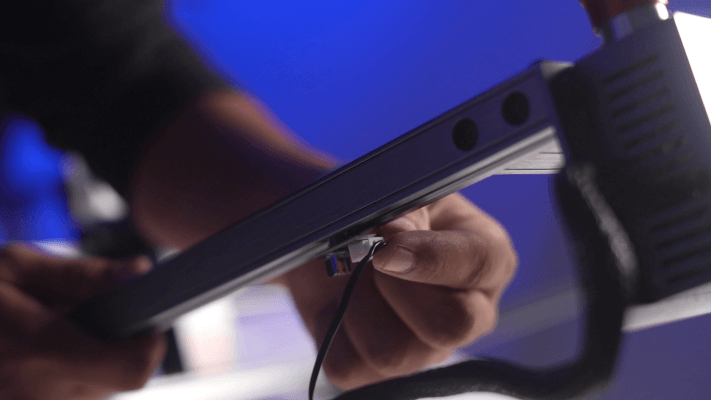
Offline Controller
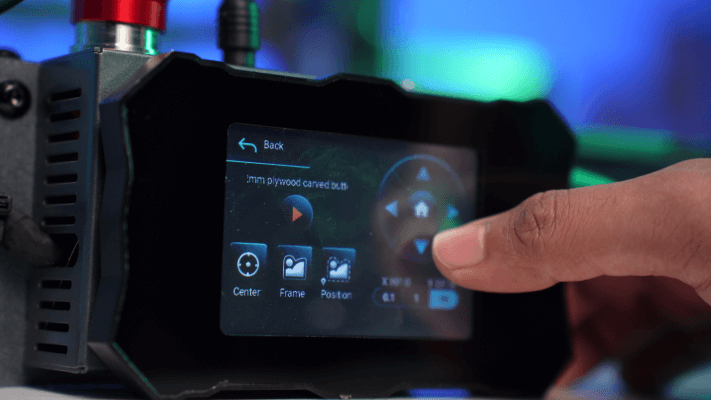
X7 comes with an offline controller having a 3.5-inch touchscreen. You can connect it to the controller module through an HDMI cable.
Using it, you can perform most functions like running a job, jogging or homing the machine, adjusting power and speed, etc.
It even shows the job status, and if you are running repeated jobs on X7, you can use the reset button on the controller box to repeat the job.
The offline controller’s back enclosure has a powerful magnet, which allows you to attach it to the controller module without any physical support.
Stepper Motor
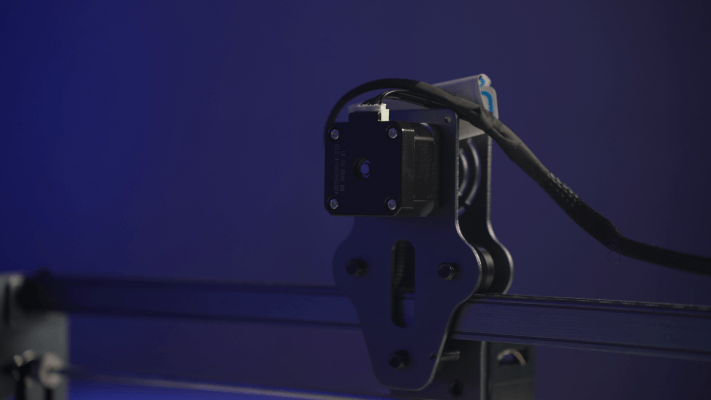
Atomstack X7 has a total of two NEMA 17 stepper motors. Each individually drives the X and the Y-axis.
Limit Switches
Atomstack X7 has limit switches on both the X and Y axes. It helps you home the laser head.
Software

Atomstack X7 is compatible with LaserGRBL and LightBurn software.
LaserGRBL is free to use but only works on Windows OS. It is a control-specific software and cannot make designs.
LightBurn is a paid software, and it can work on Windows, Mac, and Linux OS. It is CAD, CAM, and control compatible.
If you are more into engraving images on the workpiece, LaserGRBL is good enough software.
But if you want to cut materials, LightBurn is a much better option as it is great for working with lines.
You can send the design files from the computer to X7 through a USB cable, SD card, or WiFi.
If you run jobs with long work hours, sending it through the SD card and controlling it through the offline controller will be the best option.
Assembly
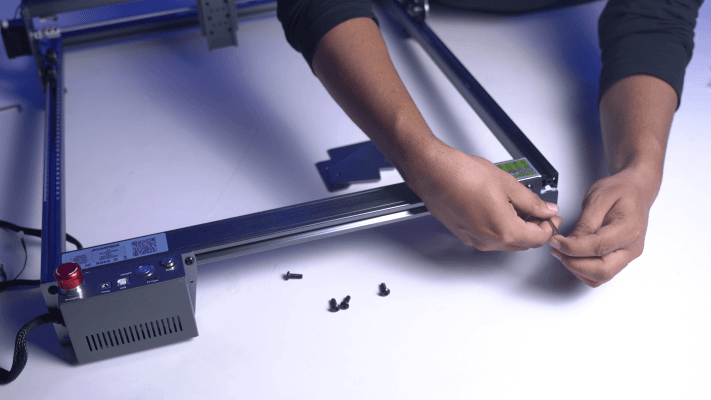
Atomstack X7 comes unassembled, and you’ll have to assemble each part to build the machine. However, you can assemble it in about 20 minutes.
The product manual sent with the machine has detailed instructions on assembly.
Accessories
Atomstack X7 comes with some wood and acrylic sheets that you can use for testing with your machine.
Additionally, a tool kit, brush, dust-free cloth, wire tie, fixed focus film, SD card, and a card reader is provided.
Upgrade
Atomstack has multiple upgrade options available for the X7 laser machine.
This includes a rotary, honeycomb working table, air assist pump, work area extension kit, and tower extension for increasing the work area height.
Atomstack R3
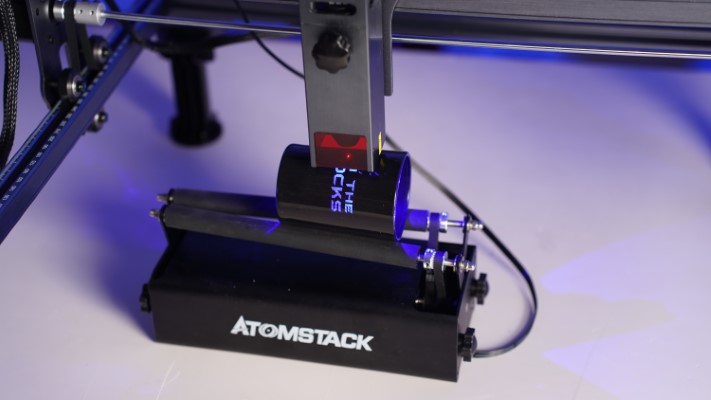
Atomstack R3 is a universal rotary roller attachment. It comes with four metal legs that you can use to increase the work area height for housing the rotary attachment.

The diameter can be adjusted in 8 steps.
Workpiece diameter can be anywhere between 4mm and 100mm
R3 Column
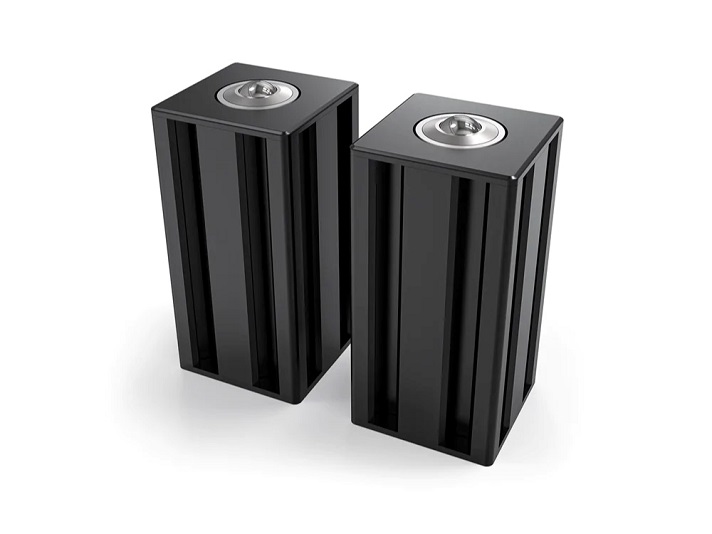
R3 Column is a set of two support columns. Together with the rotary roller, it helps slide lengthy workpieces through the work area of the X7 laser engraver.
No products found.
Honeycomb Worktable
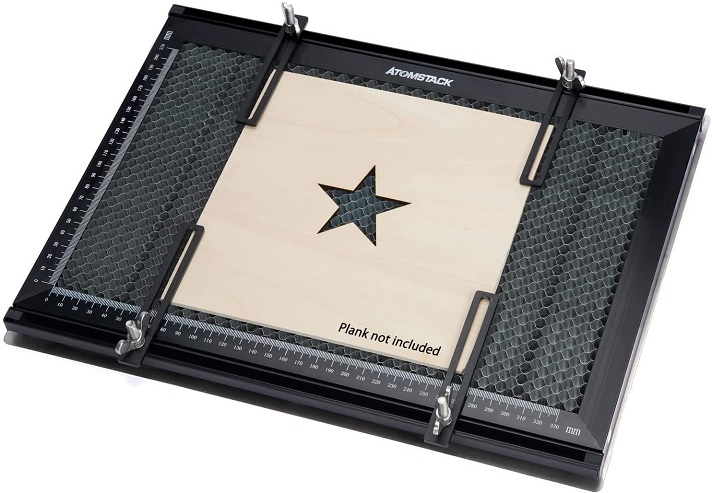
Atomstack has a honeycomb worktable which you can use on Atomstack X7 laser machines.
It has an all-metal structure and measures around 14.99″ x 11.1″ x 0.86″ (380mm x 284mm x 22mm).

Prevents the laser reflection from damaging the laser head during the cutting process.
Air Assist Pump
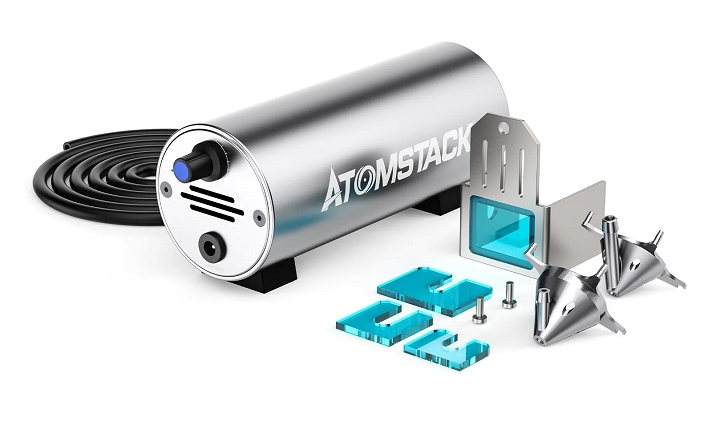
Atomstack has an air assist pump that you can use to clear the generated smoke from the laser beam path.
You can adjust its airflow anywhere between 10L/min to 30L/min. In addition to the pump, the kit comes with four filter glasses and three wind hoods.

Removes the smoke and dust generated during the cutting process.
Work Area Extension
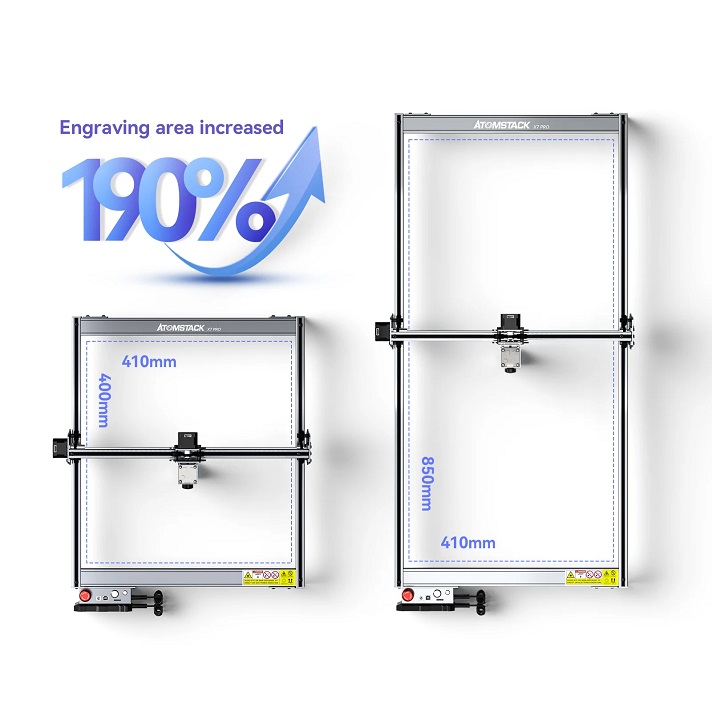
Atomstack has an extension kit that you can use to expand X7’s work area to 33.4″ x 16.1″ (850 mm x 410 mm), which is an increase of 190% from the initial work area.
No products found.
Community
Atomstack has a dedicated Facebook group for X7 users. You can join these groups to connect with the community.
Some of its community members are active on YouTube, and they provide many helpful insights on Atomstack’s laser machines.
Customer support
Atomstack offers a one-year warranty for the X7 laser engraver. For queries, you can contact them through email, WhatsApp, or live chat on their Facebook page.
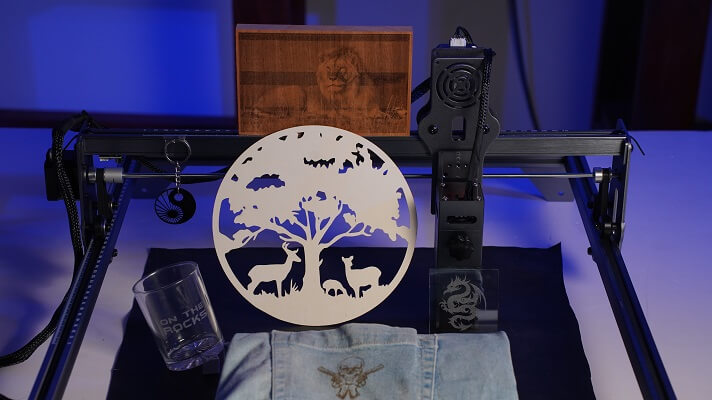
Testing Atomstack X7 on Different Materials
Paper Board

The X7 was able to cut 1mm thick paper board at 750 mm/min in 3 passes at 100% power. The cuts were clean and sharp.
Glass
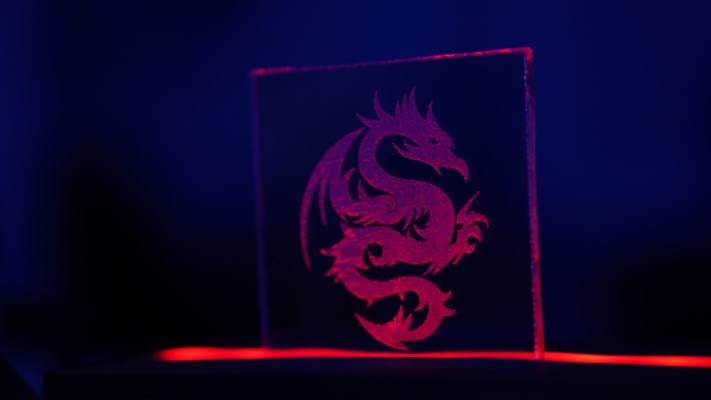
You can use Atomstack X7 to engrave on glass, the results are crisp and have good contrast. X7 was able to engrave a black paint coated glass piece at 300 mm/min and 100% power.
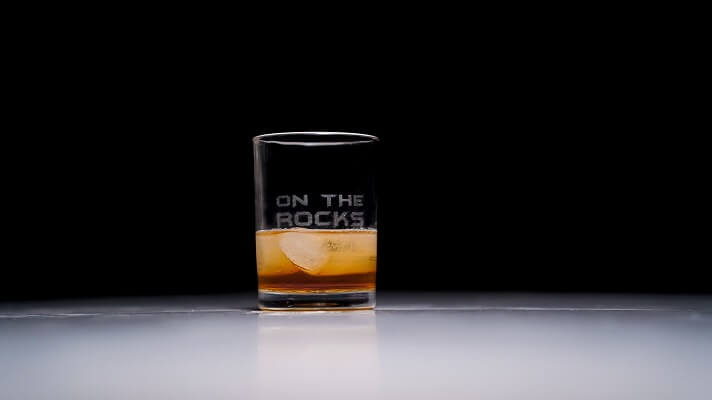
I was also able to engrave a drinking glass using the rotary roller accessory and the results were great.
Wood
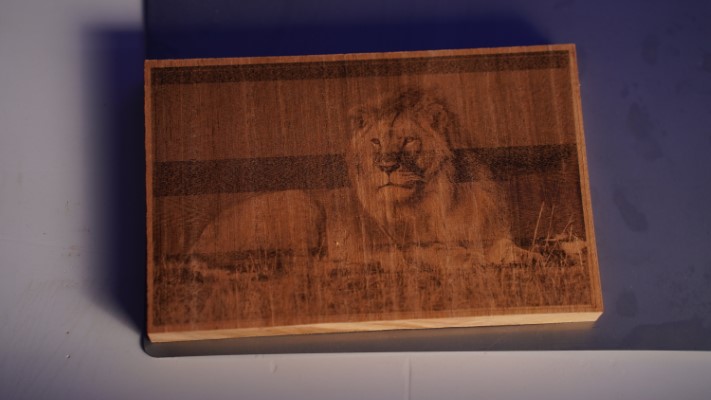
The detail while engraving photos on hardwood using the X7 is good. There was good contrast between different areas of the image.
I printed a 4 x 6 photo on a piece of Mahogany wood and the X7 took about an hour and a half to complete.
Acrylic
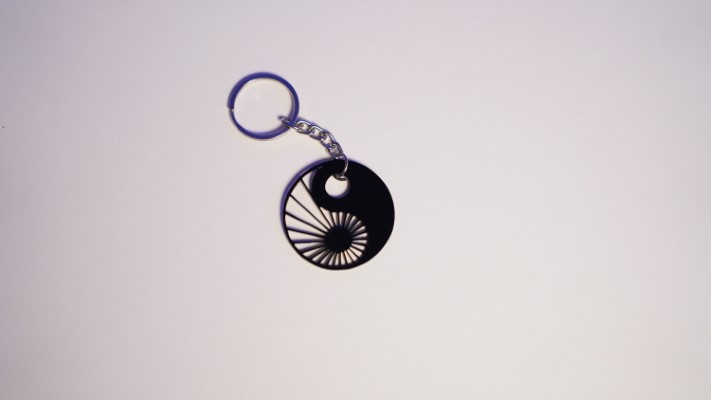
The X7 can cut acrylic with clean edges. I was able to cut 2mm black acrylic in 4 passes at a speed of 300 mm/min and 100% power.
Final Thoughts
Atomstack X7 is one of the most cost-effective laser cutters on the market and has a good build quality.
Though it’s priced higher than most 5W laser engravers, it does come with additional features and is future-proofed with expandability.
Using X7, you can perform engraving operations on most materials except some metals. It can also cut thin materials like felt, paper, cardboard, plywood, etc.

Its laser spot is smaller than ordinary lasers.
Atomstack provides a one-year warranty for this machine.
If you buy from Atomstack, you can get $20 off by using this father’s day coupon code- 20USDOFF
Frequently asked questions
Does Atomstack X7 come with software?
No, Atomstack X7 doesn’t come with any software, but it works with LaserGRBL and LightBurn software. LaserGRBL is free to use and can be downloaded from its website. LightBurn is a paid software, but it has advanced features.
Can I cut metals on Atomstack X7?
No, you can’t cut metals on Atomstack X7. The 5W diode laser used on X7 is not powerful enough to cut through metals. With repeated cuts, you may be able to cut thin (0.63 mils) metal foils but can’t cut metal sheets larger than that.
Can Atomstack X7 engrave on glass?
Yes, Atomstack X7 can engrave on glasses. You need to blacken the glass surface and place it on a plane work surface so that the laser-induced heat won’t easily escape from the material. As the laser heats and melts the glass, you’ll get your design engraved on it.