


Laminate flooring is one of the most commonly used flooring options that provide a variety of patterns and designs to choose from.
But what if you already have ceramic tile flooring? Can you install laminate flooring on ceramic tiles?
Yes, you can put laminate flooring over ceramic tile, provided the tile surface is level and in good condition. It’s essential to ensure that the ceramic tile is clean and dry. A layer of underlayment may be necessary to provide a smooth surface for the laminate planks to lay on.
This article provides a detailed guide for installing laminate flooring over ceramic tiles by going through the preconditions and the steps involved in installing the laminate flooring.
MellowPine is reader-supported. When you buy through links on my site, I may earn an affiliate commission at no extra cost to you.
Before Installing Laminate Flooring Over Ceramic Tiles Consider these
Laminate floorings are flexible and delicate panels that are prone to warping, bending, swelling, etc., if proper installation is not performed.
Therefore, it is important to ensure that your floor meets the required preconditions before installing the laminate flooring.
Check Existing Tile Condition
Ensure ceramic tiles in your current installation are not chipped or broken, and fill up the grout joints and gaps using epoxy to make the surface level.
This ensures uniform distribution of pressure that will be exerted on the laminate floorings after installation and prevents them from stress concentration, which can damage the flooring.
Prepare the Surface for Installation
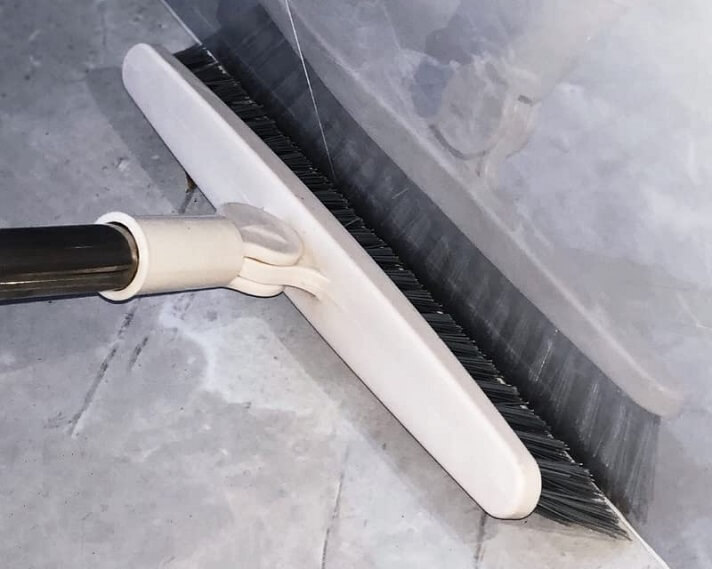
Make sure the surface is clean and free of any debris and moisture.
This is very important as irregularities may lead to deformities in installation.
You can use a microfiber cloth and soapy water to clean the surface effectively.
After cleaning the floor, allow it to dry naturally or use a blower to speed up the drying process.
Estimate for the Change in Height After Installation

Installing the laminate flooring over ceramic tile flooring will result in a significant increase in the flooring height.
This increased height can block the movement of doors and closets.
Therefore it is important to estimate the increase in height and ensure that no other element of the room is affected.
Provide Gaps for Expansion
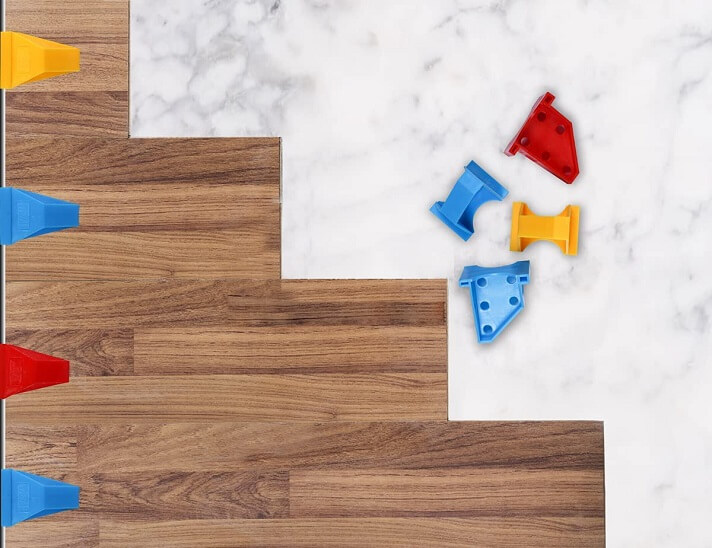
Laminate flooring undergoes expansion when subjected to changing temperatures and humidity.
Therefore, a provision for expansion must be accounted for to prevent buckling and other structural defects.
You can use spacers to leave a uniform gap around the room’s perimeter and other fixed objects like pipes, door frames, and fireplaces.
Furthermore, these gaps should also be considered when measuring the work area for calculating the estimated laminate flooring requirement.
Select the Right Underlay and Subfloor
Laminate flooring is also known as ‘floating floor’ as the boards are not glued or nailed. Instead, they are locked in place together.
Subfloor condition, thereby, is of prime importance for the level of finishing.
Apart from minimizing moisture seepage from below, underlayment has other appealing advantages, like a comfortably warmer underfoot and better acoustics (to avoid those creaky floorboards).
Fiberglass-reinforced polyethylene (PE) is the best-suited underlay option when installing laminate flooring over ceramic tiles.
It is advised to use a leveling compound if the tile flooring is uneven.
Moreover, such floor patching compounds can also even out irregular subfloor textures.
However, some laminate options already have an underlayment, rendering this step completely redundant.
Select the Optimal Installation Method
Certain manufacturers recommend the floating method for installation, where planks are locked together through notches and grooves, while some designs suggest gluing down these planks over the underlay.
Therefore, it is essential to use the appropriate installation method for the laminate flooring you have chosen and to follow the manufacturer’s instructions.
Based on this, you have to purchase the tools required for installation.
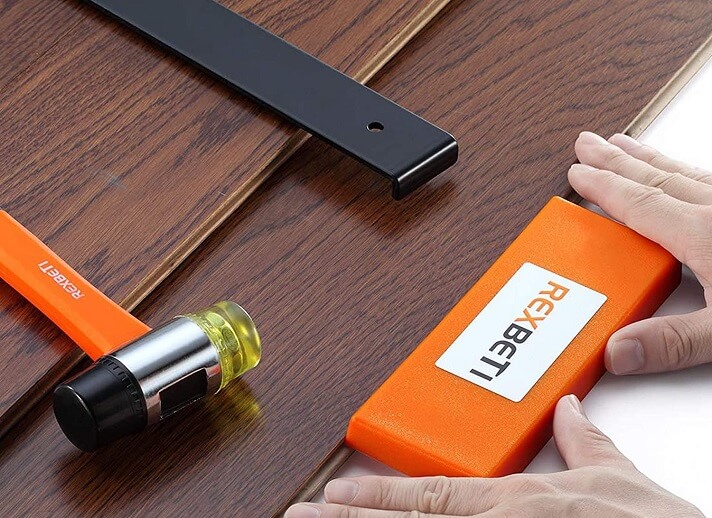
Select the Right Tools to Maximize Efficiency
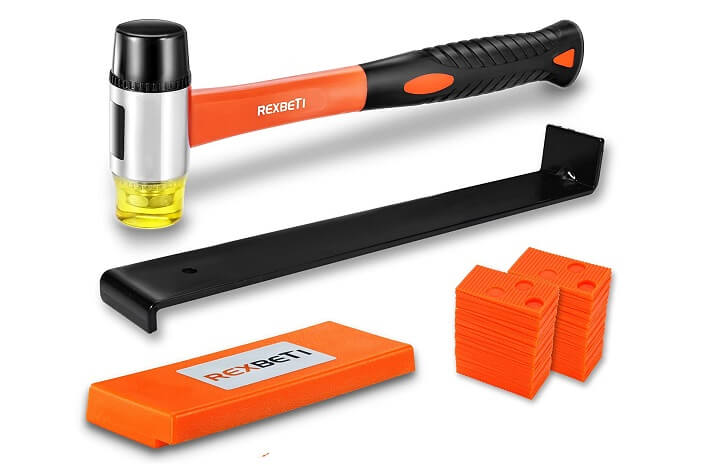
To install laminate flooring, you will require some essential tools to mark, cut, and fit the laminate flooring perfectly.
A rubber mallet is used to hammer the laminate floorings and ensure proper interlocking of consecutive pieces.
Using a rubber mallet prevents damage to the flooring. However, you can use small cut-outs of the flooring to soften the blow further when tapping blocks into place.
Rulers, set squares, and multi-angle rulers are useful to measure the requirement for cutting the laminate flooring.
Although laminate floorings are soft and can be cut by using a hand hacksaw, a power saw is preferable for improving productivity.
Apart from that, a utility knife is used for cutting intricate parts where a power saw can be unreachable.
You can either purchase these tools individually or purchase a laminate flooring installation kit that includes all the tools required for installation, including some spacers.
How to Install Laminate Flooring over Ceramic Tile?
Step 1: Prepare the Surface

The first step in installing laminate flooring over ceramic tile is to prepare the surface.
This includes cleaning the tile, checking for levelness, and ensuring that the tile surface is clean, dry, and free of any cracks or chips.
Mark floor height on existing trim prior to removal. For this purpose, you can use a piece of your new floor as a guide.
Things that can go wrong:
- If the tile surface is not cleaned properly, dirt and debris can get trapped under the laminate planks, causing them to warp or buckle.
- If the tile surface is not level, the laminate planks can create gaps between them, causing the laminate to warp or buckle.
How to avoid them:
- Make sure to clean the tile surface thoroughly before installing the laminate.
- Use a self-leveling compound to level the tile surface.
Step 2: Measure and Cut the Laminate Planks
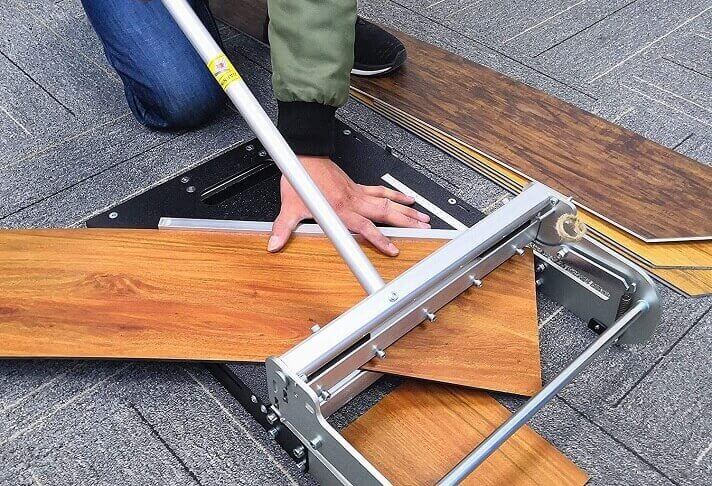
The next step is to measure the room and take into account the expansion gap needed around the room’s perimeter.
When measuring the room, it’s important to take into account any irregular shapes and mark openings such as vents, drains, etc.
It’s also important to measure the width of the doorways and any other openings to ensure that the laminate planks will fit through them.
You can use a shear cutter, such as MantisTol LVT-330, to get clean and accurate cuts in the laminate planks.
Things that can go wrong:
- Improper measurement can lead to improper cutting of the laminate flooring, thereby increasing wastage.
- Although a slight error in measurement can be acceptable during installation, it can lead to warping and bending due to expansion and compression in the long run.
How to avoid them:
- Measure the room accurately and consider the tolerance for the expansion gap around the room’s perimeter.
- Use a saw or a laminate cutter to make clean cuts in the flooring panels to avoid rough cuts that affect the dimensional accuracy.
Step 3: Install the Underlayment
The next step is to install the underlayment. It is a material layer placed between the laminate planks and the tile surface to act as a moisture barrier and improve cushioning of the flooring.
When applying the underlayment, check the grout lines, and if needed, use a leveling compound to smoothen out any irregularities.
Generally, a thick underlayment is preferred for better cushioning, but if the height of the flooring is a concern, it is advised to use a thin foam to minimize the thickness of the new flooring.
Things that can go wrong:
- Improper installation of underlayment can cause the laminate planks to warp or buckle.
How to avoid them:
- Select an underlayment compatible with the laminate flooring and the tile surface.
- Follow the manufacturer’s instructions for installing the underlayment.
Step 4: Install the Laminate Planks
The next step is to install the laminate planks. Some types of laminate flooring are designed to be glued down, while others are designed to be floated.
Most laminate flooring installations work in a certain direction, as their interlocking arrangements are aligned in a particular way.
Therefore, it is advised to make a rough installation on the floor to understand the installation mechanism of the flooring.
Use a mallet to ensure proper interlocking of consequent pieces of laminate flooring and avoid any gaps in the surface.
When installing the laminates around the corners, it is advised to join the laminate flooring by tapping them with a mallet and then sliding them into the corner.
This helps to avoid over-tapping the flooring planks and prevents deformations like buckling or peaking.
Use spacers to maintain a uniform expansion gap on all sides of the laminate flooring.
Things that can go wrong:
- Misalignment of the consequent planks can cause buckling and uneven floor surfaces.
- When installing the laminates, make sure that you select the right piece of flooring that you cut according to the measurements around the corners and pillars.
How to avoid them:
- Use the correct adhesive and spread it evenly across the tile surface.
- When floating the laminate planks, use the appropriate underlayment and follow the manufacturer’s instructions.
- Add a label or marking under each laminate plank during the measuring and cutting phase to avoid mismatch.
Step 5: Install the Transition Stips and Baseboard Moldings
After completing the installation of laminate flooring, install the transition strips wherever required.
These strips are generally vibrant and visually noticeable to make people anticipate a change in height while walking on the flooring.
This adds to safety by minimizing the risk of stumbling over an unnoticed change in the floor height.
Apart from that, transition strips are also used to transition the flooring from tile to laminate flooring gradually.
For example, your application involves installing laminate flooring in the dining area with an adjacent kitchen area that still has tile flooring.
The installation of laminate flooring over tile will result in an elevation in the floor height of the dining area.
Therefore, a transition strip will provide a gradual offset to match the difference in heights and the design of the kitchen and the dining area.
After installing the transition strips, use baseboard moldings to secure gaps at the edges and corners of the flooring.
Step 6: Final Inspection
Finally, check the entire work area for finishing. There should be no undue gaps other than the ones accounted for in the measurement stage.
Ensure transition strips and baseboard moldings are all installed at the right intersections.
Check openings like vents for proper fitting as per the new flooring scheme.
Corrections to any of the installations must be done at this stage itself, otherwise, the planks may deform over time due to incorrect installation.
Laminate Flooring vs Ceramic Tiles- Which one to Choose?
| Characteristics | Laminate | Ceramic Tile |
|---|---|---|
| Waterproofing Capabilities | Good | Excellent |
| Aesthetic Styling | Wide Variety | Limited options |
| Durability | Good | Excellent |
| Ease of installation | Self/DIY | Needs professional aid |
| Cost | Affordable | Expensive |
| Time To Install | Faster | Slower |
| Cleaning requirements | Needs cleaning solvents and a microfiber cloth | Steam mops, general cleaning |
| Maintenance | Prone to scratches and spillage damage. Requires frequent maintenance | Scratch resistant, does not require frequent maintenance |
| Pet & Child Friendly | No | Yes |
Laminate Flooring or Ceramic Tiles: Which has Better Waterproofing Capabilities?
While Laminate floorboards may tolerate the occasional spill, they absolutely cannot handle stagnant water.
On the other hand, ceramic tiles are better suited for outdoor applications, areas exposed to higher-than-normal temperatures and moisture.
Moreover, with proper installation, tiles are also suitable for bathrooms and kitchens that are subjected to heavy water applications.
Laminate Flooring or Ceramic Tiles: Which Provides Better Aesthetic Styling?

Laminate flooring is the obvious winner here as they can recreate next to authentic looks of a wide variety of finishes, such as wood flooring, stone, marble, etc.
Although ceramic tiles also provide a wide variety of styling options, the cost of the tile increases significantly with the design and texture.
Laminate Flooring or Ceramic Tiles: Which is More Durable?
Laminated floors have a scratch-resistant coating, and with proper maintenance, they can even last over two decades.
However, ceramic tiles are comparatively more durable than laminate floorings and can last almost a lifetime when maintained properly.
Laminate Flooring or Ceramic Tiles: Which is Easier to Install?

Laminate floorboards are relatively easier to install, owing to their ‘interlocking’ groove patterns. While ceramic tiles often need professional assistance for correct installation.
Apart from that, laminate flooring can be installed relatively much faster than ceramic tiles for a similar work area.
Which is Affordable: Laminate Flooring or Ceramic Tiles?
Laminate options are much cheaper and more convenient as compared to ceramic tiling.
Apart from that, laminate flooring can also provide a similar look to ceramic tile at a lower cost.
Therefore, ceramic tiling is generally preferable when durability and waterproofing are of utmost importance.
Laminate Flooring or Ceramic Tiles: Which is Easier to Maintain?

Laminate floorboards can easily be isolated and replaced, hence maintaining them requires considerably less effort.
Ceramic tiles on the other hand are cumbersome to maintain and may require frequent cleaning and polishing.
Furthermore, replacing a damaged tile requires a tedious process which risks damaging of other tiles as well.
Laminate Flooring or Ceramic Tiles: Which is More Pet & Child Friendly?

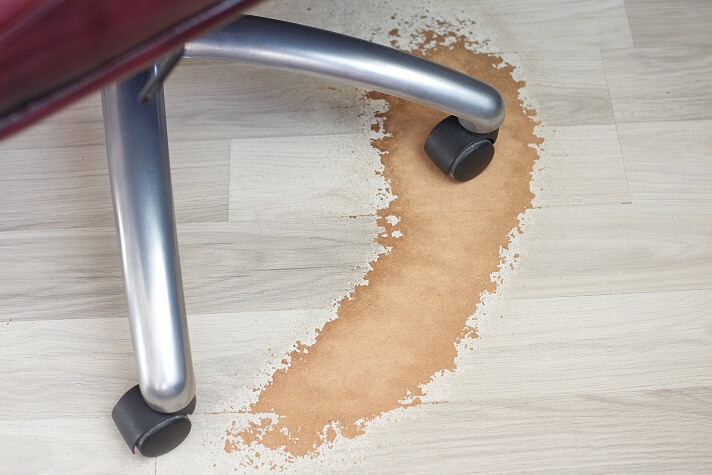
Laminate flooring is susceptible to scratches and markings, while ceramic tiles provide excellent abrasion resistance and can withstand scratches.
On the other hand, laminate flooring is comparatively softer and provides cushioning to minimize the risk of injury that a child can face by slipping and falling on the floor.
However, you can install temporary carpet flooring over the ceramic tile to provide cushioning while maintaining its durability.
Final Thoughts
In summary, it is possible to install laminate flooring over ceramic tiles as long as the tile surface is level and in good condition.
A layer of underlayment may be necessary to provide a smooth surface for the laminate planks to lay on.
It’s essential to make sure that the ceramic tile is clean, dry, and free of any cracks or chips before installing the laminate.
You might also like reading,
Frequently Asked Questions (FAQ)
Should I use an 8mm laminate or a 12mm laminate?
You should use the 12mm laminate flooring over 8mm laminate for better durability and comfort. However, 8mm flooring is preferable for applications where the height and cost of the flooring are decisive factors. Generally, 12mm laminate flooring has a 2mm underlay included in it.
Can laminate flooring be installed over tile flooring that has underfloor heating?
Yes, laminate flooring can be installed over tile flooring that has underfloor heating. Still, it is essential to check the manufacturer’s instructions and ensure that the underfloor heating system is compatible with the laminate flooring.
Can laminate flooring be installed over a tile floor previously sealed or coated?
Yes, as long as the tile surface is level and in good condition, laminate flooring can be installed over a tile floor that has been previously sealed or coated.