Making 45-degree cuts with a circular saw might seem like an intimidating process, but with a little bit of preparation and practice, anyone can do this.
There are two possible 45-degree angle cuts with a circular saw, a bevel cut, and a miter cut.
In this guide, I’ll show you how to do both.
You can use this method to make a cut on any material like baseboards, door trim, window trim among others. I’ll be demonstrating on a wooden board.
Also, the brand of the circular saw does not matter for this method.
Cutting a 45 degree angle with a Circular Saw- Guide
There are three types of cuts you can make at 45 degrees with a circular saw. I show all three methods below.
However, remember that you can make cuts of any angle with a circular saw.
Cutting a 45 degree Angle with a Circular Saw-Video

1. Bevel Cutting at 45 Degree with a Circular Saw (Along the Length)
As the first step, I’ll show you how to use a circular saw to do a 45° angle bevel cut.
Begin by placing the sacrificial sheet onto the working surface. The sacrificial sheet is meant to protect the work surface from the blade.
Place the wood to be cut on the sacrificial sheet.
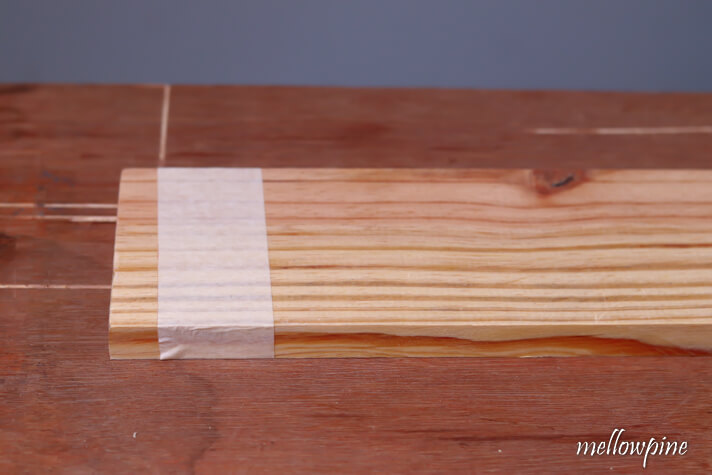
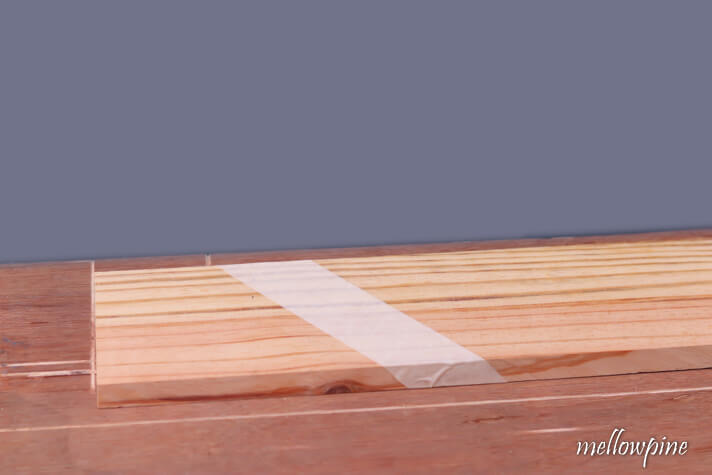
Now fix masking tape over the area where you would like to draw the mark.
This is done so that while cutting the wood, masking tape will prevent splinters.
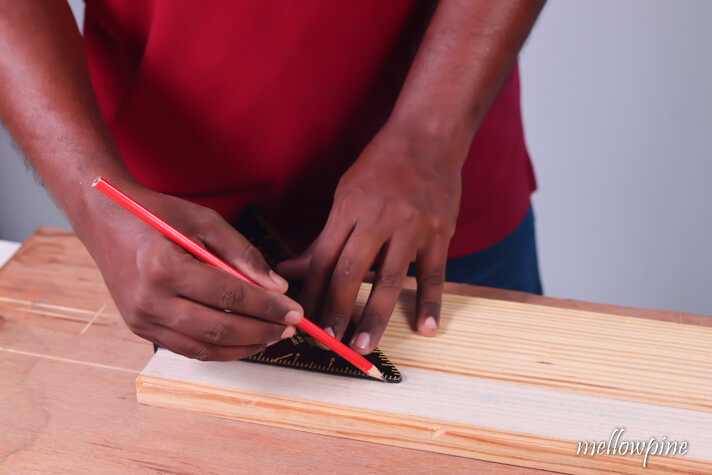
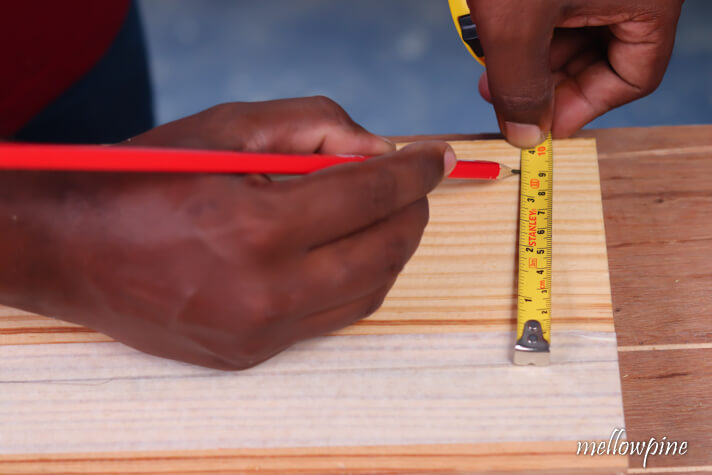
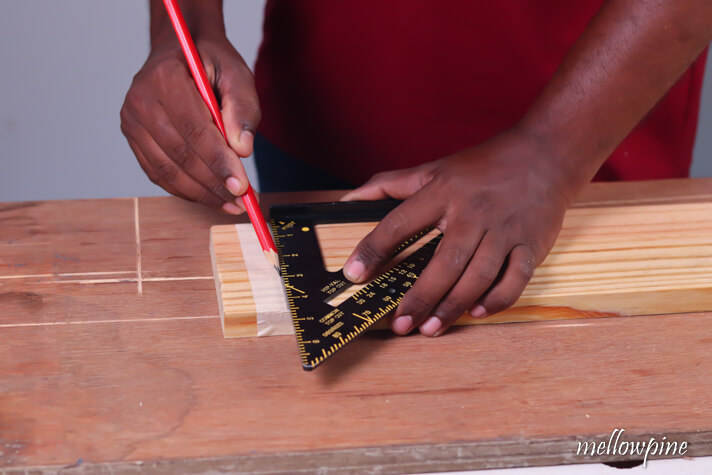
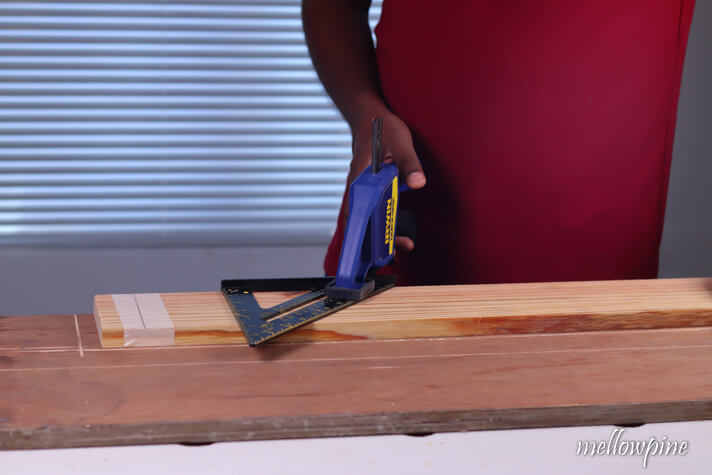
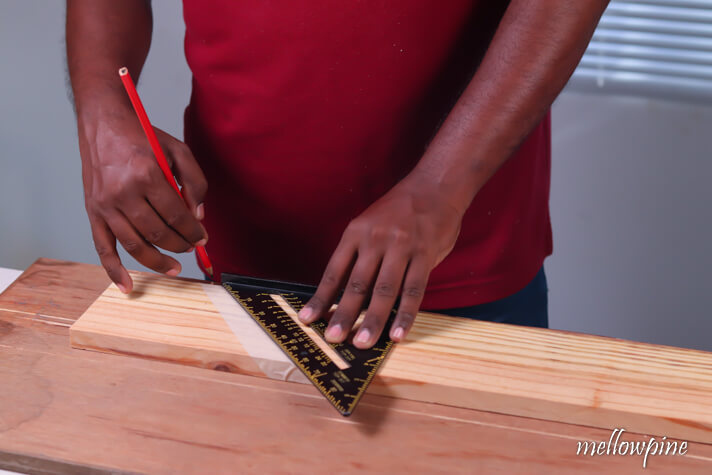
Using a speed square and a pencil, draw the mark over the masking tape.
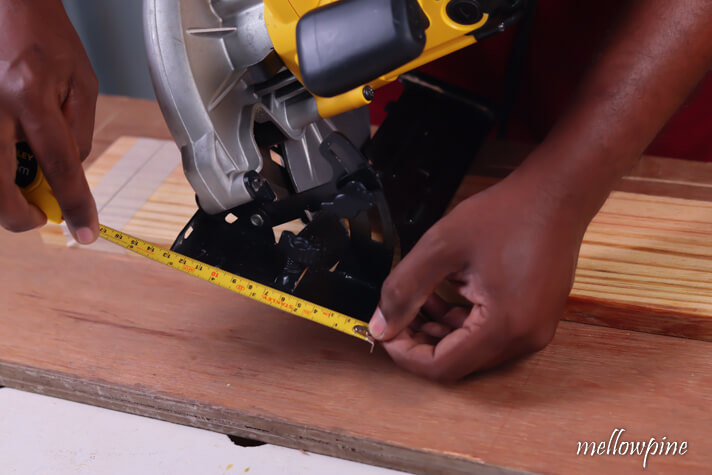
Once the mark has been made, measure and mark the offset distance from the saw blade and the edge of the shoe of the saw.
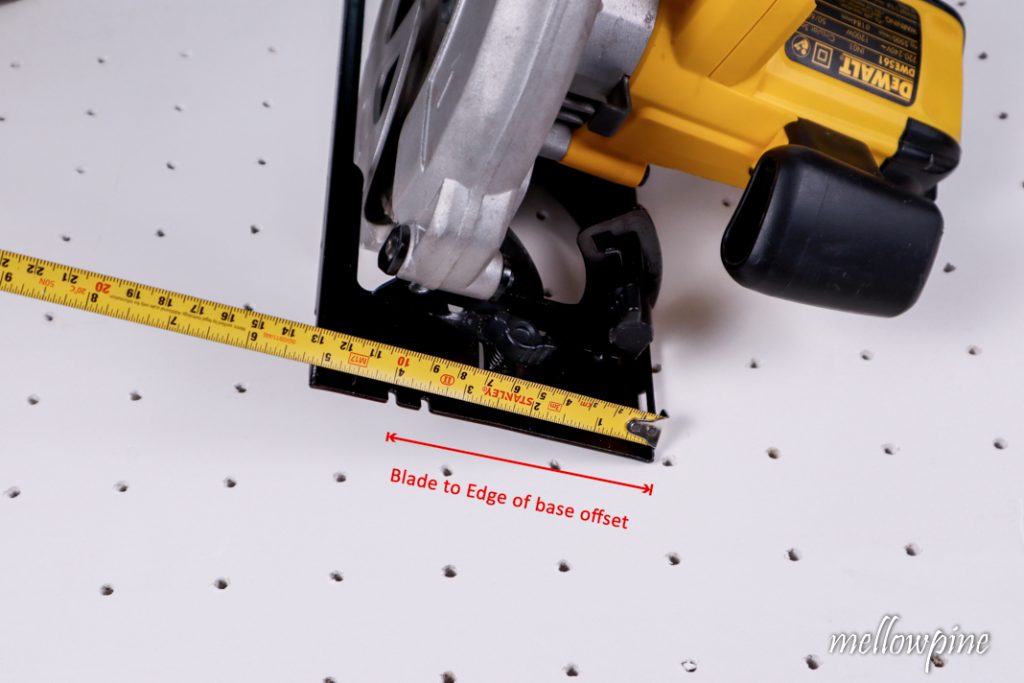
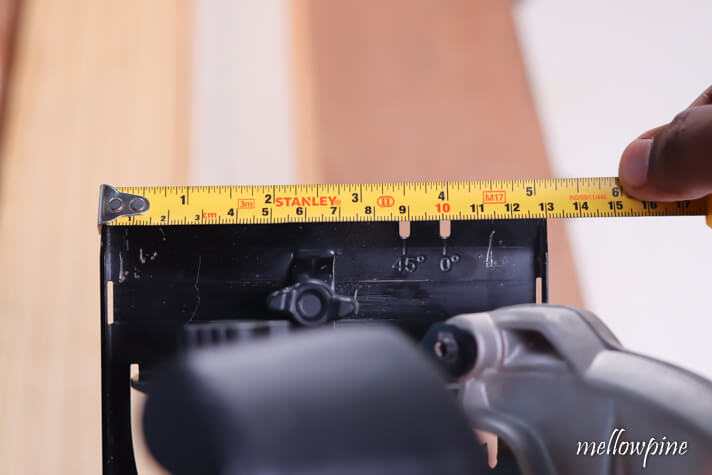
Transfer this offset distance onto the wood to be cut.
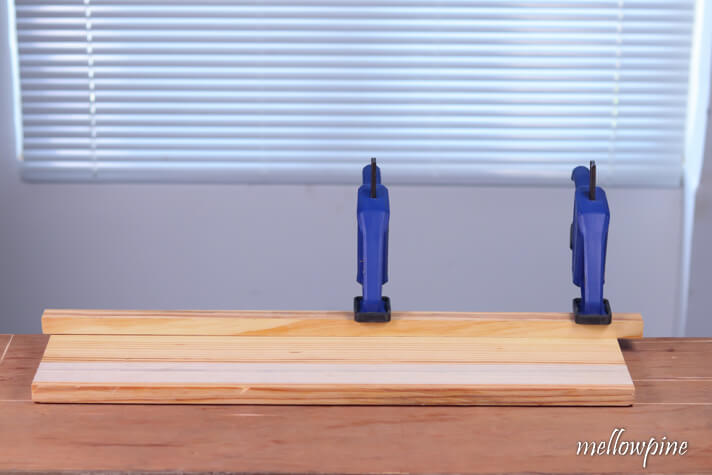
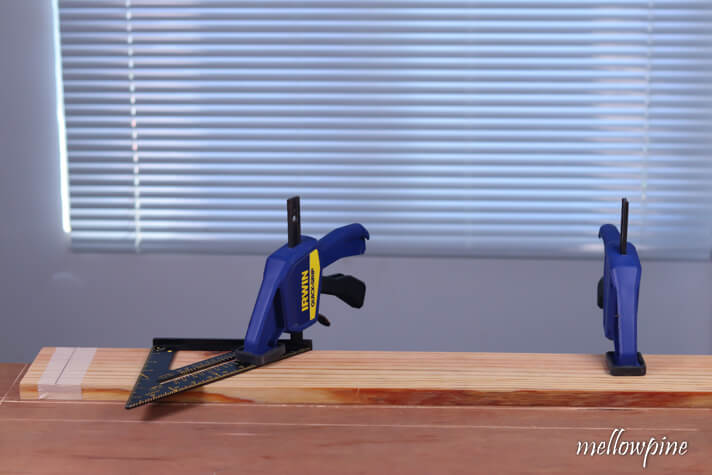
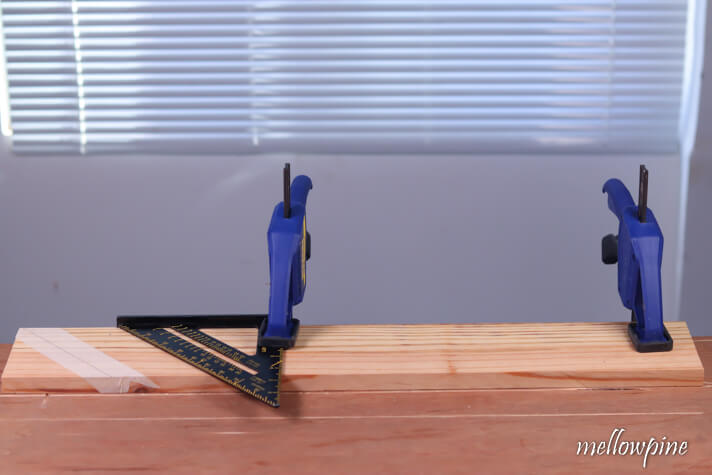
Place a straight edge or a long level at the edge of the drawn line and clamp it down in place.
This straight edge will guide the circular saw along a straight line as you make the cut.
As the offset distance (from the blade to the shoe) was transferred onto the wood, the blade of the saw will align perfectly with the mark.
Make sure that both the end and the middle of the wood are clamped and secured.
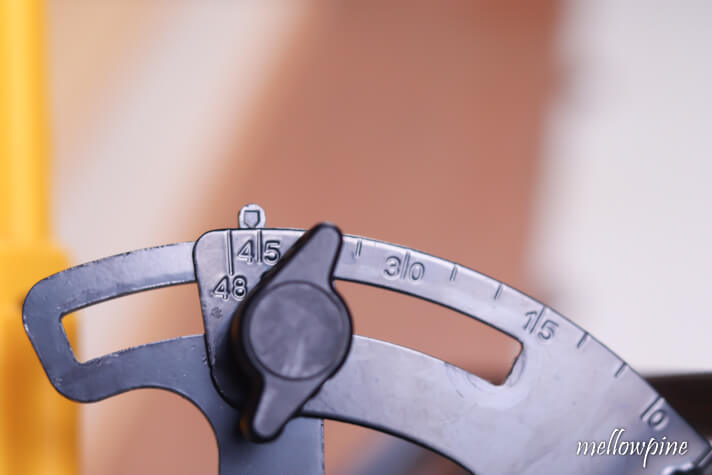
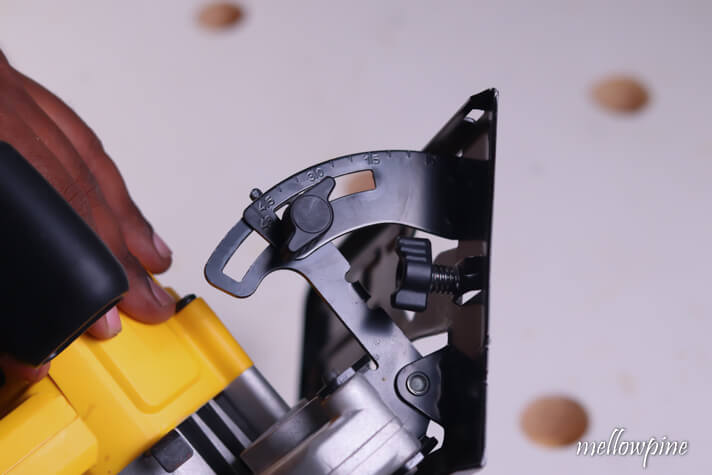
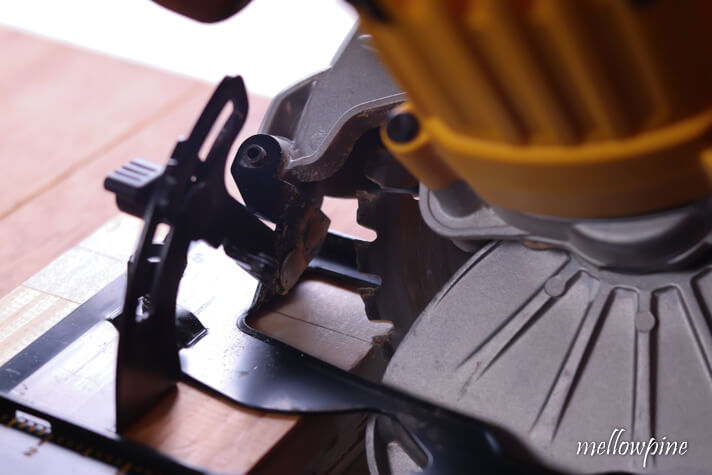
To adjust the angle of the blade, loosen the screw near the angle guide to free the blade.
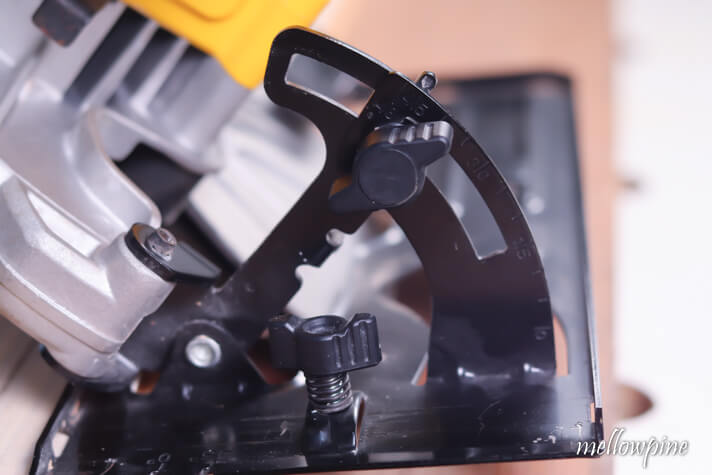
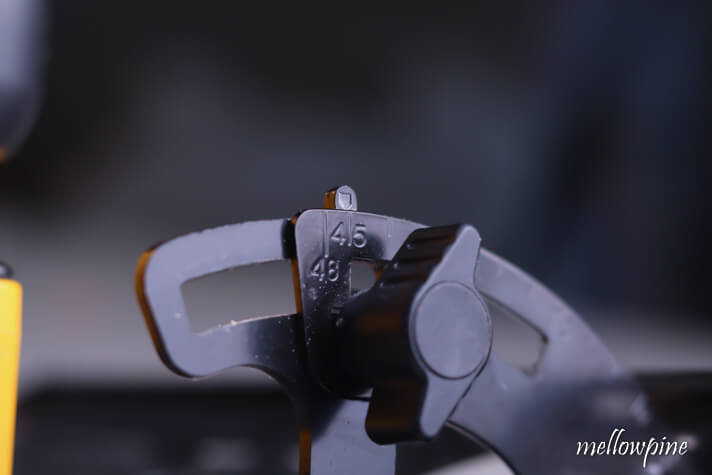
Using the indicator provided on the saw, adjust the saw blade angle with the help of the angle guide on the saw itself.
In this particular case, you can set the angle to 45 degrees.
Adjust the depth of the blade according to the depth of the wooden piece you wish to saw.
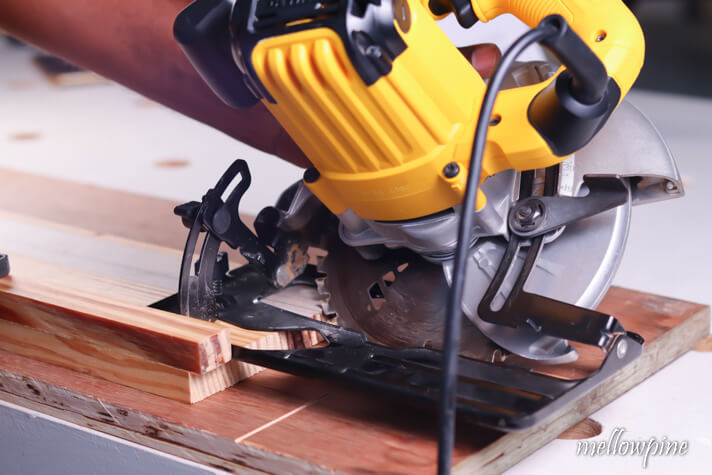
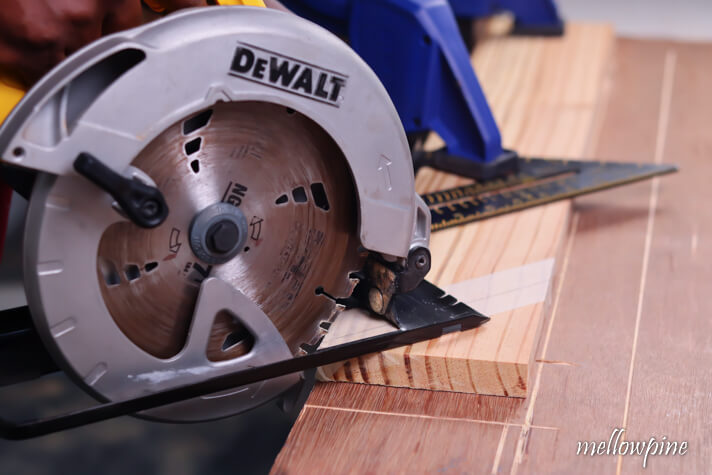
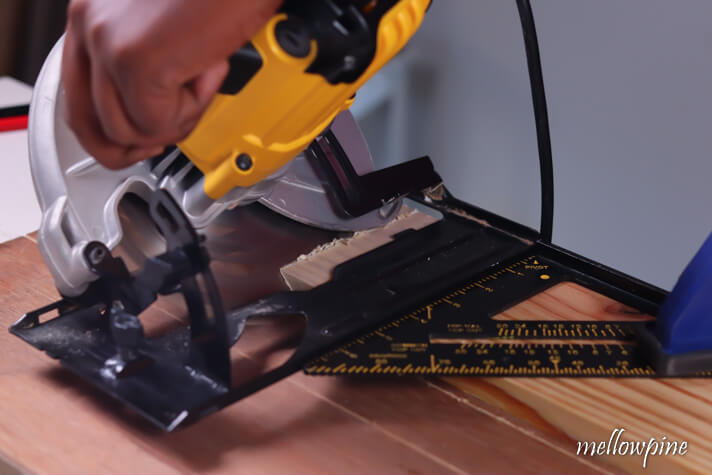
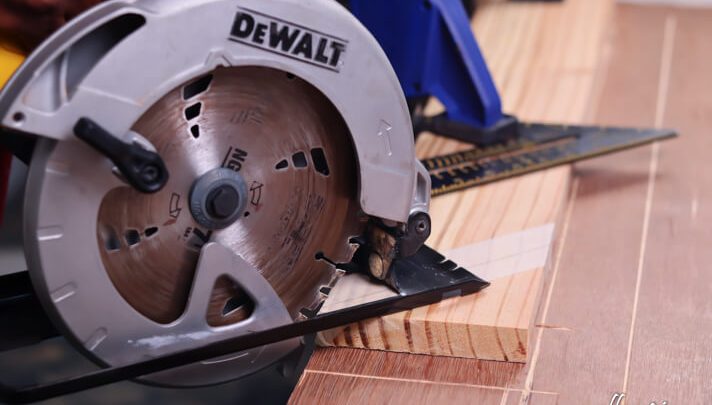
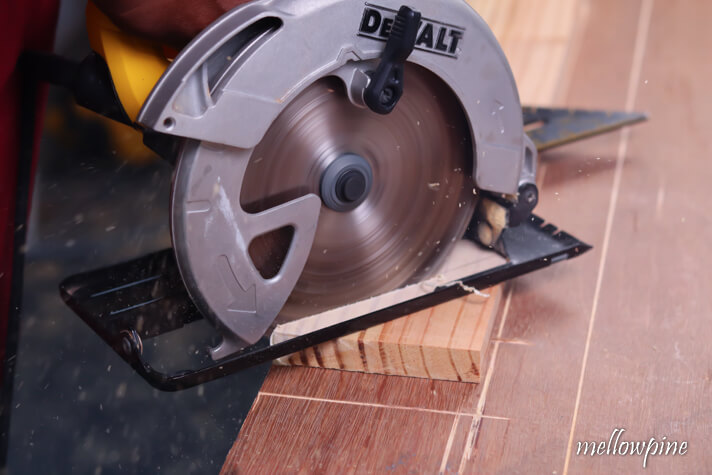
Begin cutting by using the clamped speed square as your guide. Saw completely through till the end and make sure the wood is separated completely into two.
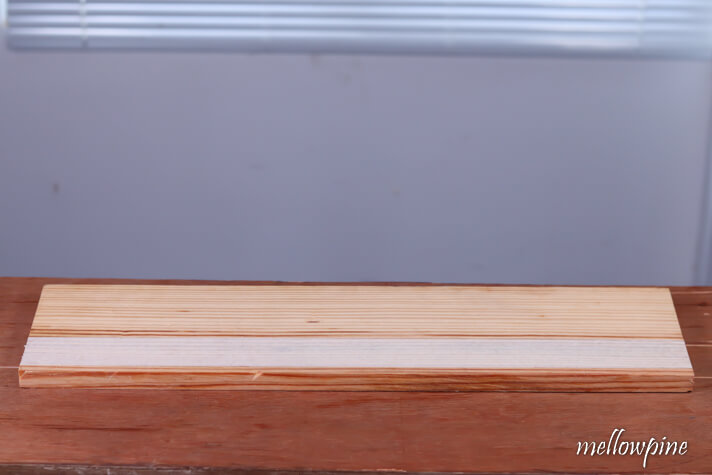
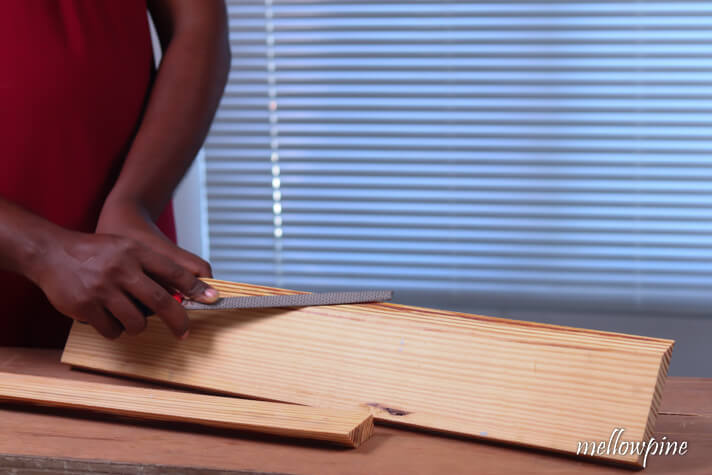
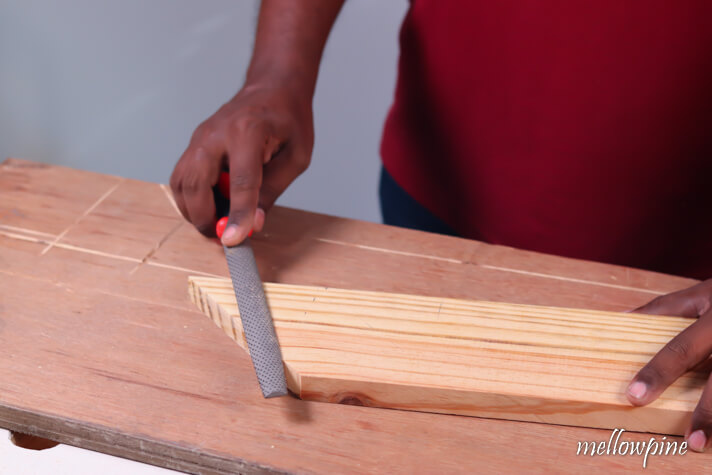
Provide the finishing touches using a rasp or sanding paper.
2. Bevel Cutting at 45 Degree Angle with a Circular Saw (Along the Width)
Start by placing the sacrificial sheet onto the working surface.
Now, place the wood to be cut on the sacrificial sheet.
Fix masking tape over the area where you would like to draw the mark.
Using a speed square and a pencil, draw a mark over the masking tape.
Once the mark has been made, measure and mark the offset distance from the saw blade and the edge of the shoe of the saw.
Transfer this offset distance onto the wood to be cut.
After positioning a straight edge or a level to align with the line, clamp it down along with the wood using a quick grip clamp.
Make sure that both the end and the middle of the wood is clamped and secured.
To adjust the angle of the blade, loosen the screw near the angle guide so that the blade may now sway freely.
Using the indicator provided on the saw, adjust the saw blade angle with the help of the angle guide on the saw itself.
In this particular case, you can set the angle to 45 degrees.
Adjust the depth of the blade according to the depth of the wooden piece you wish to cut.
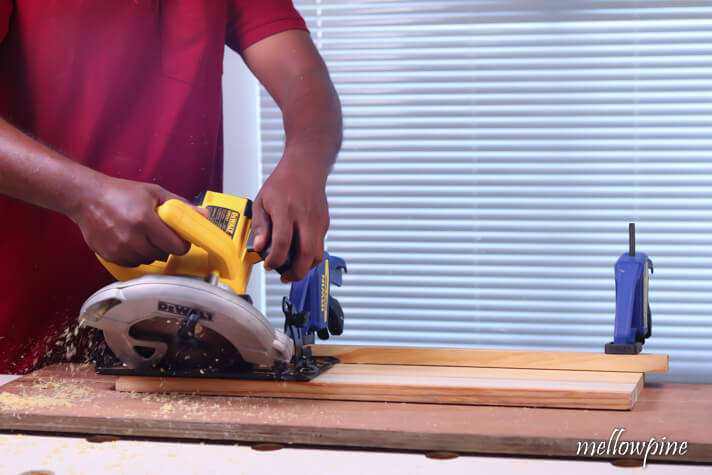
Begin cutting while using the clamped straight edge or level as your guide. Saw completely through till the end and make sure the wood is separated completely into two.
Provide the finishing touches using a rasp or sanding paper.

You might be interested in these:
3. Miter Cutting at 45 Degree Angle with a Circular Saw
Begin by placing the sacrificial sheet onto the working surface. The sacrificial sheet is meant to protect the work surface from the blade.
Place the wood to be cut on the sacrificial sheet.
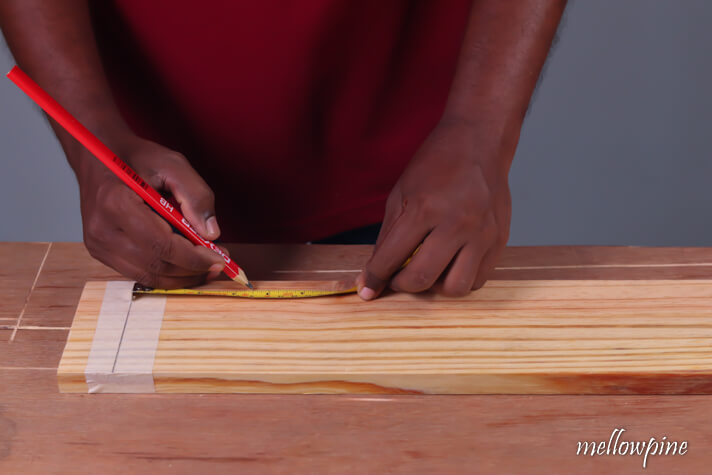
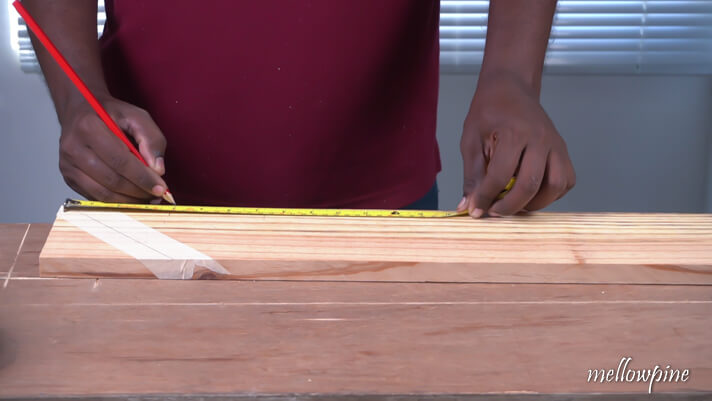
Measure and mark the length needed on the wood using tape.
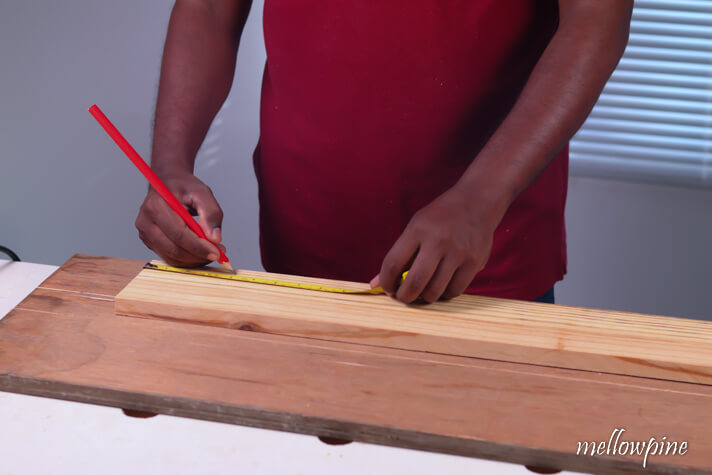
Now, you need to mark the line of miter cut on the wood.
Before drawing the line fix masking tape over the area where you would like to draw the mark.
Using a speed square and a pencil, draw the mark over the masking tape along the line you wish to miter cut.
While marking the 45-degree line, make sure you use the slanted side of the speed square instead of the straight edges.
As the speed square is set at a 45-degree angle, you don’t need a protractor.
Once the mark has been made, measure and mark the offset distance from the saw blade and the edge of the shoe of the saw.
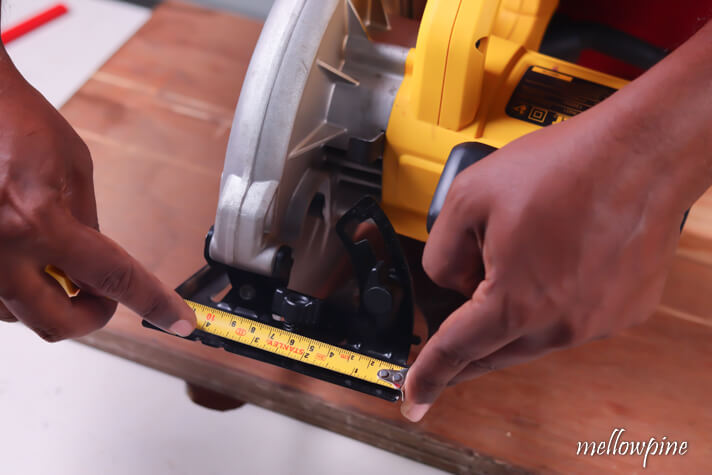
Transfer this offset distance onto the wood to be cut.
After positioning the speed square to align with the line, clamp it down on the wood using a clamp.
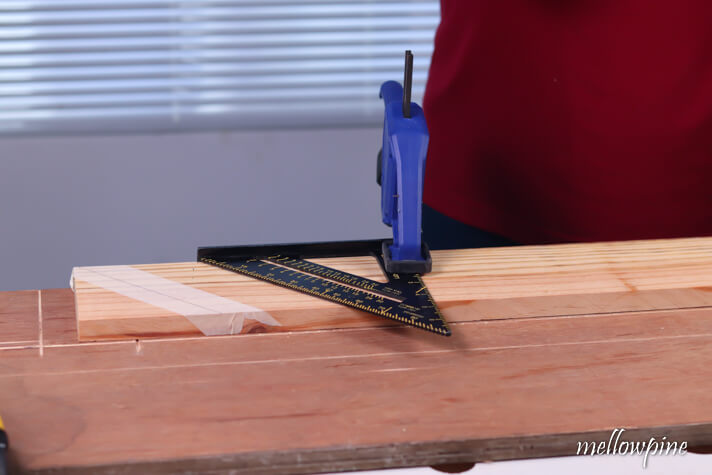
Check whether the blade of the saw falls just outside the marked line.
Make sure that both the wood is clamped at the middle and the end.
Adjust the depth of the blade according to the depth of the wooden piece you wish to cut.
Begin cutting while using the clamped speed square as your guide. Saw completely through till the end and make sure the wood is separated completely into two.
Provide finishing touches using a rasp or sanding paper.
Tips for Safety and Accuracy
- Make sure the saw is unplugged when changing the angle of the saw blade.
- Use a sharp blade for cutting. Sharpening your circular saw blade is worth the cleaner finish you get.
- Make sure depth is set all the way down before you begin adjusting. Doing so helps in identifying the point to be cut easily.
- Never stay right behind or too close to the running blade to avoid injury in case of kickback. Kickback is when the back end of the blade catches hold of the wood, and the whole saw jumps back at you. Kickback is extremely dangerous and must be avoided.
- Using masking tape before cutting can help reduce splinters.
- Make sure to place the blade on the outside of the line, so that the piece you intend to use has the exact dimensions you need.
- Once the saw is running, keep it steady but never try to force it back on the line in case it veers off.
- Using excessive force can create pinch points in the wood.
If you liked this post, consider pinning to your DIY/Woodworking Board for viewing later.