


If you need to cut wood but don’t have a table saw, there are other less expensive and simpler options available.
Now, depending on the cut you wish to do, the choice of tools can change.
In this guide, I’ll show you three ways of cutting wood when you don’t have a table saw.
Things You’ll Need
- Circular Saw/Jig Saw/Hand Saw
- Speed Square
- Carpenter’s Pencil
- Masking Tape
- Quick Grip Clamps
- Sacrificial board (MDF or Plywood works well)
- Method 1: How to Cut Wood Using Circular Saw
- Method 2: How to Cut Wood Using Jigsaw
- Method 3: How to Cut Wood Using Hand Saw
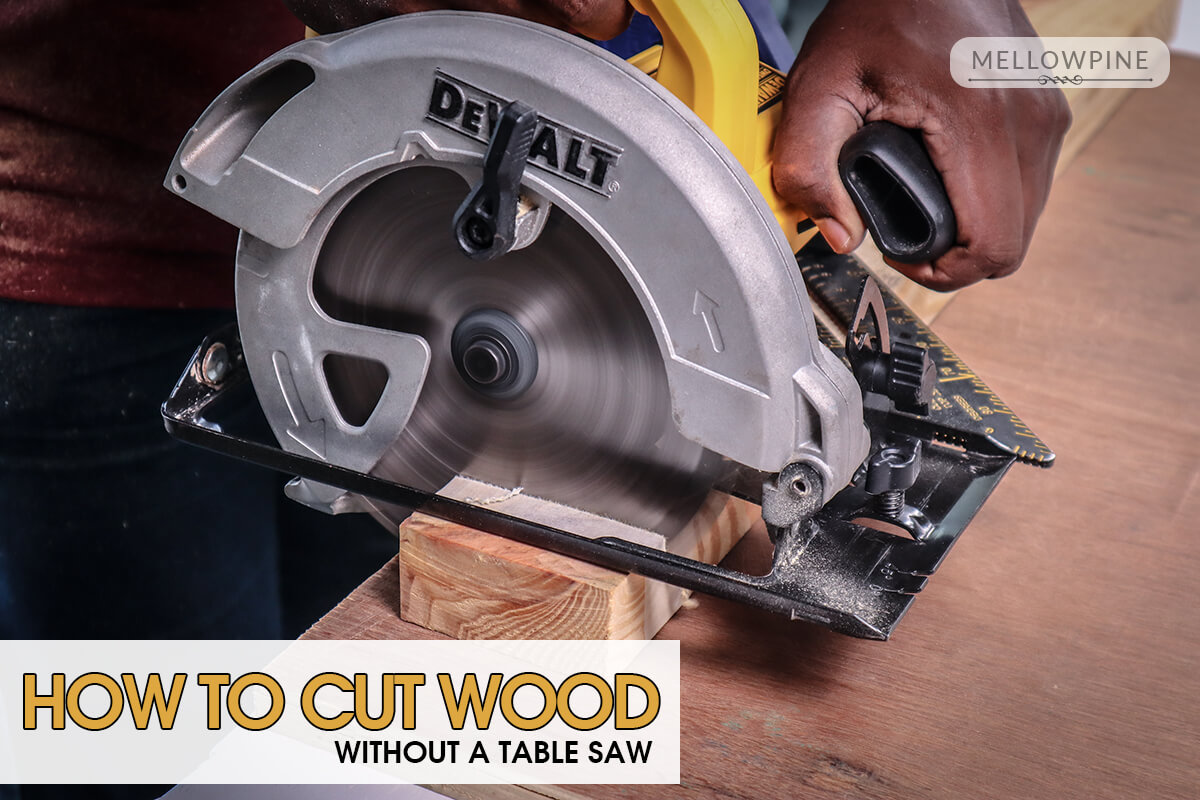
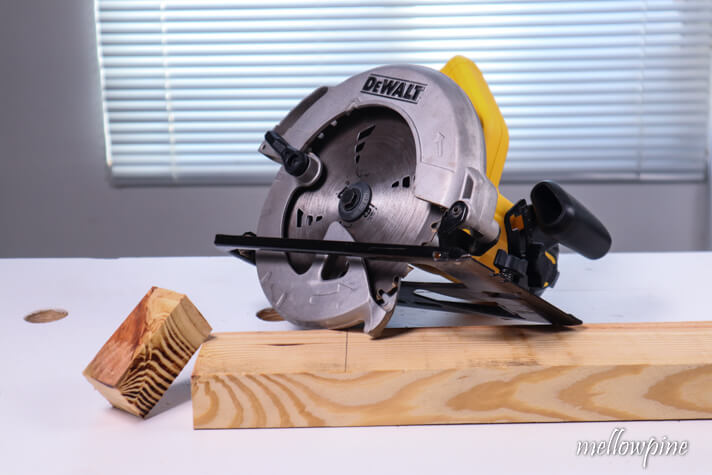
Method 1: How to Cut Wood using Circular Saw
In this method, I’ll be showing how to make a simple cut using a circular saw.
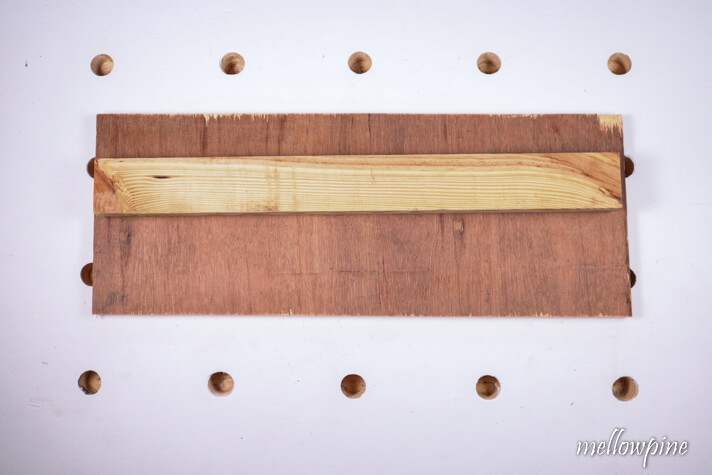
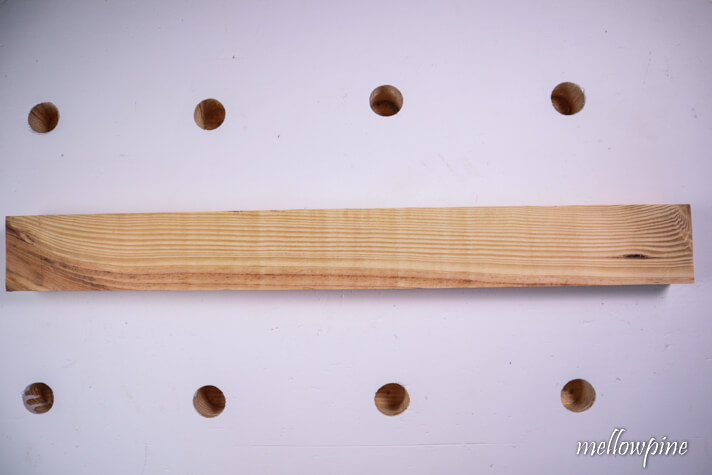
Begin by placing a sacrificial board on top of the work surface.
The sacrificial board protects the work surface from cuts.
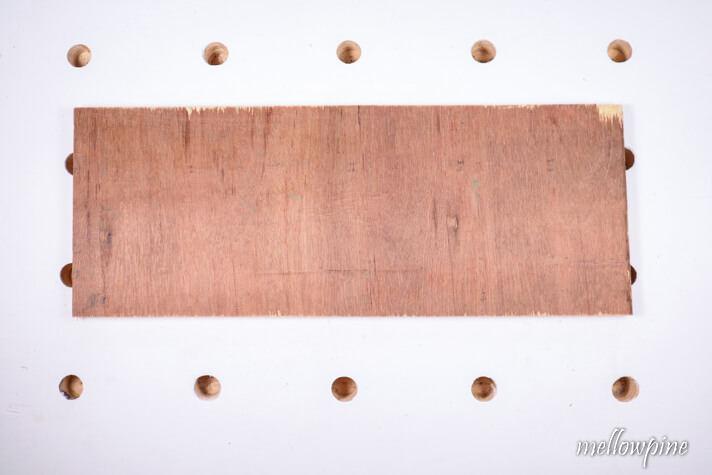
Place the wood to be cut on top of the sacrificial sheet.
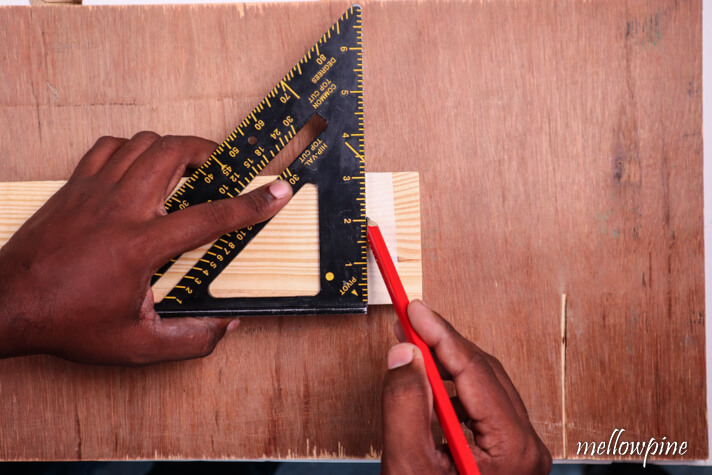
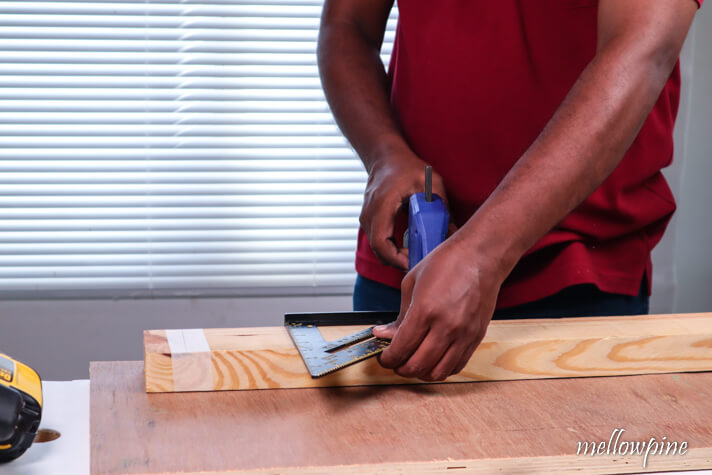
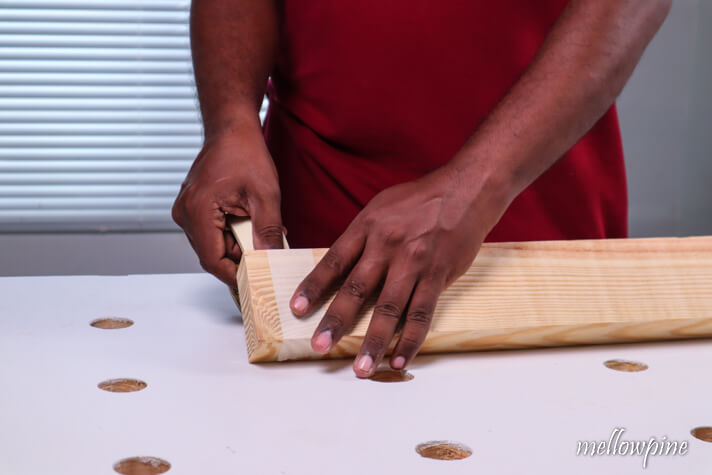
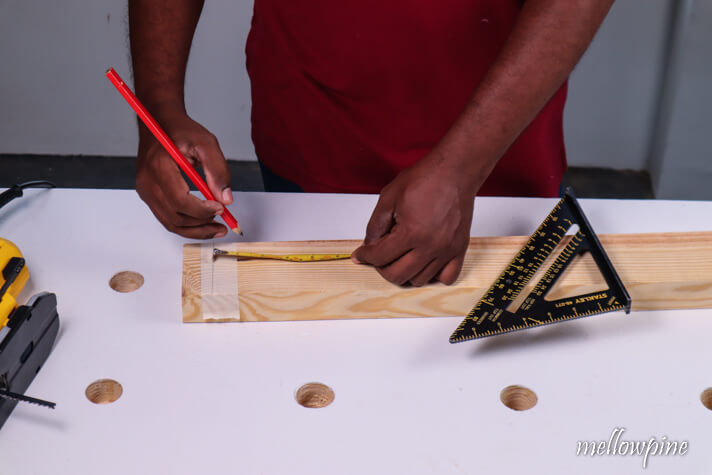
Fix masking tape on the wood before drawing a cut line on it.
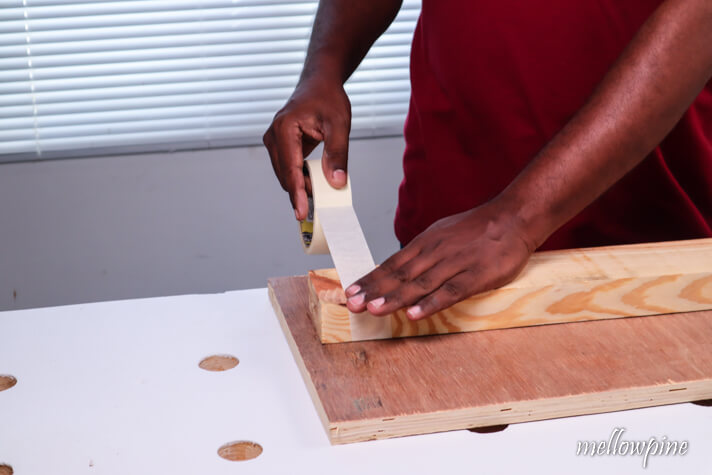
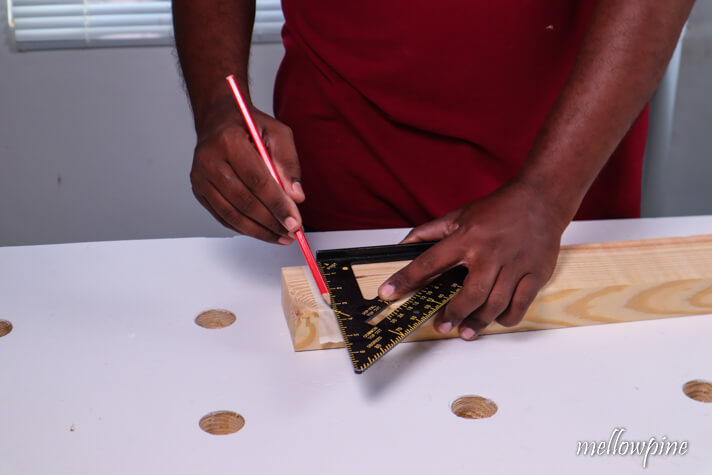
Using a speed square and a carpenter’s pencil, draw a cut line along the length/width for cutting depending on how you want it.
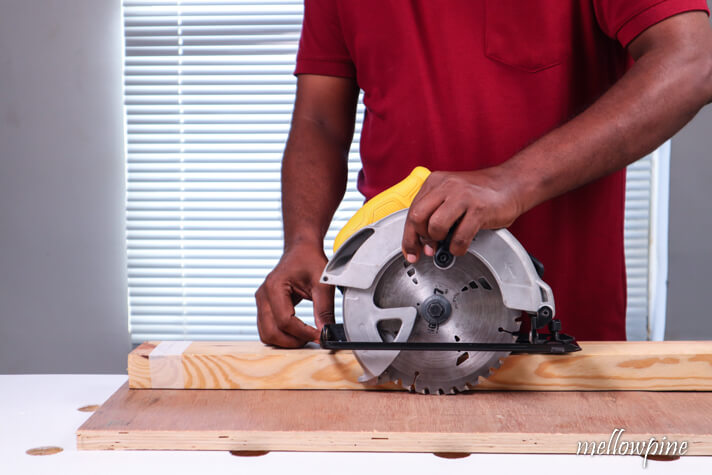
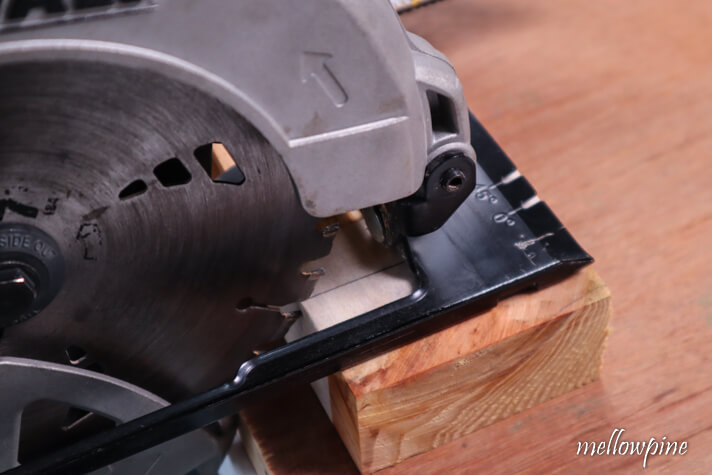
Set the depth of the blade using the edge of the wood as a reference.
The blade should be deep enough to make a through cut in the wood while grazing the sacrificial board underneath.
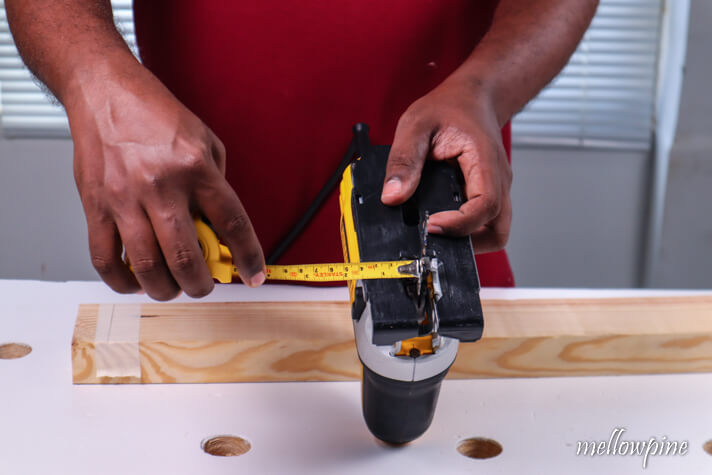
Measure the offset distance from the base of the saw to its blade.
The offset distance is needed to know where to place the guide for the circular saw.
In this example, I’ll be using a speed square as the guide to cut straight.
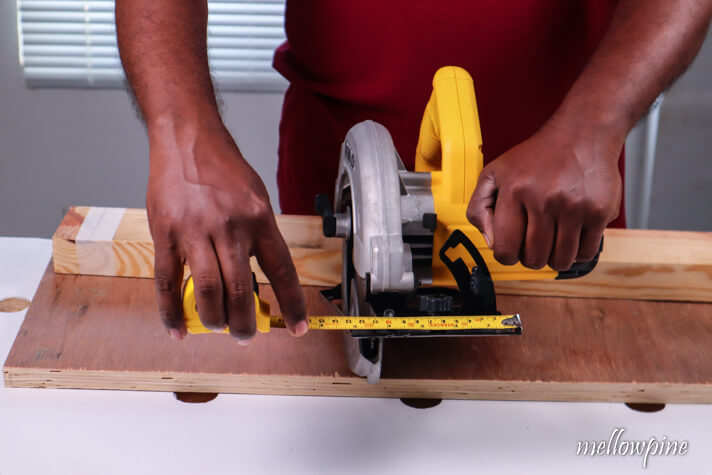
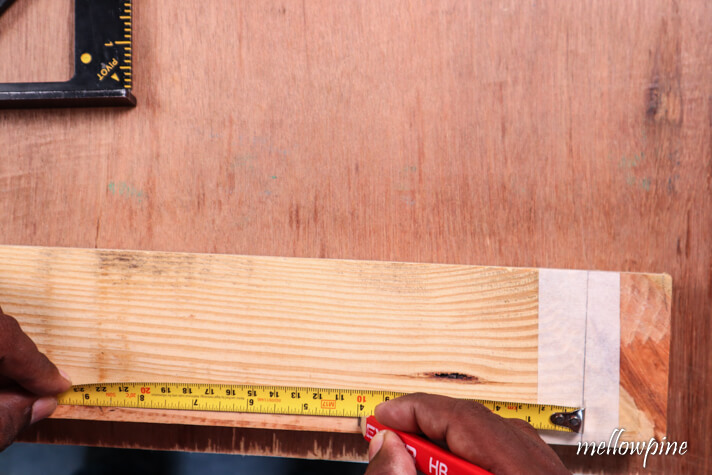
The offset distance measured in the previous step should be transferred to the wood piece.
Measure from the cut line and mark a point at the offset distance.
This is the point where the speed square should be placed to align the blade with the cut line.
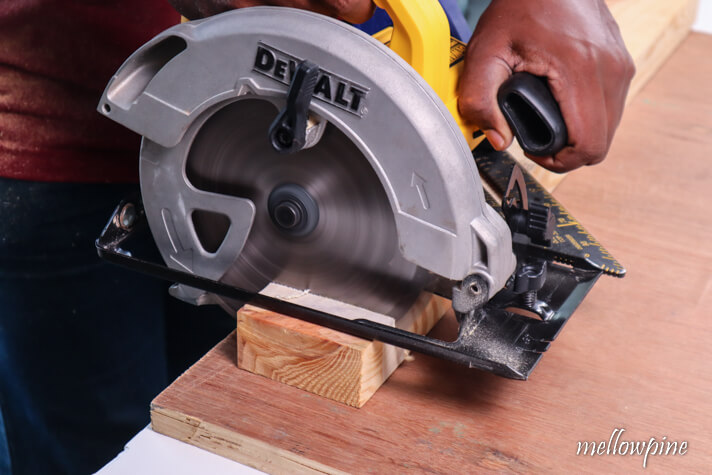
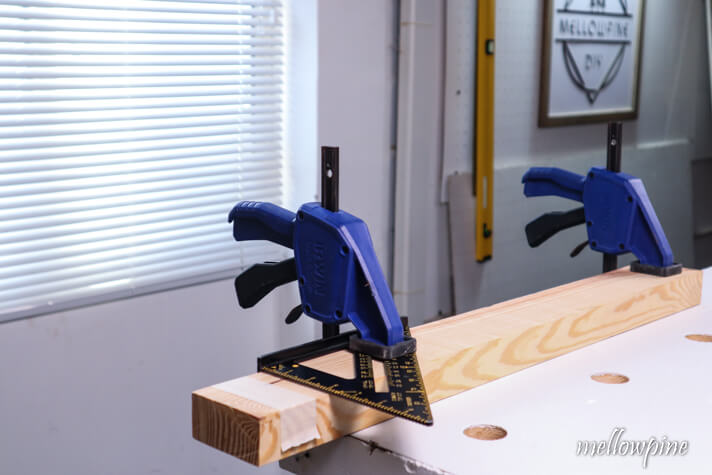
Clampdown the wood along with a speed square or a level to guide the saw.
Clamp the wood piece at the middle and end as well.
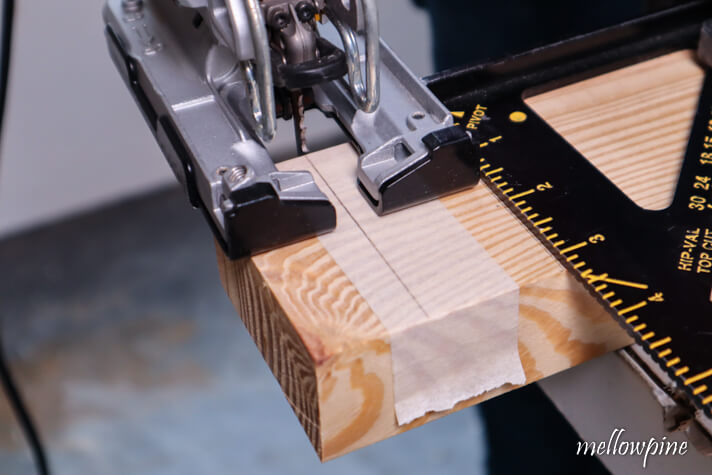
Align the blade with the cut line and plug in the saw.
Remember to cut on the scrap side of the cut line to get the exact dimensions needed.
This is to account for kerf loss (due to blade thickness).
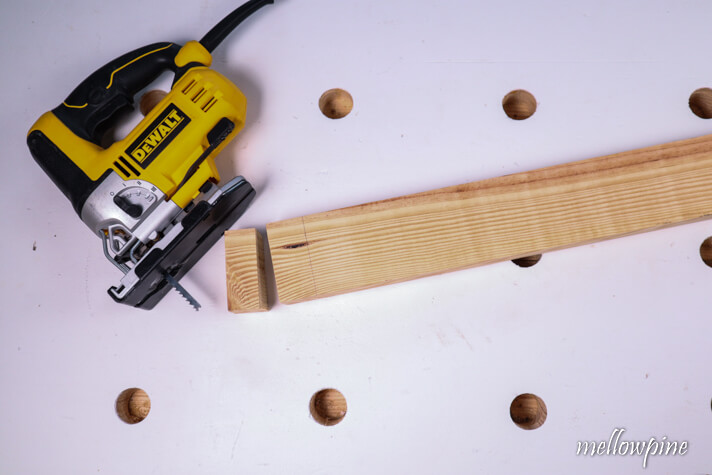
Turn on the saw and cut along the marked line.
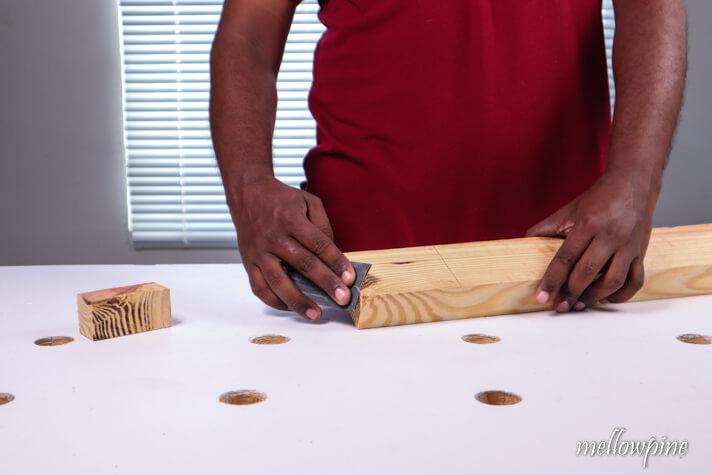
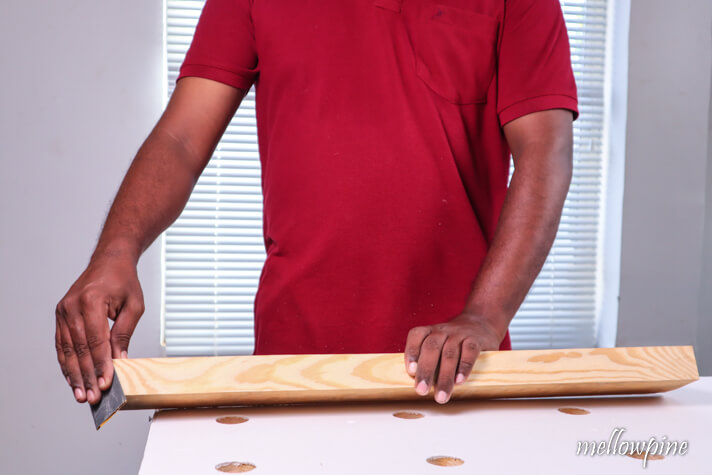
Once the cut has been made, smoothen the edges using sandpaper.
With that, the cut is completed and ready.
For ripping using a circular saw refer to this- How to Rip a 2×4 with a Circular Saw
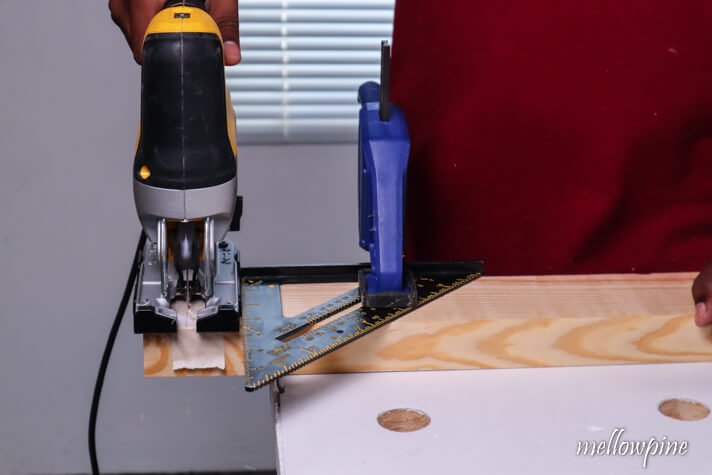
Method 2: How to Cut Wood using Jigsaw
For cutting with a jigsaw, you shouldn’t use a sacrificial board.
Instead, clamp the wood near the edge of the table with the scrap side sticking out for cutting easily.
First, place the wood on top of the work surface.
Fix some masking tape on the wood before drawing the cut line on it.
Using a speed square and a pencil, draw a line for cutting.
Next, measure the offset distance from the edge of the base to the jigsaw blade.
The offset distance is needed to know where to place the guide for the Jigsaw.
Transfer the offset from the saw to the wood by measuring from the cut line.
Clampdown the wood along with a speed square or a level to guide the saw so that it overhangs from the end of the work surface.
Now, unlike the circular saw it is important to make sure the cut line is in the overhang as the blade of the jigsaw extends much beyond the thickness of the wood.
Clamp the wood at both ends.
Align the blade with the cut line and plug in the saw.
Remember to cut on the scrap side of the cut line to get the exact dimensions needed.
Turn on the saw and move it along the cut line drawn earlier.
Make sure to press the jigsaw firmly against the fence to maintain a straight line.
Once the cut has been made, smoothen the edges using sandpaper.
With that, the cut is completed using the Jigsaw.
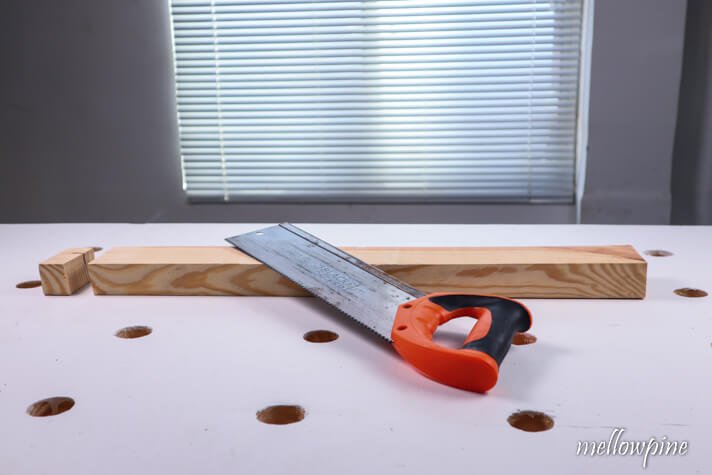
Method 3: How to Cut Wood using Hand Saw
A hand saw is also a reasonable option for cutting wood.
However, it’s difficult to get smooth and precise cuts using a hand saw.
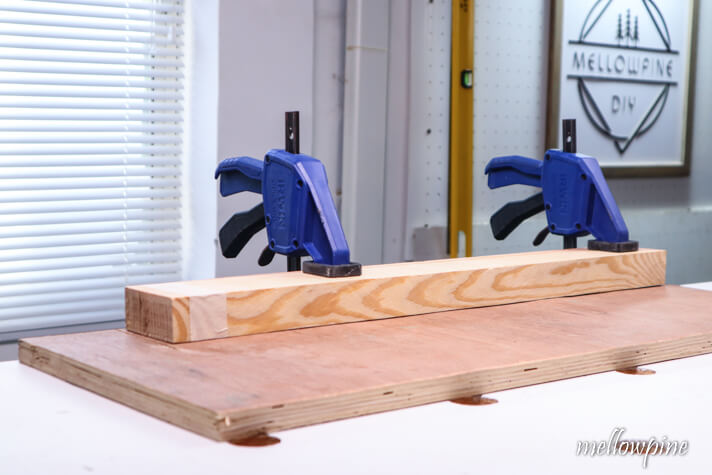
Begin by placing a sacrificial board on top of the work surface.
Place the wood to be cut on top of the sacrificial sheet.
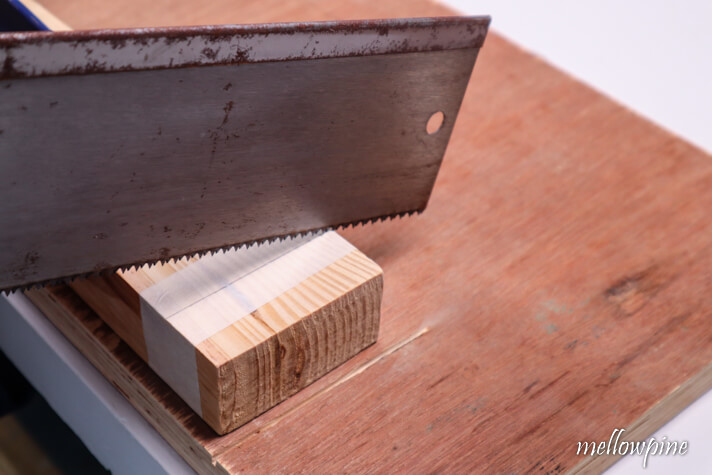
Fix masking tape on the wood before drawing the cut line on it to prevent splintering.
Using a speed square and a pencil, draw the cut line along the length or width for cutting.
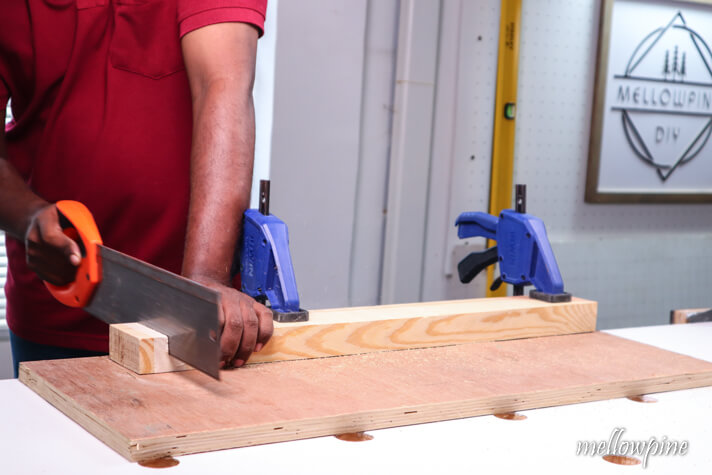
Clamp the wood at the middle and end.
Align the saw blade with the cut line.
Make sure to place the saw blade just next to the line (on the scrap side) to account for kerf loss.
If you want an angled cut, use the miter box that came with your hand saw.
Begin cutting along the line.
Cut carefully, keeping a straight and vertical line.
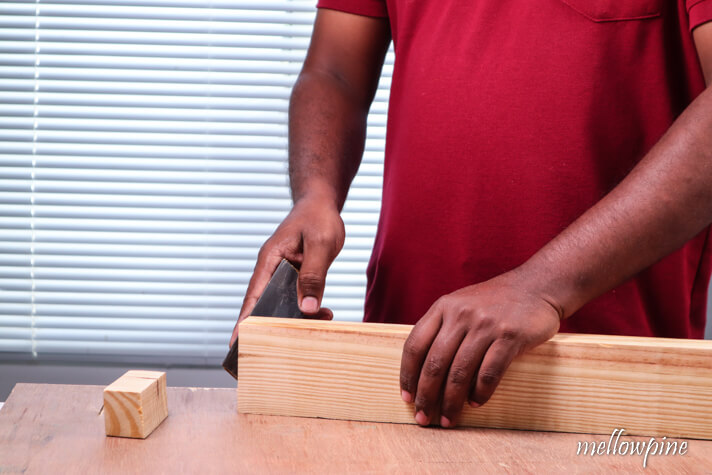
Once the cut has been made, smoothen the edges using sandpaper.
With that, you have completed cutting the wood using a hand saw.
Tips for Accuracy when Cutting Wood
- While using the hand saw remember to support the wood using one hand and cut using the other.
- While marking, never mark just as a point. Instead, mark it as a ‘tick’ mark or a ‘crow’s foot’ mark. Doing so helps in identifying the point to be cut easily.
- More teeth on the saw blade means better cut but takes longer to cut and large teeth means quick but rough cuts.
- If you are using wet wood or treated lumber, use a blade that’s appropriate for that purpose.
- Make sure to cut outside of the line, so the wood piece that you intend to use has the correct dimensions.
- Use a rasp to clean and smoothen the cut after sawing. Alternatively, A hand sander or sanding paper can also get the job done.
- Masking tape helps in highlighting the cut line in case of darker woods.
- Use a sharp blade with an appropriate number of teeth.
- Using masking tape before drawing the mark on it can help reduce splinters and lend a more pleasing finish.
- Remember to support the board equally over the sawhorse so as to prevent it from falling over.
Tips for Safety when Cutting Wood
- Never stay right behind or too close to the running blade to avoid injury in case of kickback. Kickback is extremely dangerous and must be prevented at all costs.
- Make sure the saw teeth are facing in direction of rotation. (Anti-clockwise direction in case of circular saw).
- Once the saw is turned on, keep it steady but never try to force it back in case it veers off.
- If the piece completely seperates from the wood, let it fall. Never try to catch it while holding a runnning saw in your hand.
- Make sure depth is set all the way down before you begin adjusting.
- Using excessive force will create pinch points in the wood leading to damage for both the user and the saw.
- If you can smell something burning, immediately stop sawing and re-adjust the mask and saw blade.
- Inspect the power chord for exposed wire and cuts. If the insulation is removed or exposed, consider changing the power chord immediately.
- Before cutting any material, especially wood, make sure there are not obstructions such as nails inside the wood.
- Using masking tape before cutting can help reduce splinters.
Frequently Asked Questions (FAQ)
What is resawing lumber?
Resawing is the process of slicing the timber along the grain direction to reduce it to thinner sections or to make veneers. Resawing is a type of rip cut, but they are not the same.
How thick a Wood can a bandsaw cut?
A band saw can cut through wood four inches thick, and bigger saws handle up to six-inch cuts.
Why does my hand saw keep getting stuck?
While cutting using a handsaw, remember to keep your hand steady or else the blade will bend and result in an uneven cut. Using a dull blade leads to the blade being stuck in the wood and only yields rougher finishes.