


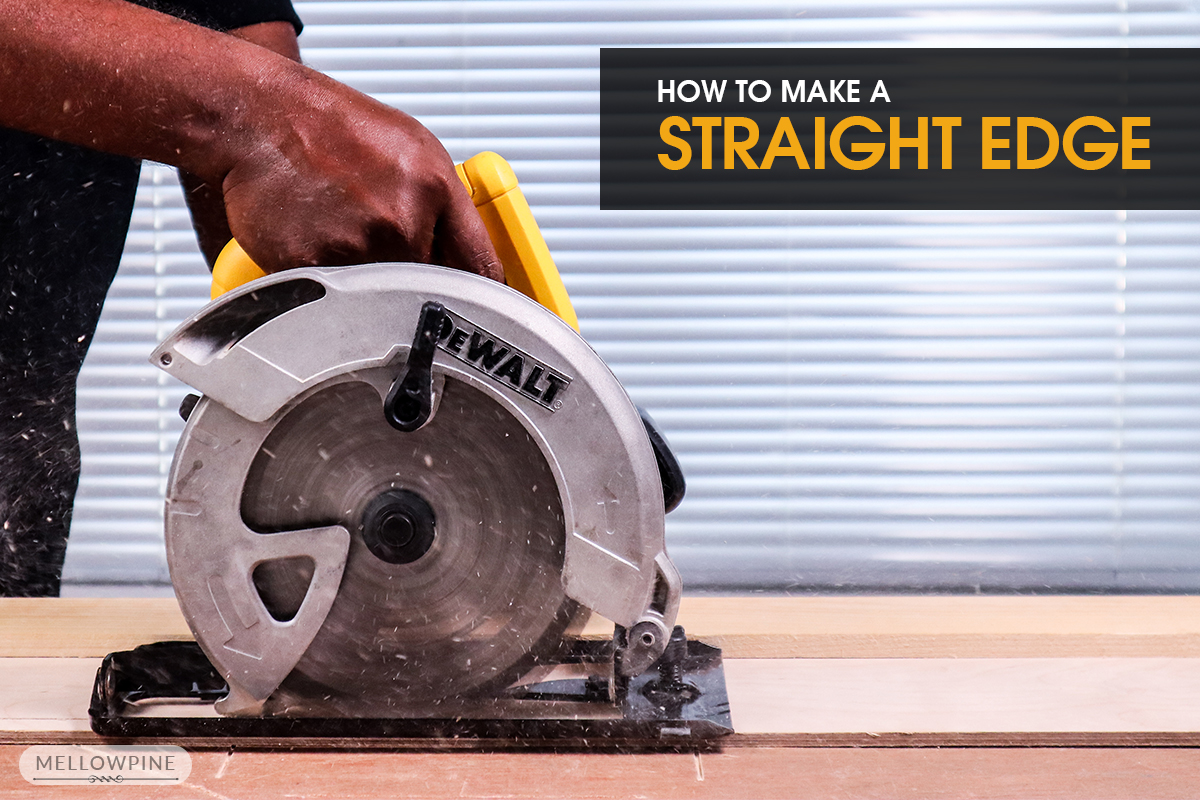
Making accurate straight cuts with any power tool is best done with the help of a guiding mechanism, called a straight edge.
Straight edge is a narrow and long plank of wood glued onto a wooden platform to help guide the circular saw.
While there are straight edges available for buying, it is much cheaper to make one yourself.
In this guide, I show you three methods to make a straight edge for your projects.
Things You’ll Need
- A Circular Saw
- A Plank
- Plywood
- A Sacrificial Sheet (MDF or Plywood will do fine)
- A speed square
- A Capenter’s Pencil
- two quick grip clamps
- Carpenter’s glue
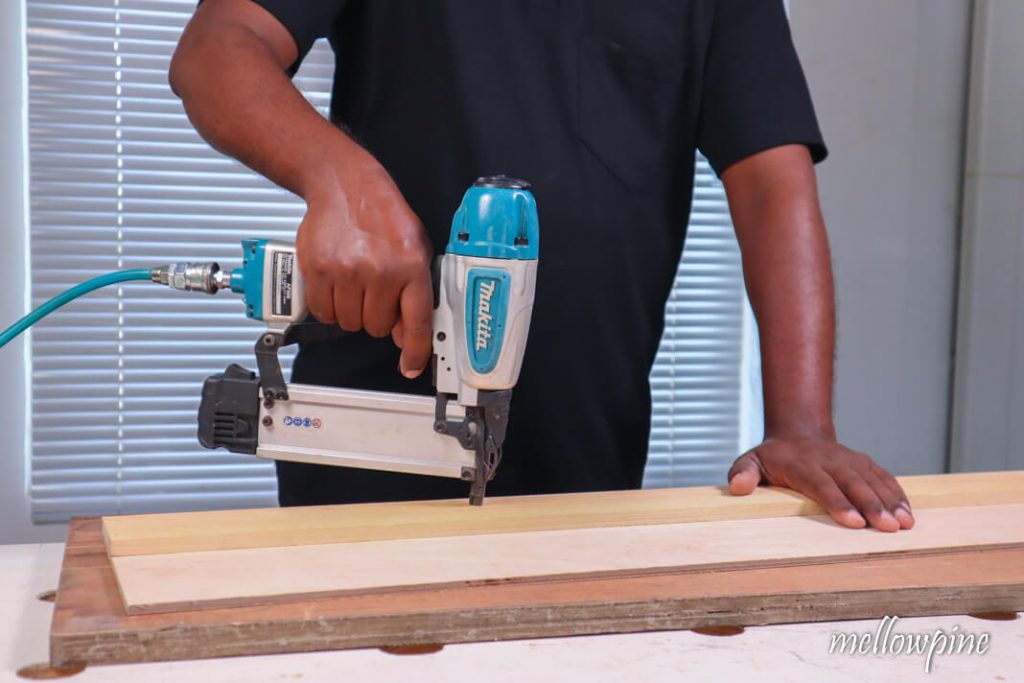
- Hammer and Nail (or a Nail Gun)
Method 1: Making a Simple Plain Straight Edge
This method is for making a plain straight edge from a pine board.
For this method, you need to have a piece of plywood with clean, sharp, and perpendicular edges.
As plywood sheets are cut using high-precision instruments in factories, retaining the factory edges will give you perfectly straight lines.
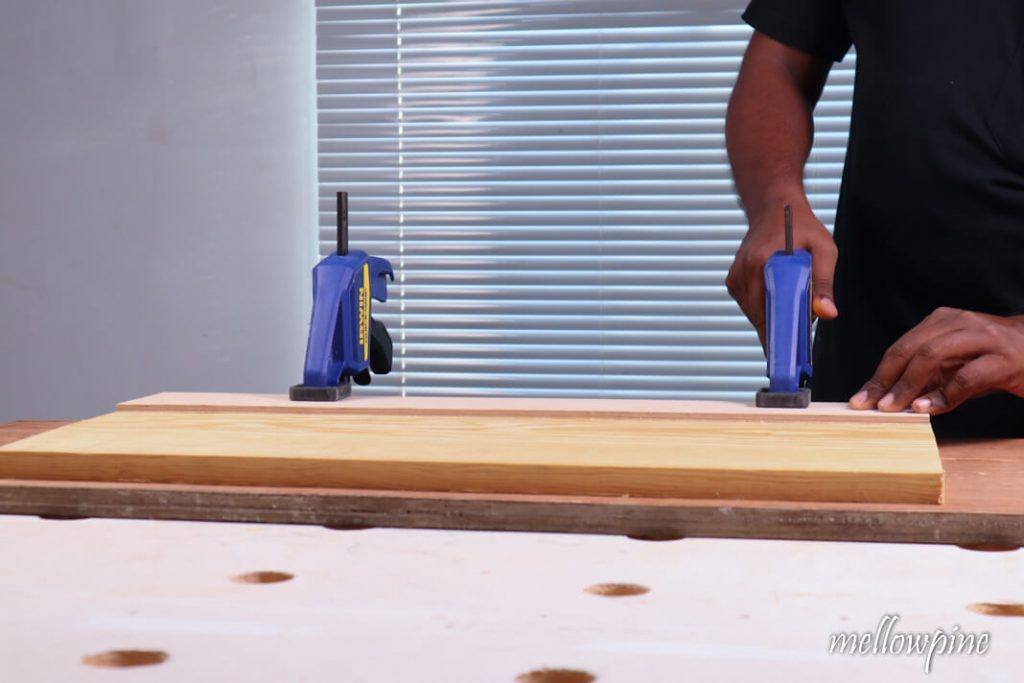
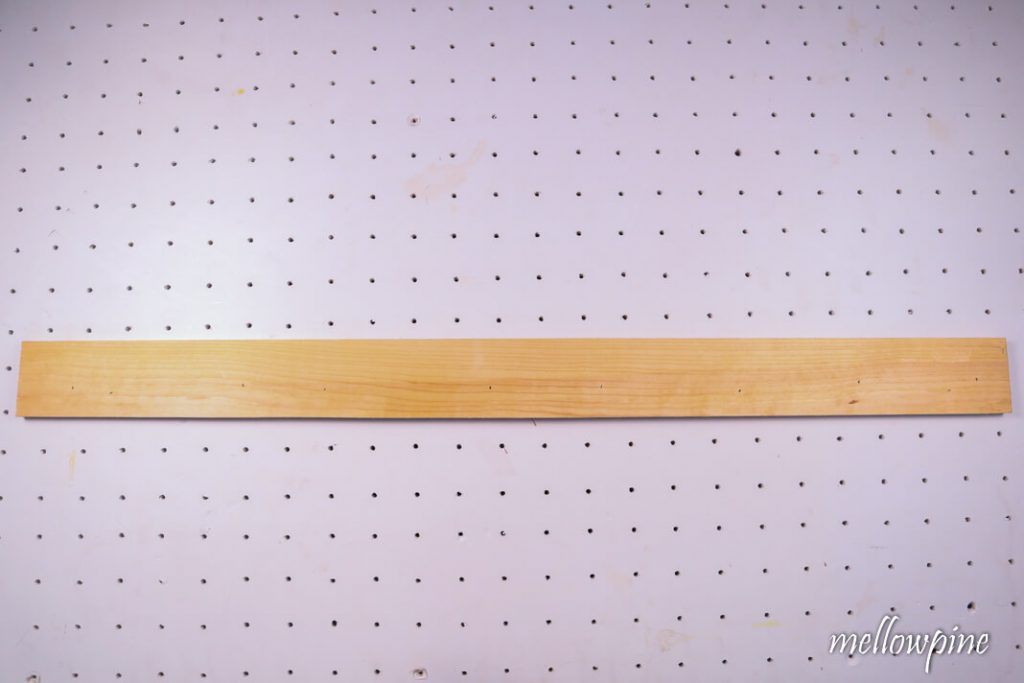
Take a long straight piece of plywood (one with its factory edges intact).
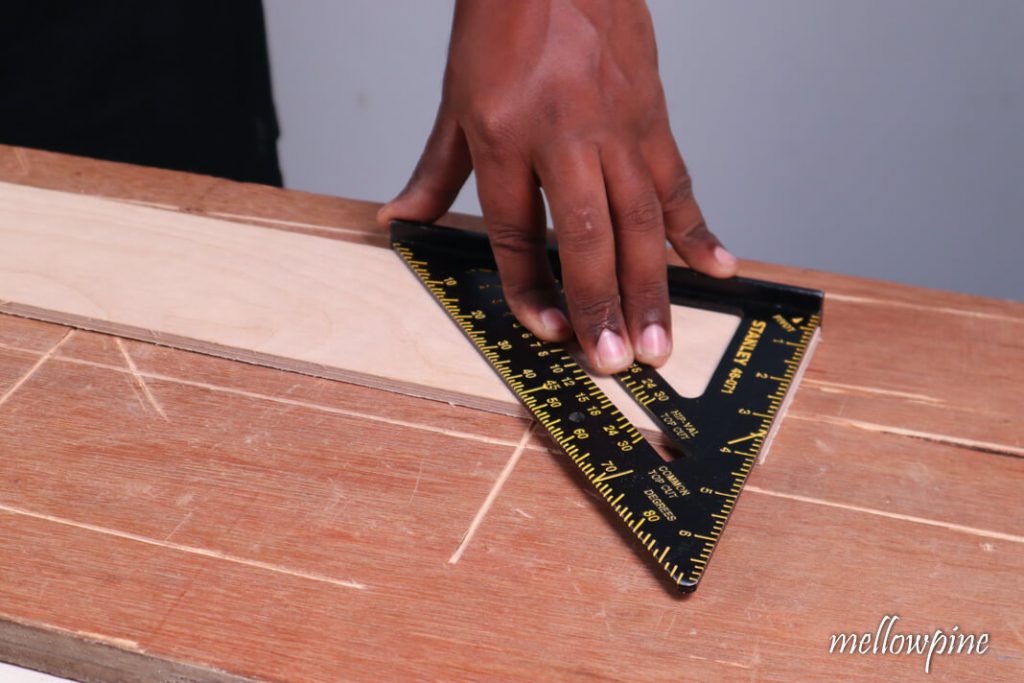
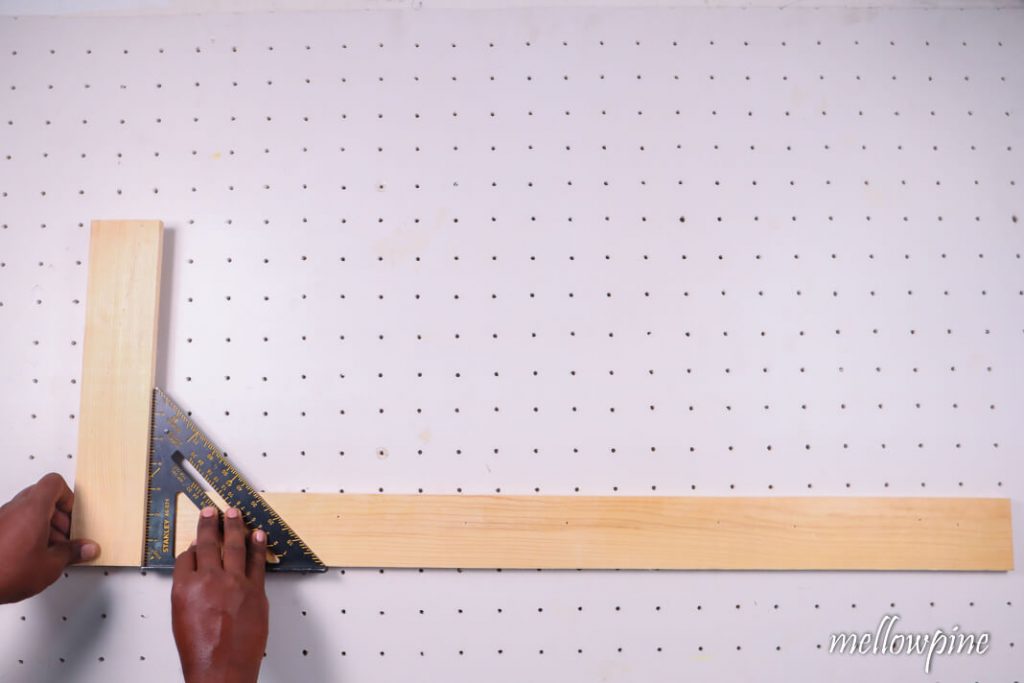
Check the plywood edge’s perpendicularity with a speed square to verify.
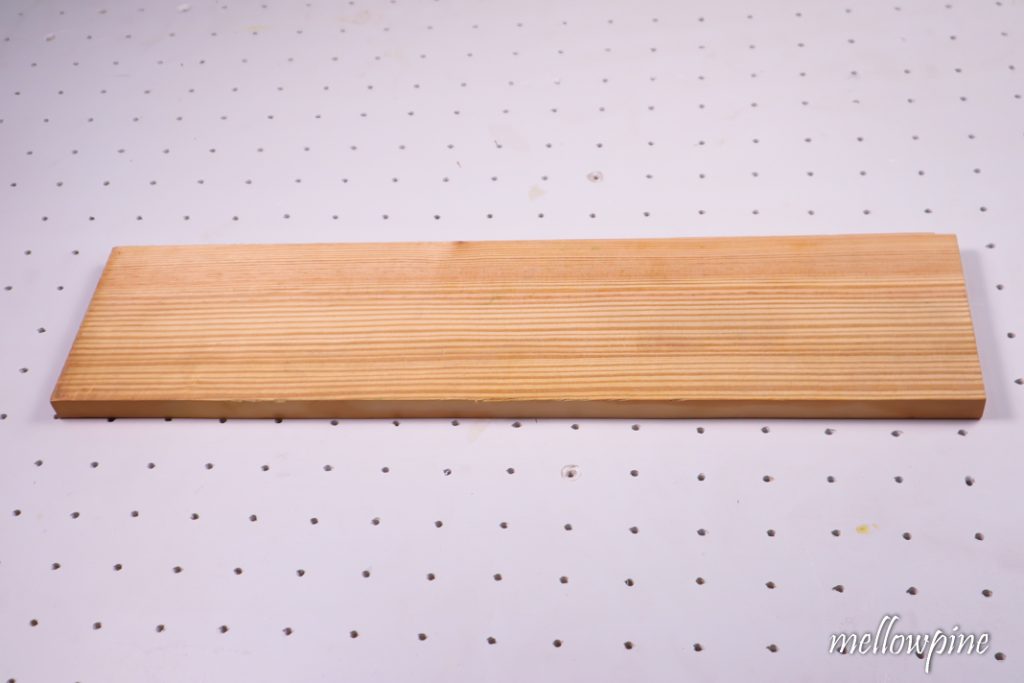
Take a pine board for making the straight edge.
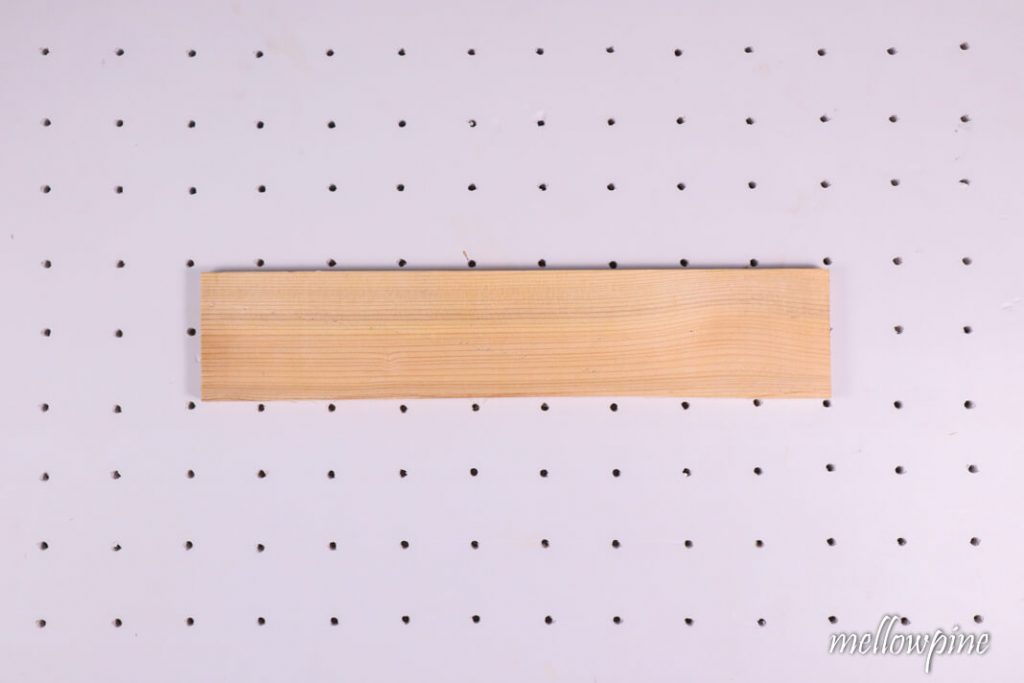
Place the plywood onto the pine board.
You need to use the plywood edge as a guide for making the straight edge.
If you don’t have plywood, you can use anything that is straight, like a level.

Clamp the plywood piece on the pine board.
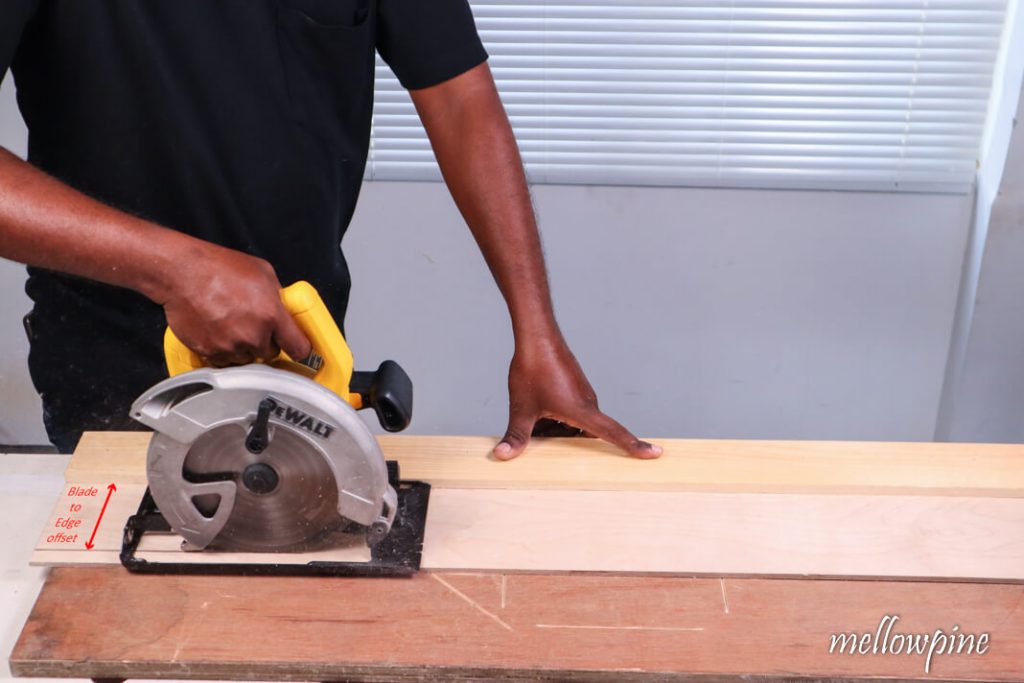
Now you may cut along the cut line by using the factory edge of the plywood as a guide.
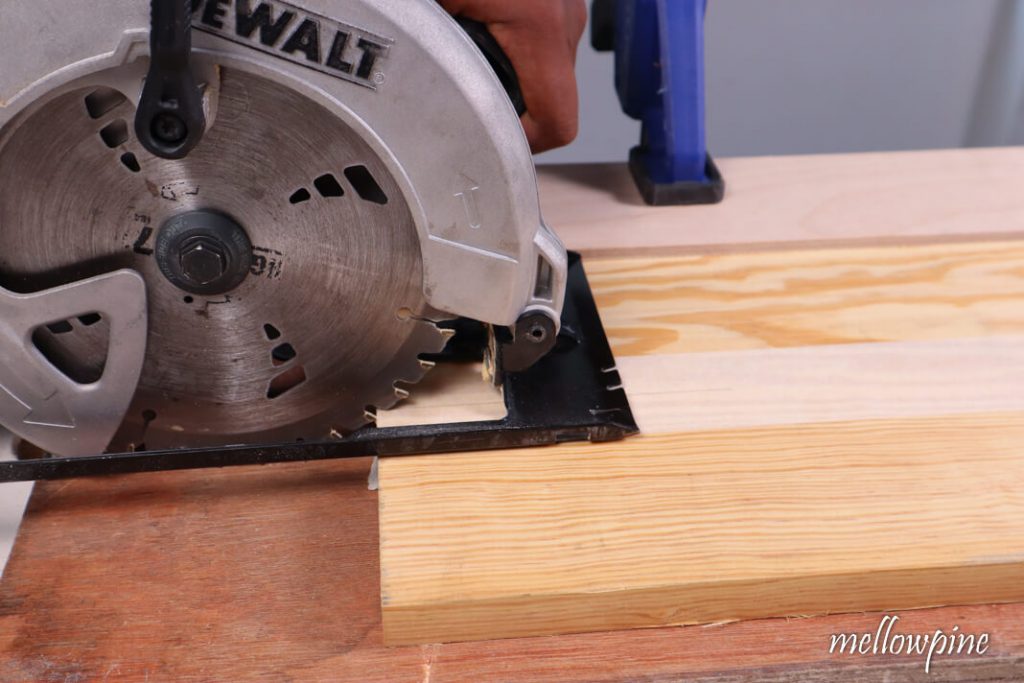
Cut the wood all the way through.
So with that, your plain straight edge is ready.
Although this straight edge is handy, you need to first align the straight edge with the edge of the board you are cutting, for squaring.
In the next method, we’ll make a more useful straight edge that will make squaring much easier.
Method 2: Making a Wooden Try-Square type Straight Edge
Follow the steps in Method 1 and make a long straight edge first.
Make another shorter straight edge using the same method.
Take the short straight edge and place it perpendicular to the long straight edge.
Check for square using a speed square.
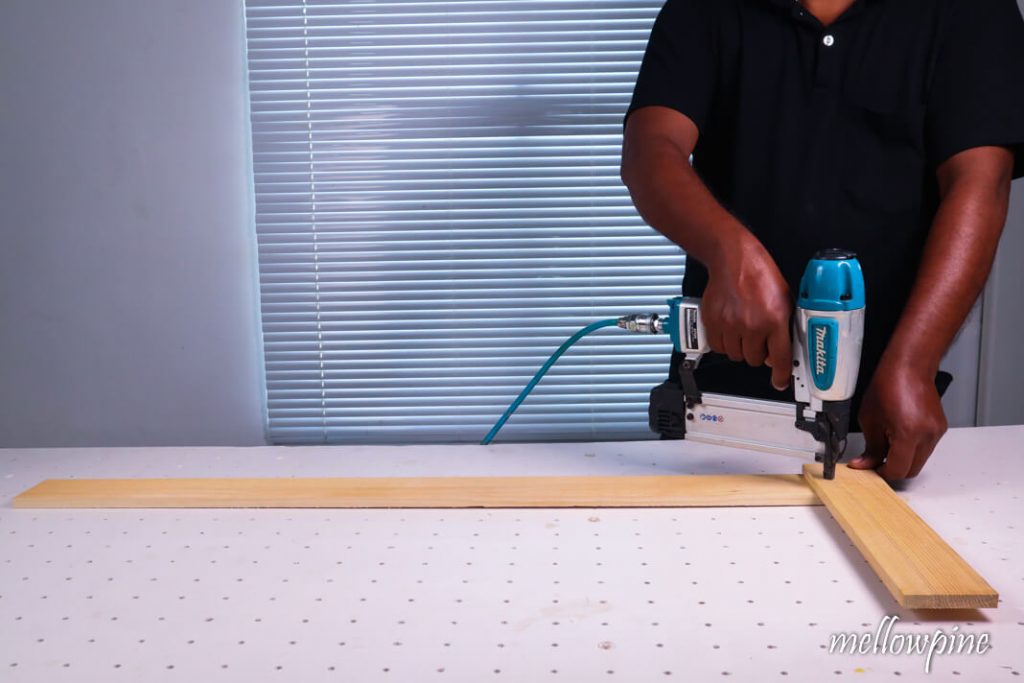
Next, apply glue between the pieces and nail them together.
If you don’t have a nailer you can screw them together after clamping them first.
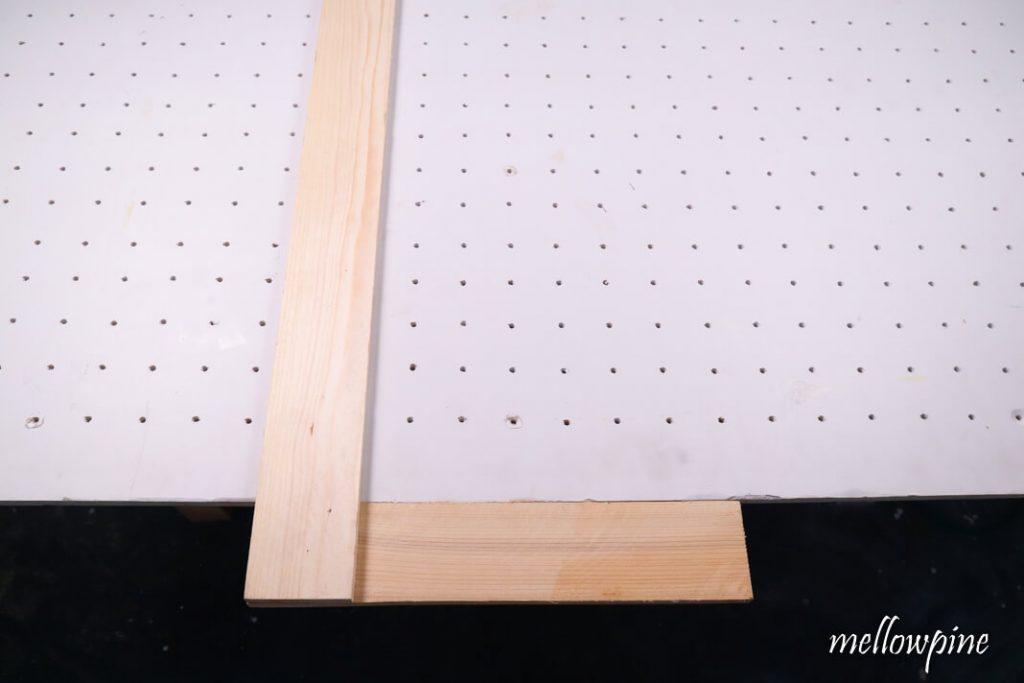
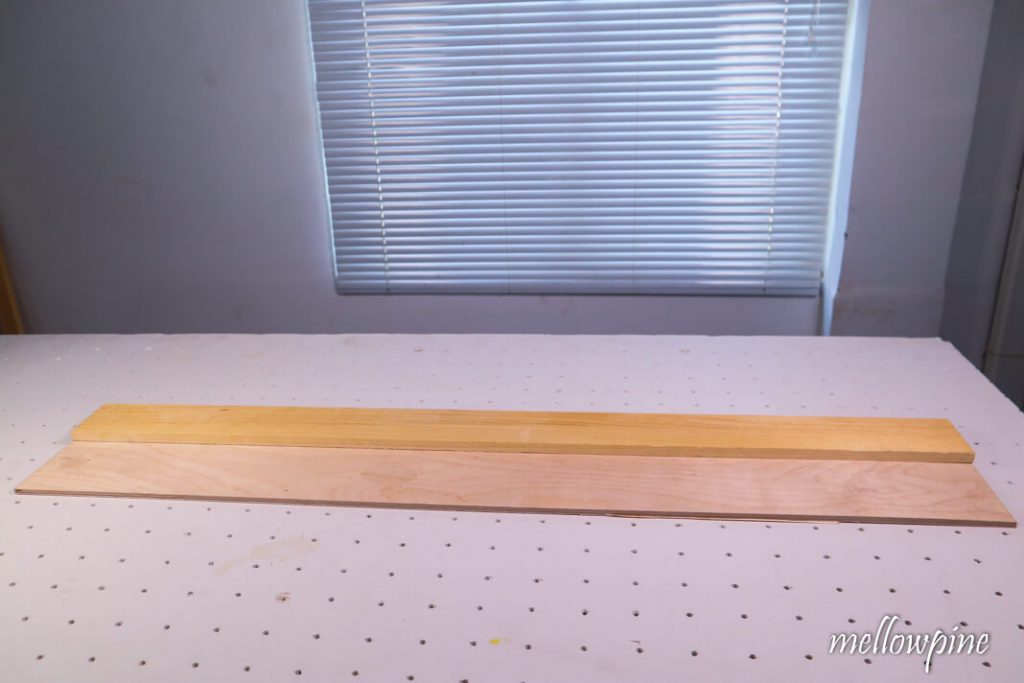
With that, you have a try-square-shaped straight edge ready.
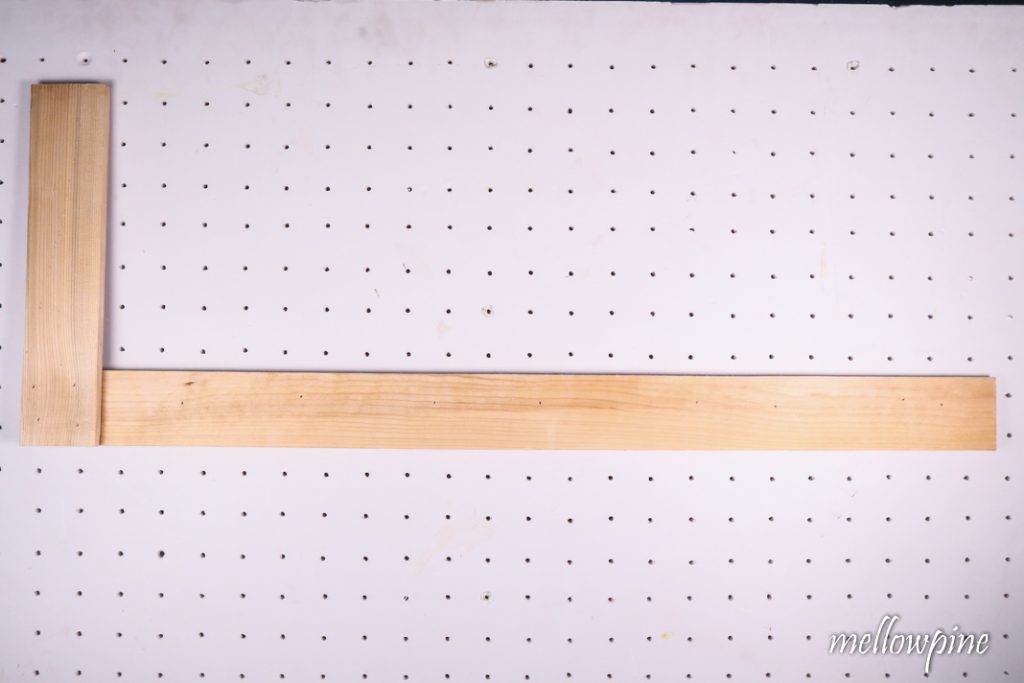
The advantage of this straight edge is that you can use the edge of the board you are cutting as a reference for making the straight edge square with the board.
Simply slide the shorter side of the straight edge against the board and you can start cutting.
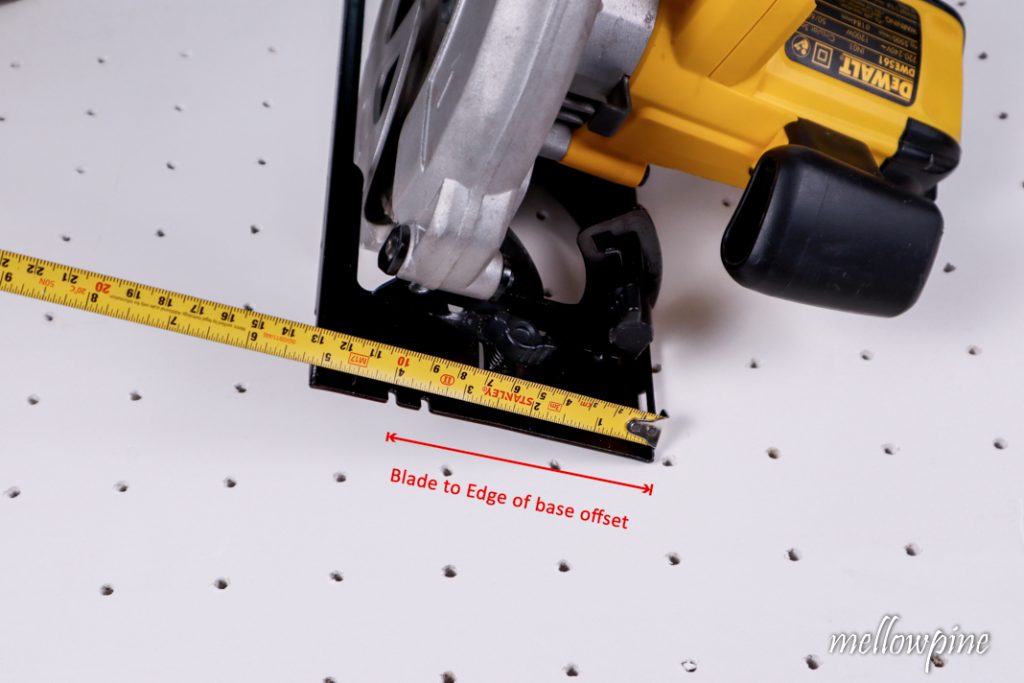
Although the squaring is instant with this straight edge, you need to transfer the offset distance between the blade and the edge of the base plate each time you make the cut.
In the next method, I’ll show you a method to make a straight edge that eliminates the need to transfer the offset each time you make the cut.
If you are a beginner to a circular saw, check out this guide- How to use a circular saw.
Method 3: Making a Straight Edge with Built-in Offset
In this method, I’ll show you how to make a straight edge that has the offset built-in for the circular saw.
To make this straight edge, take a thin sheet of plywood that is straight.
Next, Using method 1, make a plain wooden straight edge first.
Size the two pieces (plywood sheet and wooden straight edge) so that they have the same length.
Next, place the plain straight edge on the plywood sheet such that their edges are aligned.
Apply glue between the surfaces and nail the wooden piece to the plywood sheet.
Next, you need to cut off the excess portion of the plywood sheet.
With the circular saw pressed against the wood piece, run the saw along the plywood sheet to cut off the excess.
With that step, the distance between the blade of the circular saw and the edge of the base plate (i.e the offset) is built into the straight edge.
With this straight edge, you can make straight cuts along a line without measuring the offset distance each time.
You just need to place the straight edge on the line of cut, clamp it and start cutting with your saw pressed against the wood piece on the straight edge.
With any other straight edge, you first need to mark the offset distance on the board to be cut.
Now, if you want you can combine method 2 and method 3 to make a straight edge that has built-in squaring capability and also built-in offset for your cutting tool.
Remember that the length of the cut that you can make with a straight edge directly depends on the length of the straight edge you make.
Tips for Accuracy While Making a Straight Edge
- Use try square or speed square to check if the edges of straight edges are perpendicular before you begin cutting.
- While marking, never mark just as a point. Instead, mark it as a ‘tick’ mark or a ‘crow’s foot’ mark. Doing so helps in identifying the point to be cut easily.
- Make sure to cut outside of the line, so the wood piece that you intend to use has the correct dimensions.
- Remember to cut off the excess plywood while making the straight edge.
- Use a rasp to clean and smoothen the cut after sawing. Alternatively, A hand sander or sanding paper can also get the job done.
Tips for Safety While Making a Straight Edge
- Be extra cautious while using a nail gun or any other power tools. Never keep your finger on the trigger unless you are about to operate.
- Before making any adjustments or changing the blade, make sure the saw is unplugged.
- Never stay right behind or too close to the running blade to avoid injury in case of kickback. Kickback is extremely dangerous and must be prevented at all costs.
- Once the saw is turned on, keep it steady but never try to force it back in case it veers off.
- Using excessive force will create pinch points in the wood leading to damage for both the user and the saw.
- Make sure the saw teeth are facing in direction of rotation. (Anti-clockwise direction in case of circular saw).
- Always wear ear protection and a mask while using a circular saw.
- Before cutting any material, especially wood, make sure there are not obstructions such as nails inside the wood.
Frequently Asked Questions (FAQ)
What is the difference between a ruler and straight edges?
The main difference between a ruler and a straight edge is that while a ruler has measurements and proper width marked as increments, A straight edge is a long stick-like narrow instrument with no markings. Therefore, no measurements can be made with a straight edge, and its only purpose lies in making straight parallel lines along its length.
What is a straight edge tool?
A straight edge is a tool that helps draw straight lines along its length and also helps check if the line you drew is straight or not. It has no specified width or height; however, it will have straight edges and perpendicular corners.
What are straight edges made of?
You will make an engineer’s straight edges from one of four main materials: steel, cast iron, aluminum, and granite. However, for woodworking purposes, the straight edge used will be made of timber.
Can I use a level as a straight edge?
A level can certainly be used as a straight edge owing to its length and narrow, straight body. However, care must be taken while clamping the level as applying too much pressure can bend or damage it.
How do I know if my straight edge is straight?
The perpendicularity of the straight edge can be checked by using a try square or speed square. Align a corner of the straight edge with a try square to check accurately.