


The tongue and groove joint is without a doubt one of the oldest and strongest joints in all of wood joinery.
In a tongue and groove joint, a tongue along the edge of one board fits into a groove along the edge of the other board to form a connection between the two boards.
A table saw is the ideal tool for making a tongue and groove.
Making a tongue and groove is a simple process, and I’ll show you how to do it in this guide.
Things You’ll Need
- Table Saw
- Wood for Making Tongue and Groove
- Speed Square
Making Tongue and Groove on a Table Saw
You have to do this in two steps.
The first step is to make the groove and the second step is to make the tongue to match that groove.
When making a tongue and groove joint, it is best to start by making the groove first.
That way if the tongue is too big we still have a chance to adjust and make it fit into the groove.
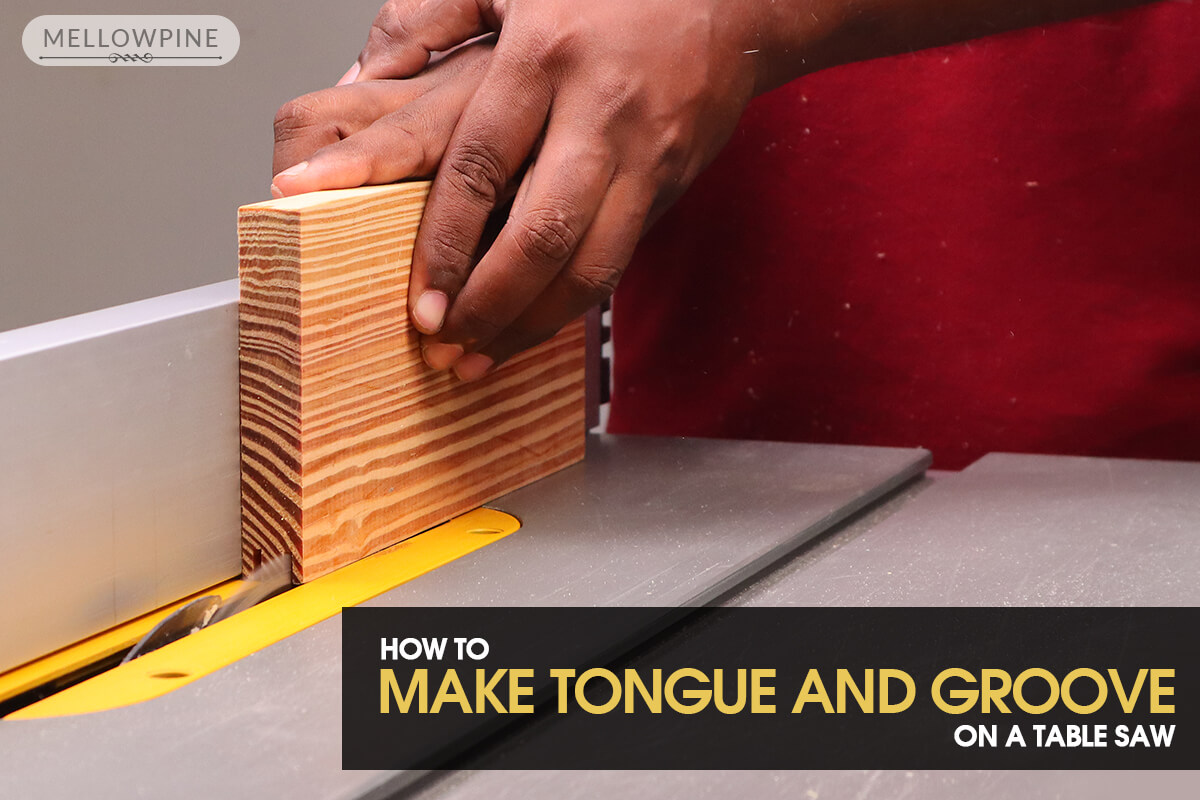
To make a tongue and groove joint, select two wooden boards of the same length and thickness.
Take the wood to be grooved and place it lengthwise on its longer edge along the rip fence of the table saw.
Adjust the rip fence such that the blade will cut around the center of the wood.
It doesn’t have to be dead-on accurate. Just close enough to the center is enough.
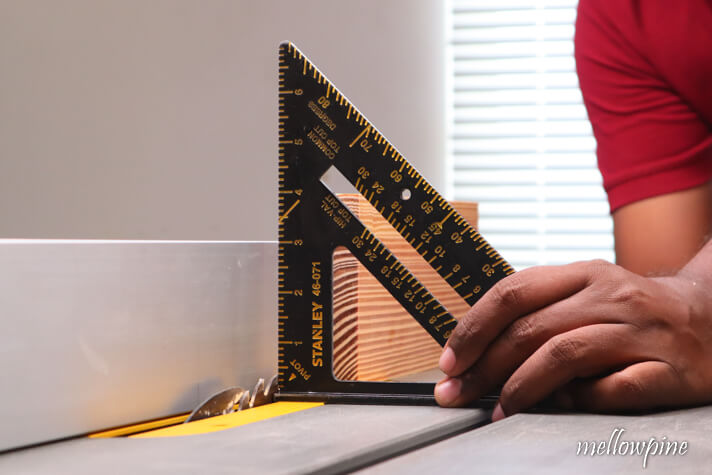
Once the rip fence is set, adjust the height of the blade for the height you want your groove to be.
Here I will set it to 3/8th of an inch with the help of a speed square.
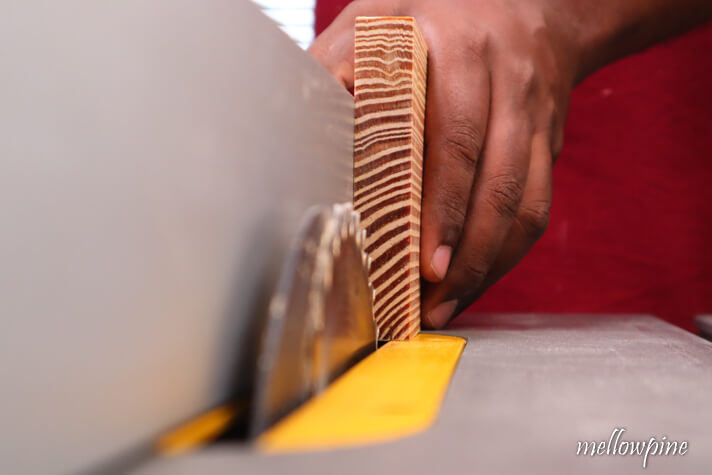
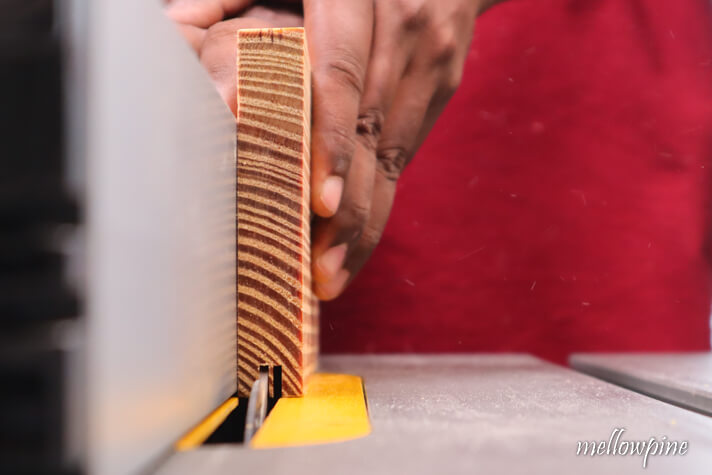
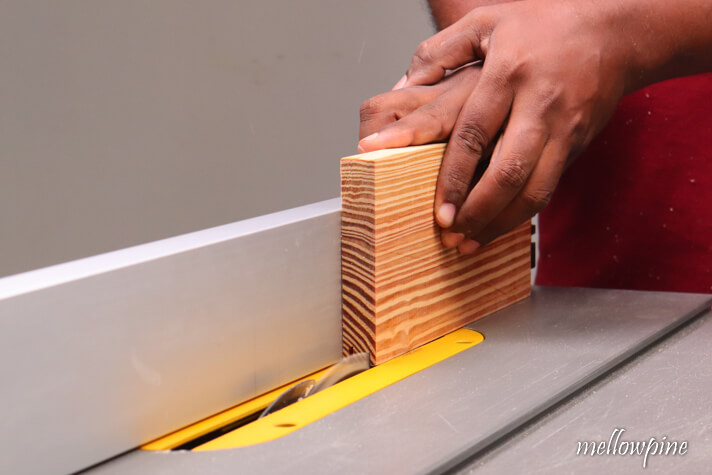
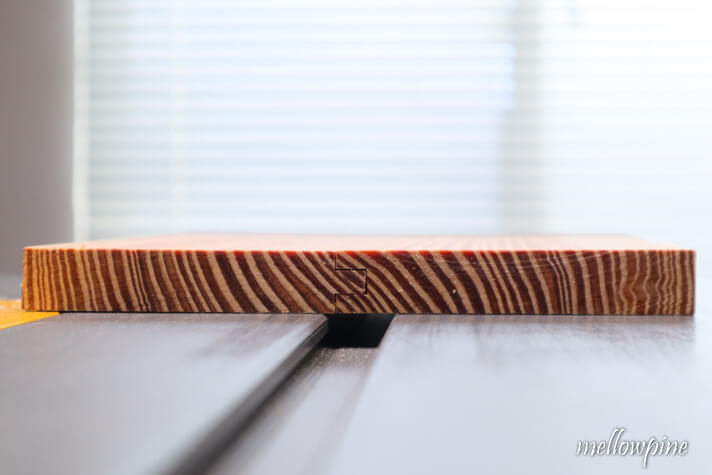
With the blade height set and the blade positioned near the center of the wood, cut it lengthwise on the table saw.
If you happen to own a feather board, use it while making the cut.
With the first cut completed, flip the wood 180° and cut it again.
This ensures that the two cuts will be equally spaced from the edge of the board.
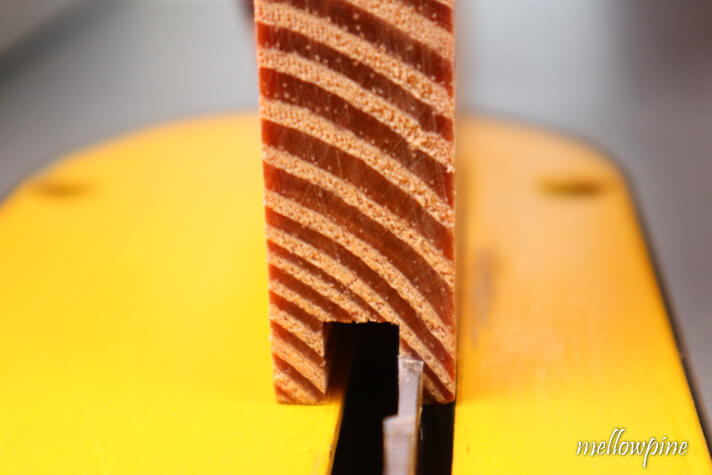
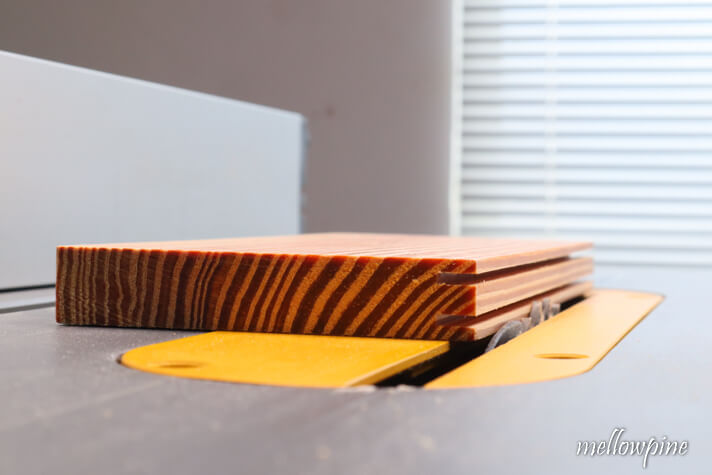
In case there is some wood left in between the groove, adjust the fence and make another cut to complete the groove.
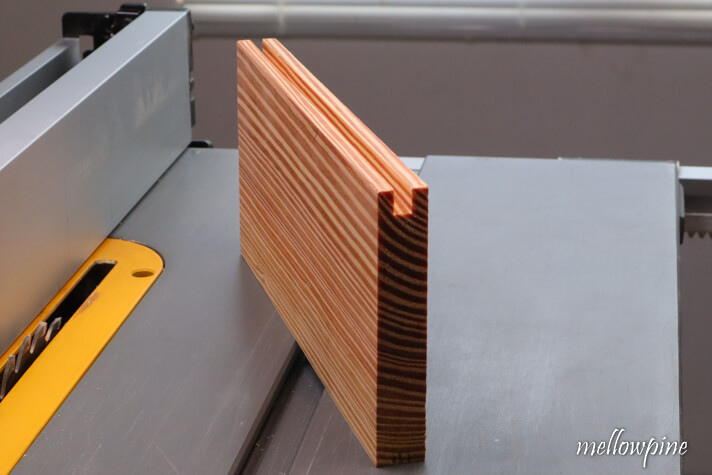
With that, your groove will be completed.
If you want a wider groove, make the first cut farther away from the center of the board edge.
However, you don’t want the overall width of the groove more than 50% of the total thickness of the board.
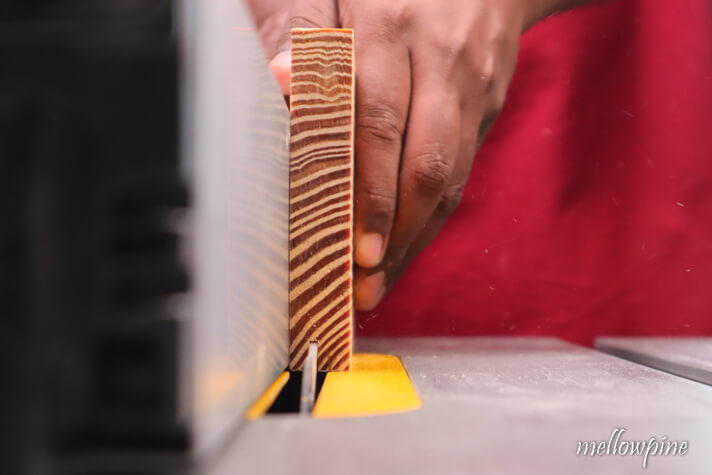
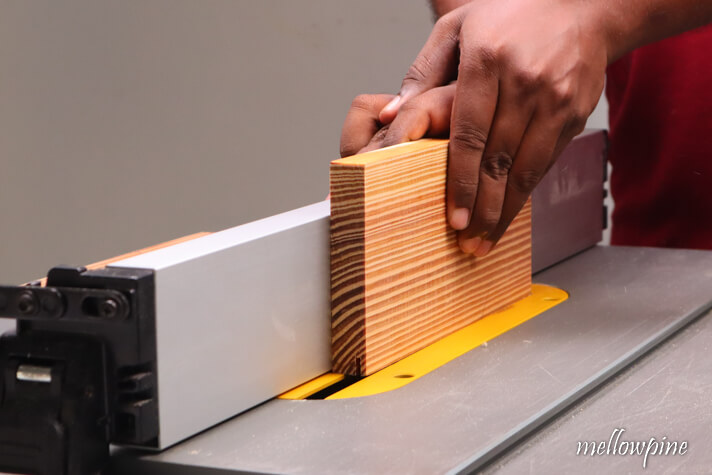
To cut the tongue, place the grooved wood lengthwise along the rip fence.
Adjust the rip fence distance such that the blade will cut just outside of the groove.
This is the most important step of this process.
You need to make sure that the blade sits just outside the groove without cutting into the groove.
Remember to consider the thickness of the blade as well.
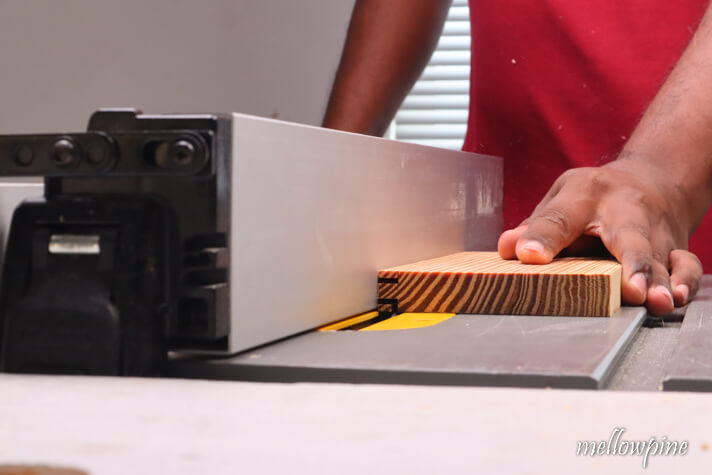
With the rip fence distance set, Take the wood for making the tongue and align it lengthwise along the rip fence.
As the dimensions of both the wood are the same, by positioning the blade right next to the groove, the tongue so formed will fit perfectly in the groove.
Turn on the saw and cut the tongue wood.
Remember to keep the blade height the same.
Just like before, flip the wood by 180° and cut it.
Your tongue piece is almost done, all that is left now is to cut off the wood on the sides of the tongue.

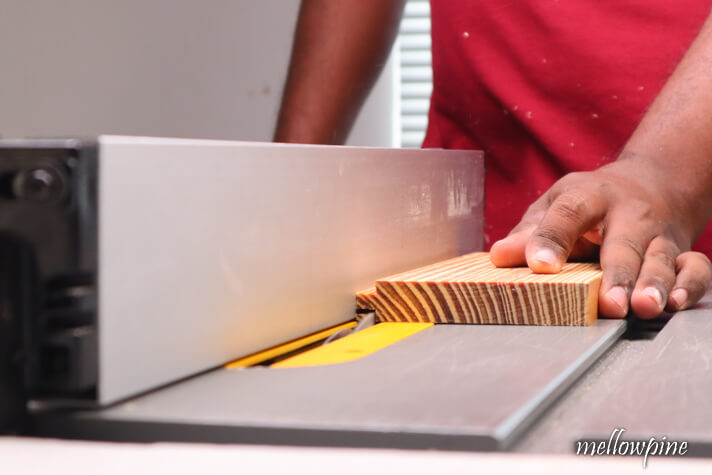
Lay the wood to make the tongue on the side of the blade and adjust its height such that it cuts the excess wood off but doesn’t touch the tongue.
Cut off the excess wood on the sides of the tongue.
Flip the wood over and cut off the excess wood on the other side.
With that, your tongue is also completed.
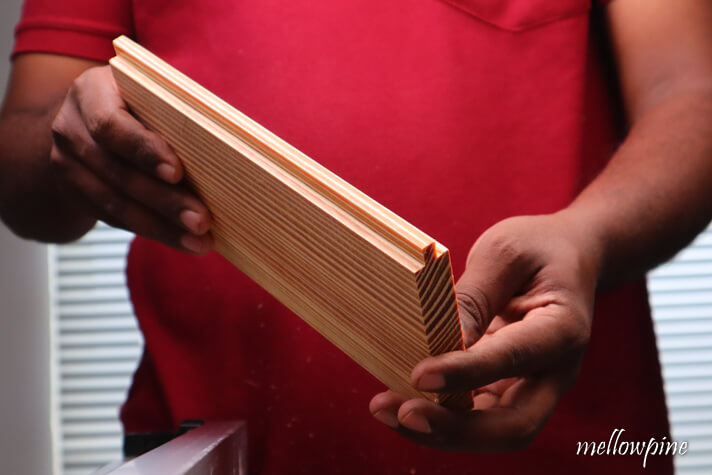
With both the wood finished, joint them together to form a tongue and groove joint.
Tips for Accuracy While Making Tongue and Groove on Table Saw
- Having square wood is the key to this joint. Make sure you’re wood has straight and perpendicular edges, if not then run it through a joiner and then through a planer to achieve square faces.
- Use a sharp blade with an appropriate number of teeth. More teeth on the saw blade means better cut but takes longer to cut and large teeth means quick but rough cuts.
- Miter fence of the table saw can help create perfectly square cuts as its parallel to the blade as well as perpendicular.
Tips for Safety While Making Tongue and Groove on Table Saw
- When joining your tongue board and your groove board, make sure you alternate grain patterns (one comes from left and the other comes from right). This will minimize any bowing of panels as it expands and contracts.
- Never stay right behind or too close to the running blade to avoid injury in case of kickback. Kickback is extremely dangerous and must be prevented at all costs.
- If the length of the edge that is against the fence is shorter than the distance between the fence and the blade, Then dont cut it using the rip fence.
- Using excessive force will create pinch points in the wood leading to damage for both the user and the saw.
Frequently Asked Questions (FAQ)
How deep should tongue and groove be?
The groove should always be slightly deeper than the length of the tongue. There are two reasons for this. The first is to avoid issues throughout the assembling process. If the tongue length is cut precisely to the groove depth, even a speck of sawdust or a flaw in the wood will prevent the two parts from correctly joining. The second reason is that seasonal expansion and contraction have an impact. If a panel expands at a different rate than its neighbor, the tongue from one piece might actually push the other away from the joint, causing it to shatter.
Can you glue the tongue and groove to the wall?
Apply a small amount of construction glue to the back of each tongue-and-groove board. The boards can be glued, nailed, or both to the walls.
Should you paint the tongue and groove before or after installation?
If you apply paint before installation, the tongues will be completely finished and so no unfinished stripes to appear later. However, if you don’t paint before installation, unfinished stripes will develop where the tongues retreat from the grooves as the wood cures and shrinks.